The Best Deals on Camping, Backpacking and Outdoor Gear [June 2025]
Watch this video directly on YouTube.
We all shoot photos and videos with our phones. It’s the most accessible camera any of us owns. And often the smallest. Which makes it perfect for outdoor adventures great and small, especially with today’s mobile technology rivaling larger mirrorless cameras, at least when the conditions are right.
But when it comes to shooting video, that technology still needs a helping hand when it comes to getting breathtaking, truly cinematic shots. So today, we’re going to breakdown the essentials so you can create amazing looking videos when you’re in the great outdoors, without getting too technical.

The Challenge of Shooting in the Wild
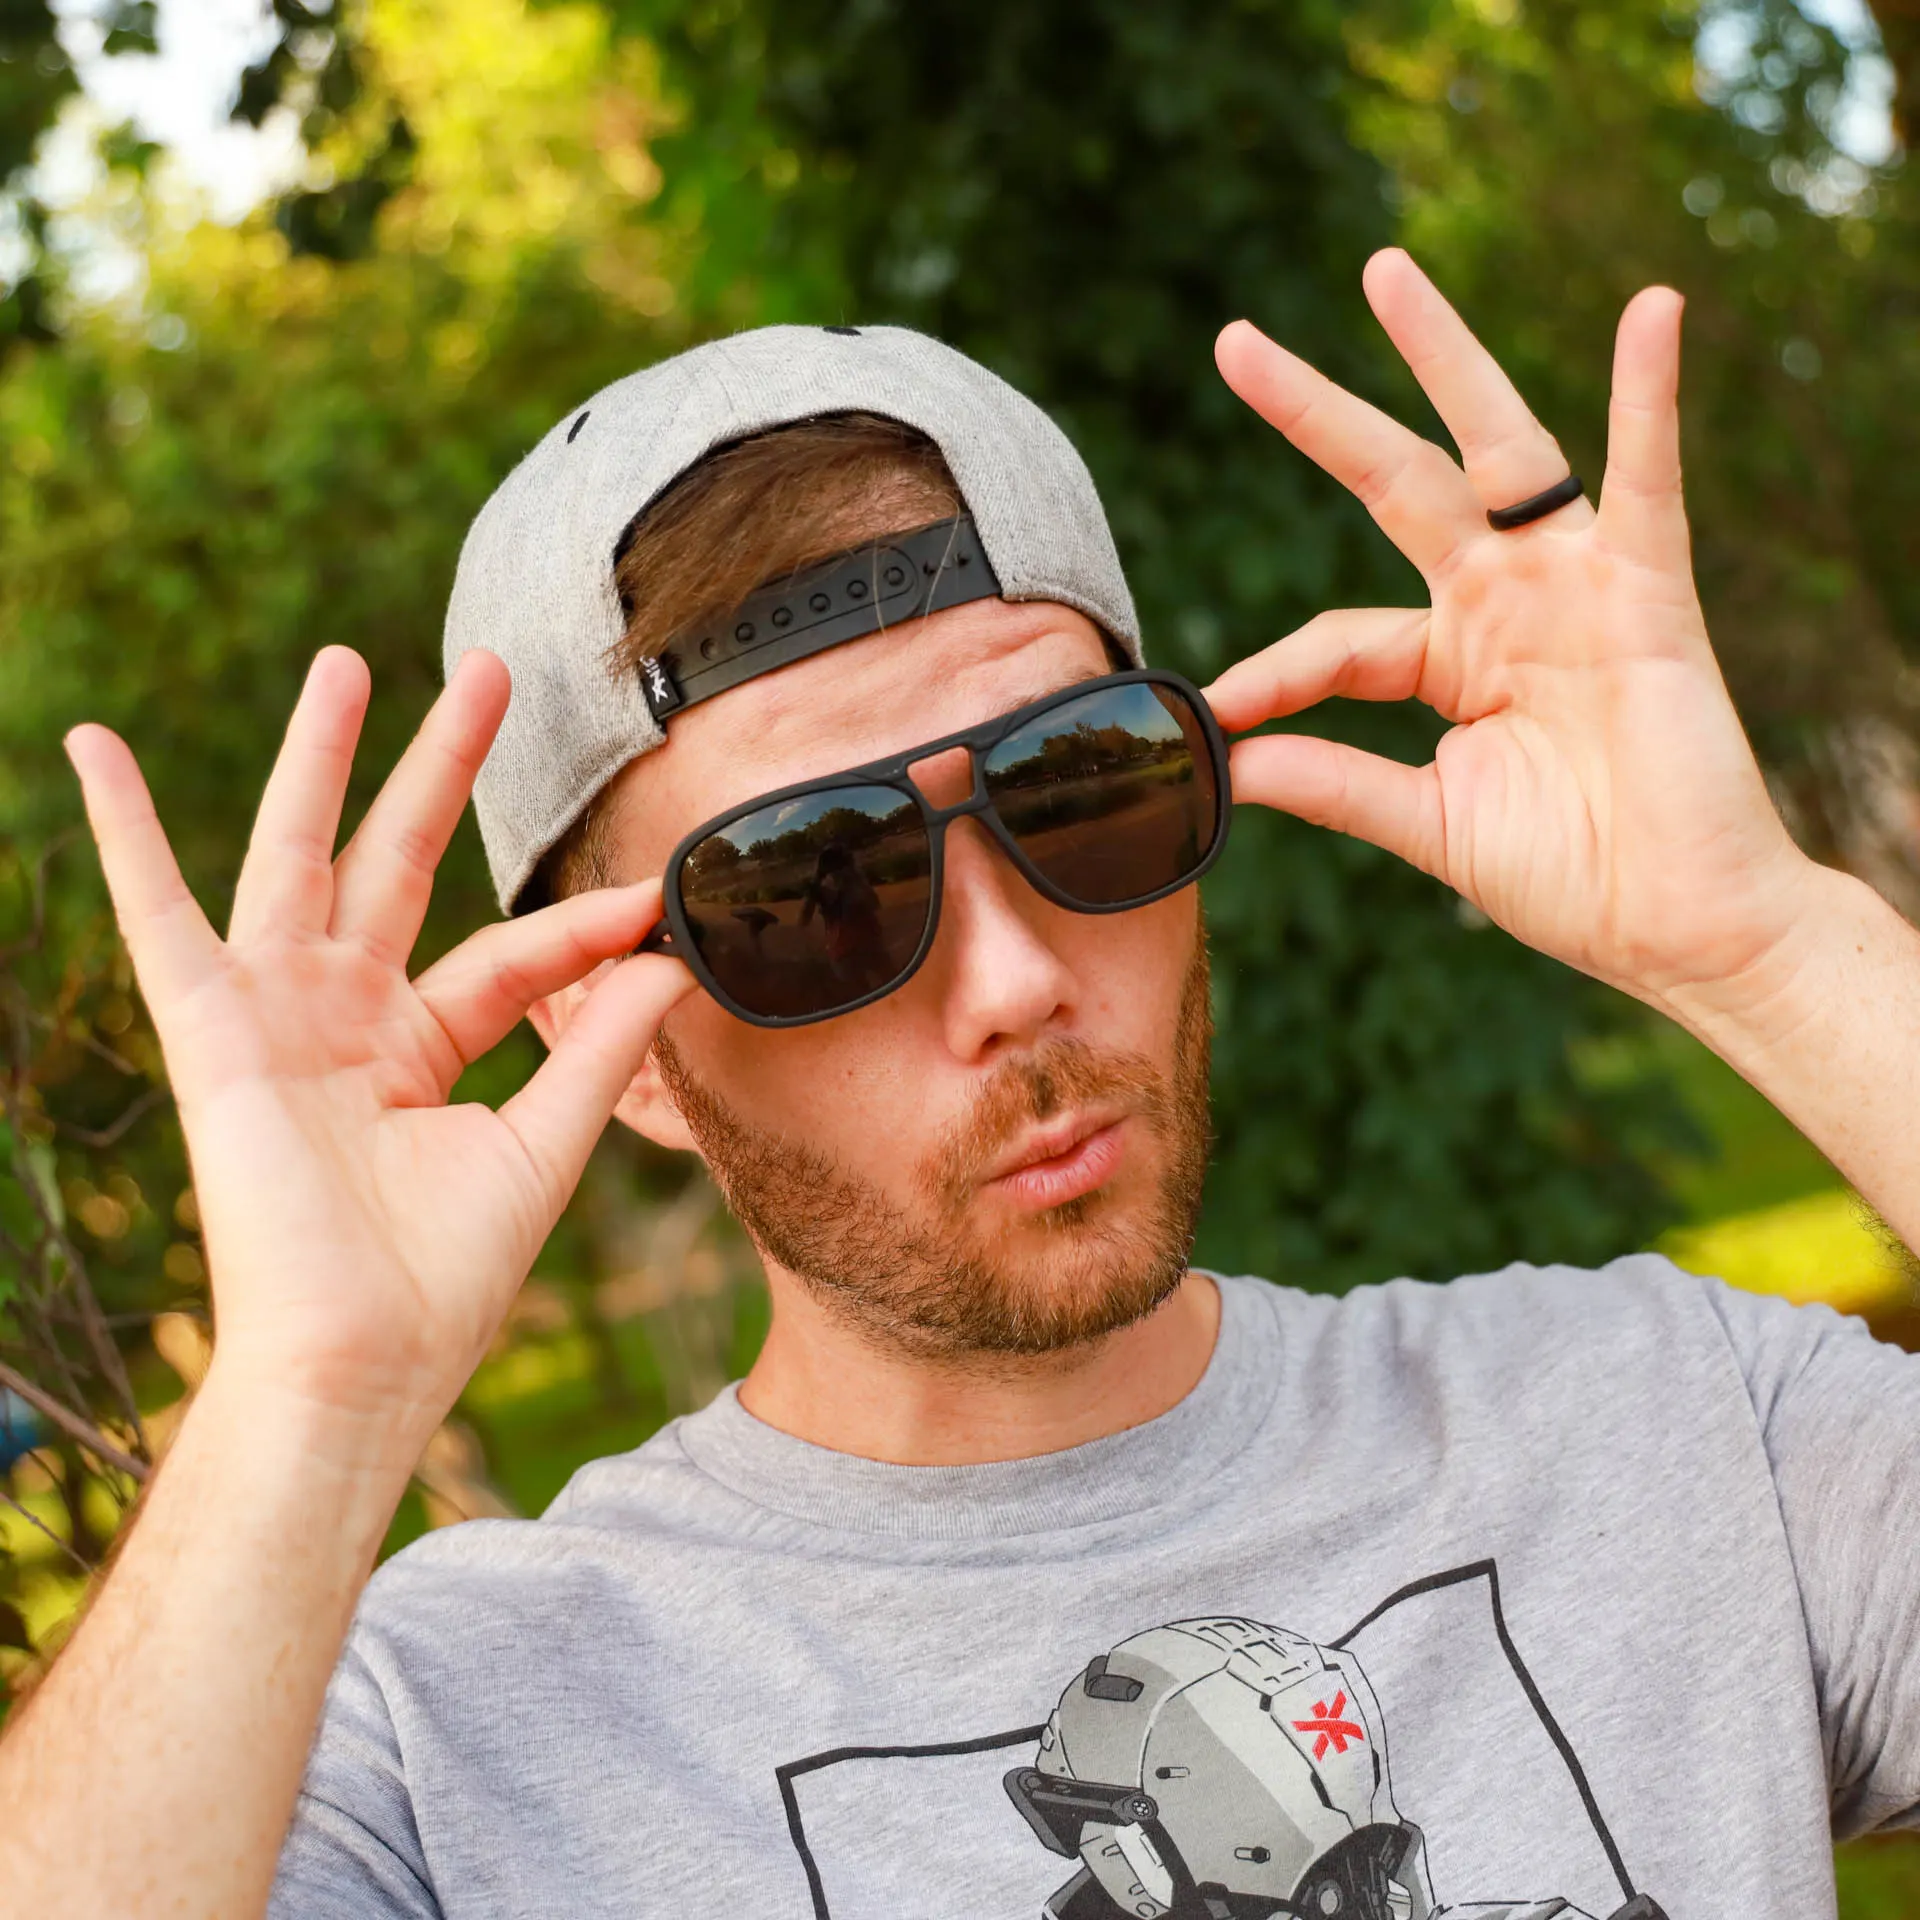
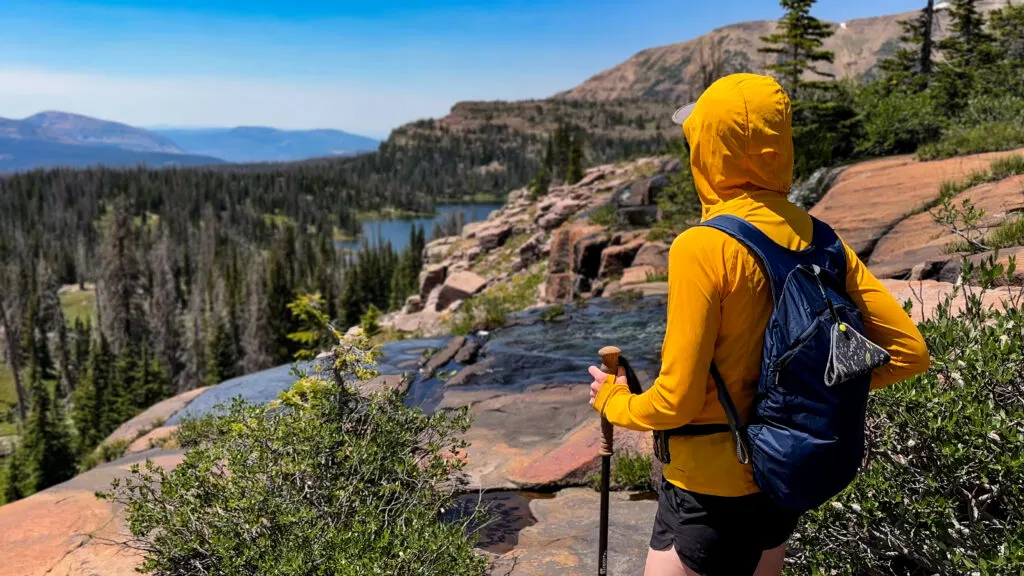
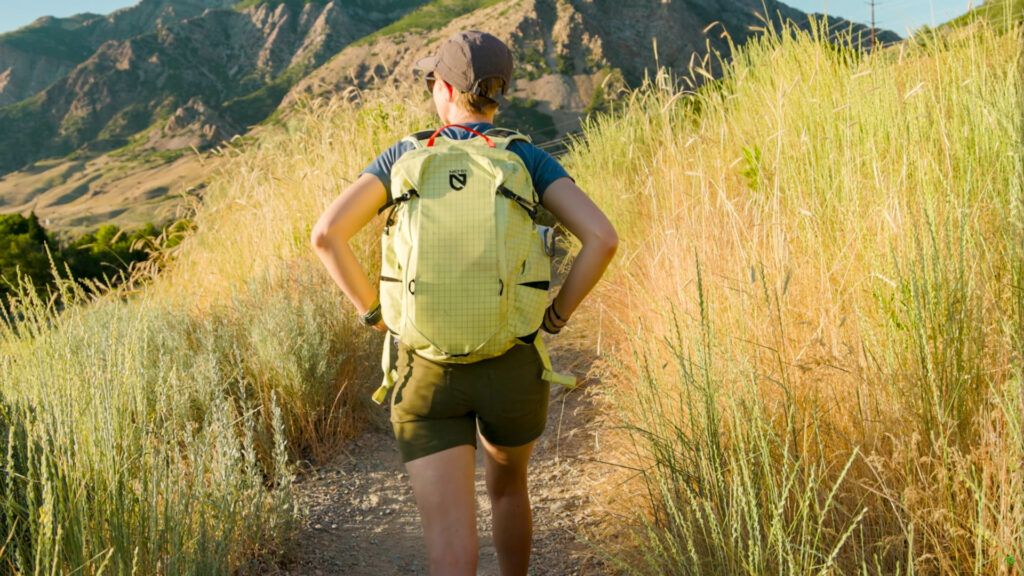
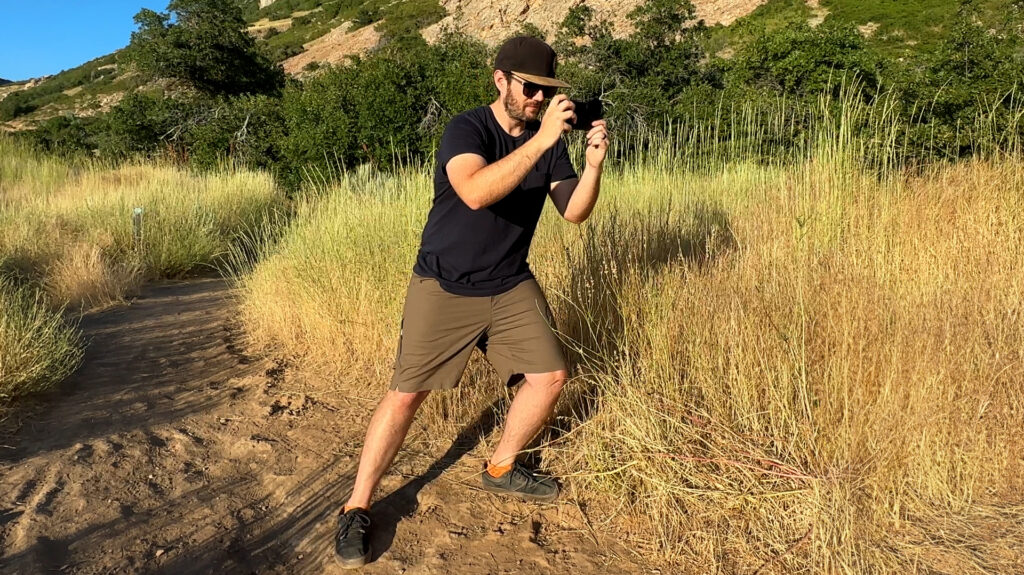
As the video producer at Terradrift, I handle all our video shoots indoors and out. We often find ourselves deep in the wilderness for backpacking trips, shooting gear reviews and stunning landscapes. Normally, I use a high-end mirrorless camera for these tasks. However, it’s clunky and heavy, making it impractical for extended trips where weight determines how far and fast you can go. That’s why I prefer using my phone when I can. But getting cinematic footage from a phone involves overcoming some technical hurdles.
What Makes Footage Cinematic?
While there are many elements to creating cinematic footage, here are four we’re going to be focusing on:
- Depth of Field: This is when the background is blurrier than the subject.
- Motion Blur: Essential for smooth, natural-looking motion.
- Lighting: Proper lighting can make a huge difference in image quality.
- Camera Movement: Smooth and intentional movements enhance the cinematic feel.
Depth of Field
When shooting with larger cameras, an open aperture (lower f-stop number) creates a shallow depth of field, blurring the background and foreground around your subject. Most “fast” lenses can open up to f/1.8 or f/1.2. Phones, on the other hand, typically don’t have adjustable apertures, so achieving this effect can be challenging.


Motion Blur
Phones often have high shutter speeds, making footage look jittery without the natural motion blur. Lowering the shutter speed helps, but many phones don’t allow manual control over this setting. Plus a lower shutter speed means closing your aperture to achieve correct exposure, which means less depth of field, so we’ll need a way to cut down the amount of light coming into our lens in order to control both. More on that in a minute!

Lighting
Lighting is crucial. The best times to shoot outdoors are during “golden hour”—an hour after sunrise or an hour before sunset. This produces soft, warm light that’s perfect for photography and video. Of course if you’re filming an entire backpacking trip, you won’t be able to avoid filming in the middle of the day. Lighting basics is a bit beyond the scope of this article but it’s something that you should be aware of when shooting outside.

Camera Movement
Smooth camera movement is key in cinematic footage. While larger cameras can be challenging to stabilize, phones, like the iPhone, have excellent stabilization features that help achieve smooth shots. We’ll get to how I like to add movement to my shots shortly.

Tools and Apps to Enhance Phone Footage
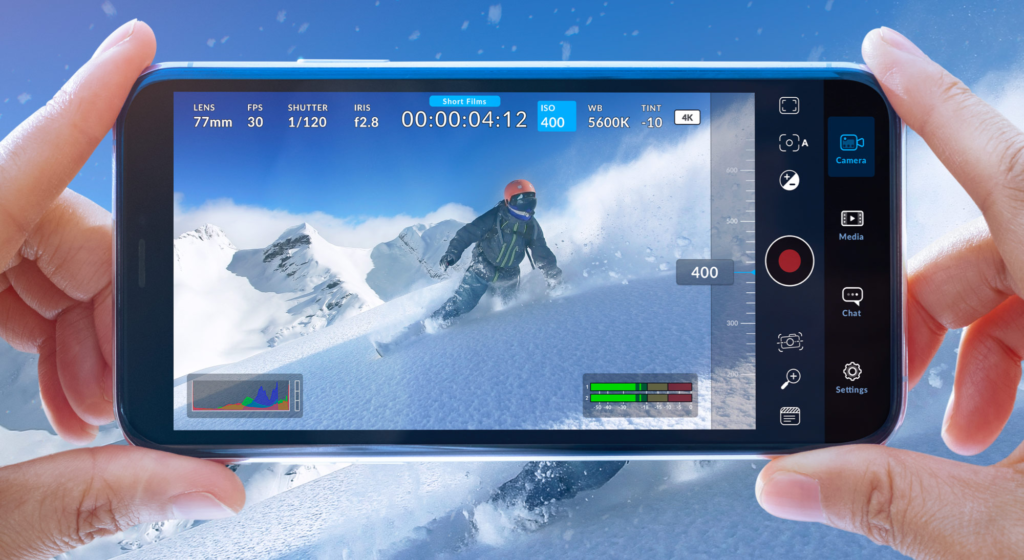

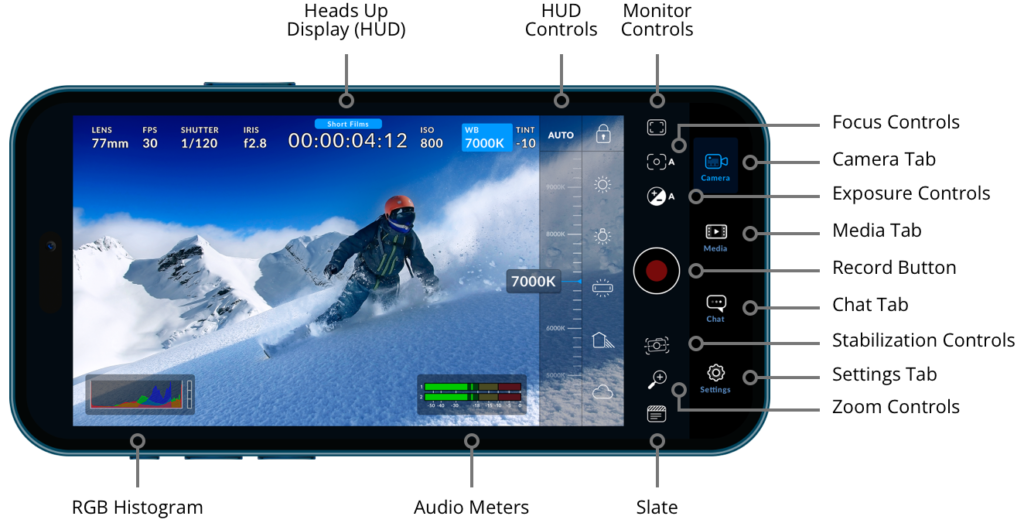
Blackmagic Camera App
Blackmagic Designs, known for its cinema cameras, offers an app that brings some of their advanced camera features to your phone. Downloading this app will significantly improve your ability to shoot cinematic footage.
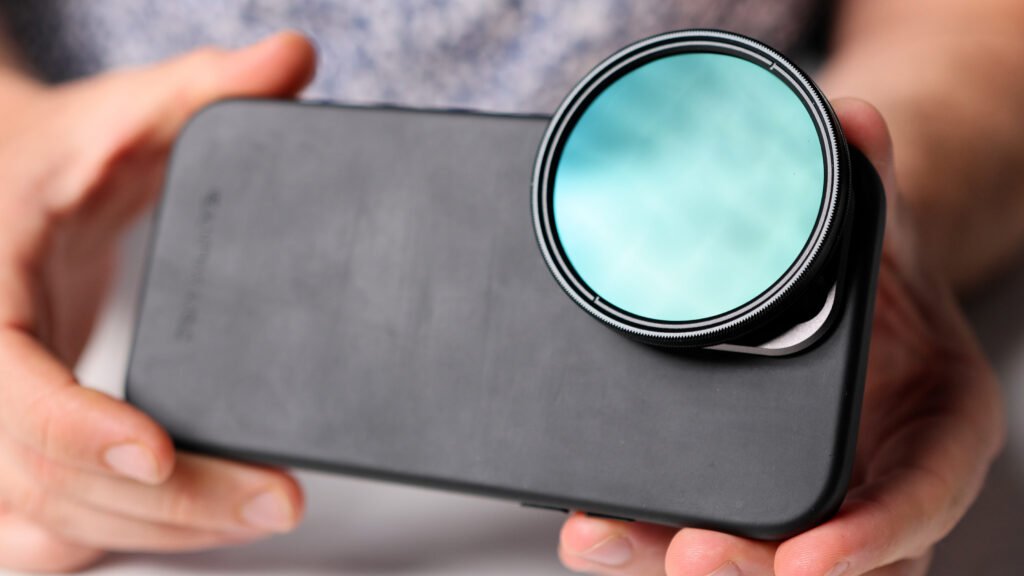
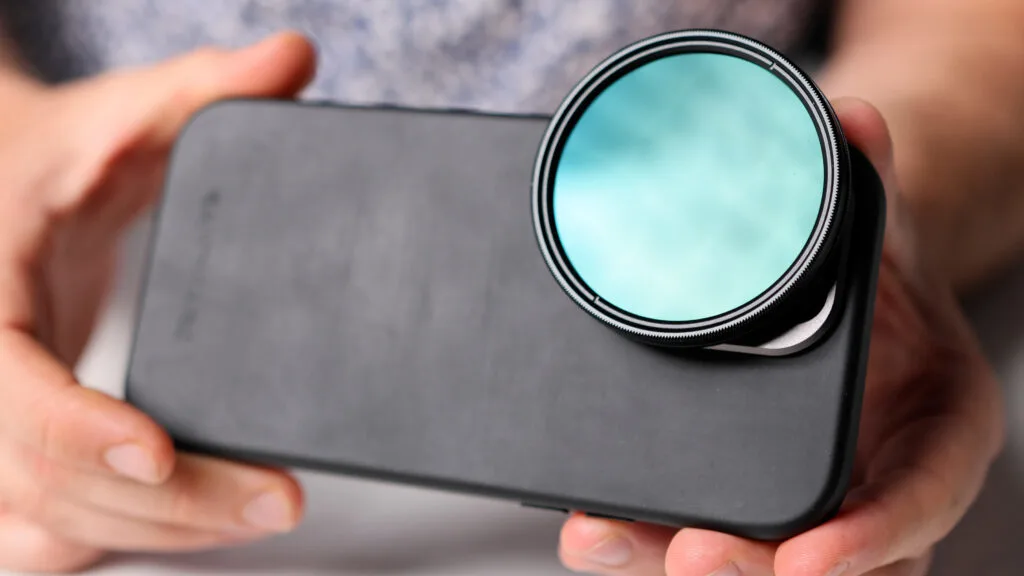
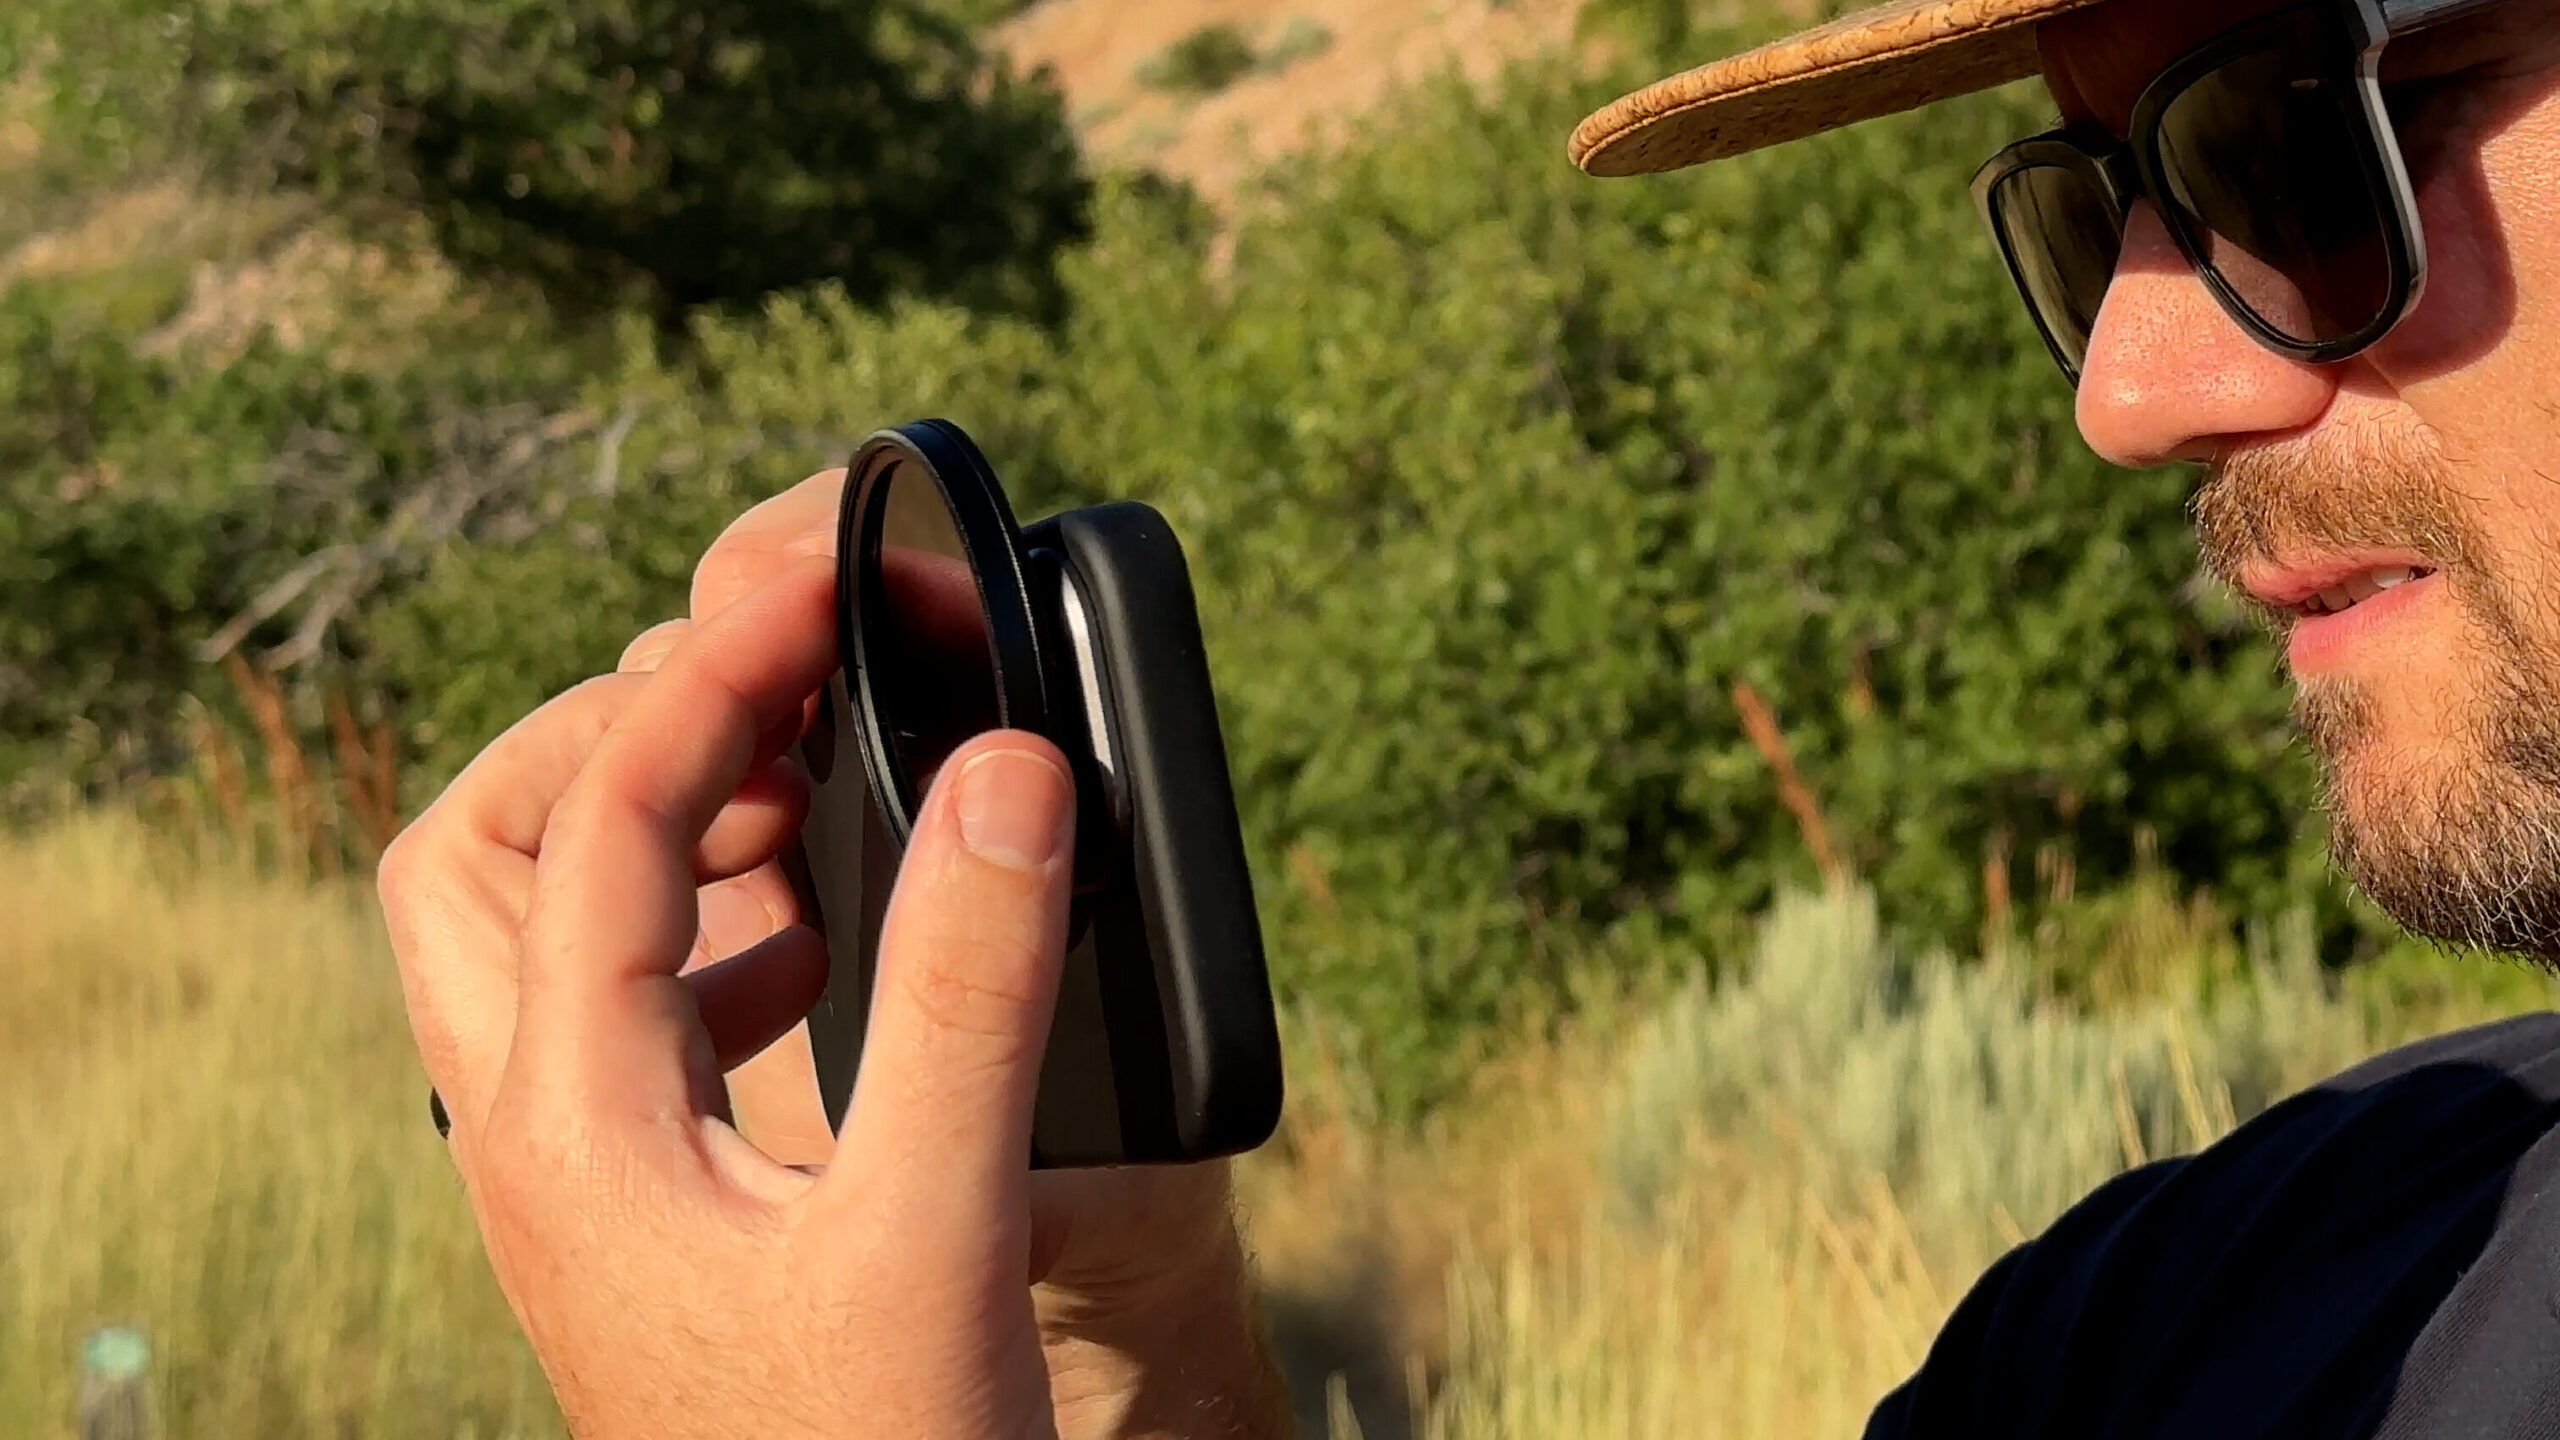
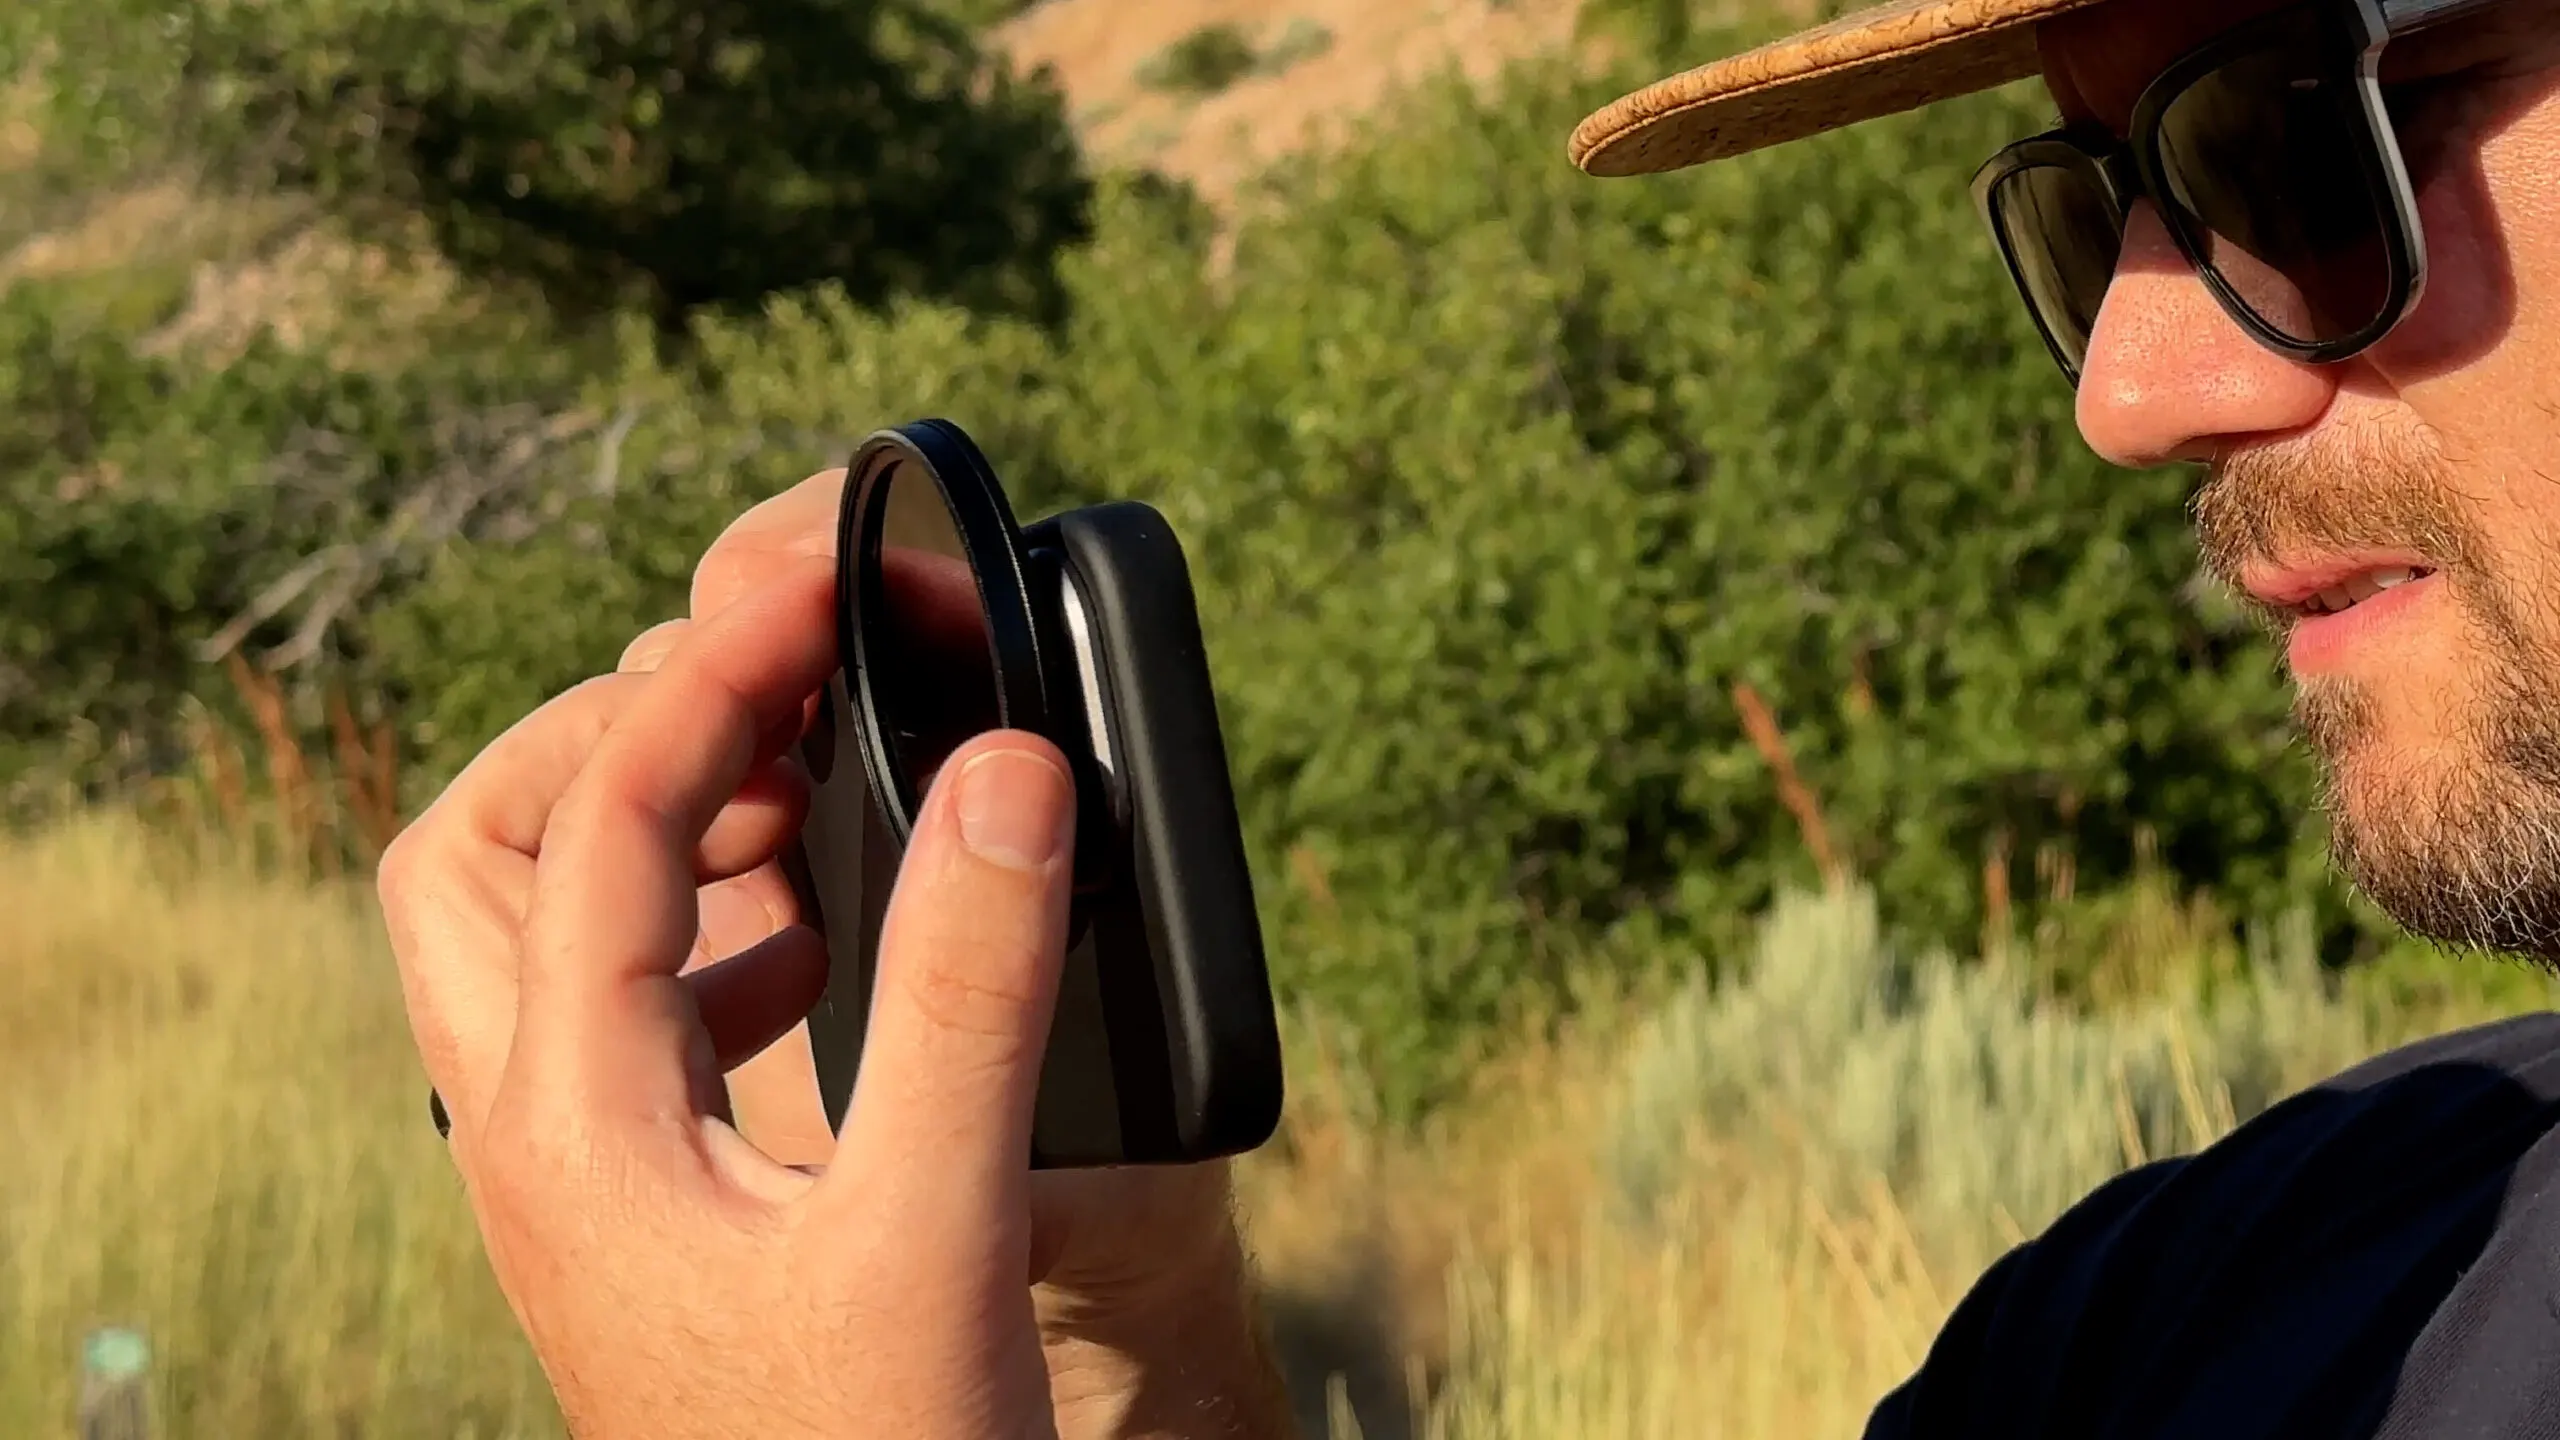
Sandmarc Hybrid ND/PL Filters and iPhone Pro Case (MagSafe Compatible)
Neutral Density (ND) filters help control the amount of light entering the lens, allowing you to set your shutter speed and aperture properly. I recommend the Sandmarc Hybrid ND/PL filters (comes in 3 strengths), which also include a polarizer to reduce glare and enhance colors. A must have for shooting outside.
Now, while you can use these filters with a filter holder clip, I prefer to use the Pro Case for my iPhone 14 Pro Max. Not only does that ensure that my filter stays put while I’m filming but eliminates any chance of case incompatibility with the filter clip.
Setting Up Your Phone
- Download the Blackmagic Camera App: This app mimics the functionality of Blackmagic Design’s professional cinema cameras and is extremely powerful. Best of all, it’s free!
- Install ND Filter: Attach the ND filter to your phone lens to manage light and achieve the desired shutter speed. In bright sunlight, start with the ND64 (darkest). Now rotate the outside of the filter to adjust the polarizer, cut glare and increase contrast.
- Adjust Settings: First, I highly recommend visiting the Blackmagic App Website to get familiar with all of the app settings. Just touch the setting on screen that you want to adjust.
- Set your frame rate to 24 fps
- Set your shutter speed to 2x your frame rate (48 or 50)
- Adjust your ISO to the lowest value while maintaining proper exposure (see “use the histogram below)
- Set your aperture to the lowest value. You may or may not have this option available on your phone.
- On the iPhone 14 Pro Max, I like to use the 24mm lens which is the second lens down on the left side.

Practical Tips for Shooting
- Use a Histogram: This tool helps ensure your exposure is balanced, avoiding overexposed highlights or underexposed shadows. To use, you want to keep the peaks centered. Too much information on the right and you’ll blow out your highlights. Too much on the left and you’ll lose information in your shadows.
- Smooth Camera Movement: One of my favorite tricks is to lock your arms and use your legs to smoothly rotate around objects or subjects. Your phone’s stabilization will take care of any light shaking that may occur.
- Experiment and Practice: Play around with different angles, movements, and settings to see what works best.
Final Thoughts
Using your phone for cinematic outdoor footage is entirely possible with the right tools and techniques. While it might not replace a high-end camera, it can come remarkably close, especially with proper lighting and smooth camera work.
For more details on the tools mentioned, check out the links below.
Links and Resources
- Blackmagic Camera App (Android and iPhone)
- Sandmarc ND/PL Hybrid Filters with Pro Phone Case