Keen to ride 100 miles on rocky, dusty dirt track and off-road trails, climb 7,097 feet of elevation, camp in the desert with no water availability, and sit on a bike saddle for something like 14 hours over three days or so? Then you’re ready for bikepacking White Rim Trail in Canyonlands National Park. 😅
One of the most well-known multi-day mountain bikepacking trips in Utah, this off-road route not far from Moab in Canyonlands National Park’s Island in the Sky district is a beast. But one with no shortage of epic views, amazing desert landscapes, plenty of campsites, and more brutal ups and downs than you could ever dream of on one trail. And I completed the 100-mile loop this fall with a small group of rad women (and one support vehicle). Think you might want to do it, too? Here’s what you need to know, how to plan, what the ride was like, and what you need to bring along.
Bikepacking White Rim Trail: The Deets
First things first: There are a few things you need to know about bikepacking White Rim Trail:
- It’s off-road riding, meaning this ain’t no paved trail.
- You’ll be sharing the road/trail with 4WD off-road vehicles, though you’ll probably only encounter a few a day.
- You must book campsites and get backcountry permits in advance and permits are popular so can be hard to get. More on that below.
- If you can’t get a permit, you can ride it in a single day or parts of it in a day (if you’re a beast).
- Campsites are dispersed, meaning the only thing you’ll find there is a big patch of dirt and a drop toilet.
- There is NO WATER on most of the route–you must bring all you need for the duration of your trip.
- The route is sometimes rocky, sometimes sandy, and always uneven.
- The best times to ride are in spring and fall. It gets brutally hot in the summer and pretty dang cold in the winter.
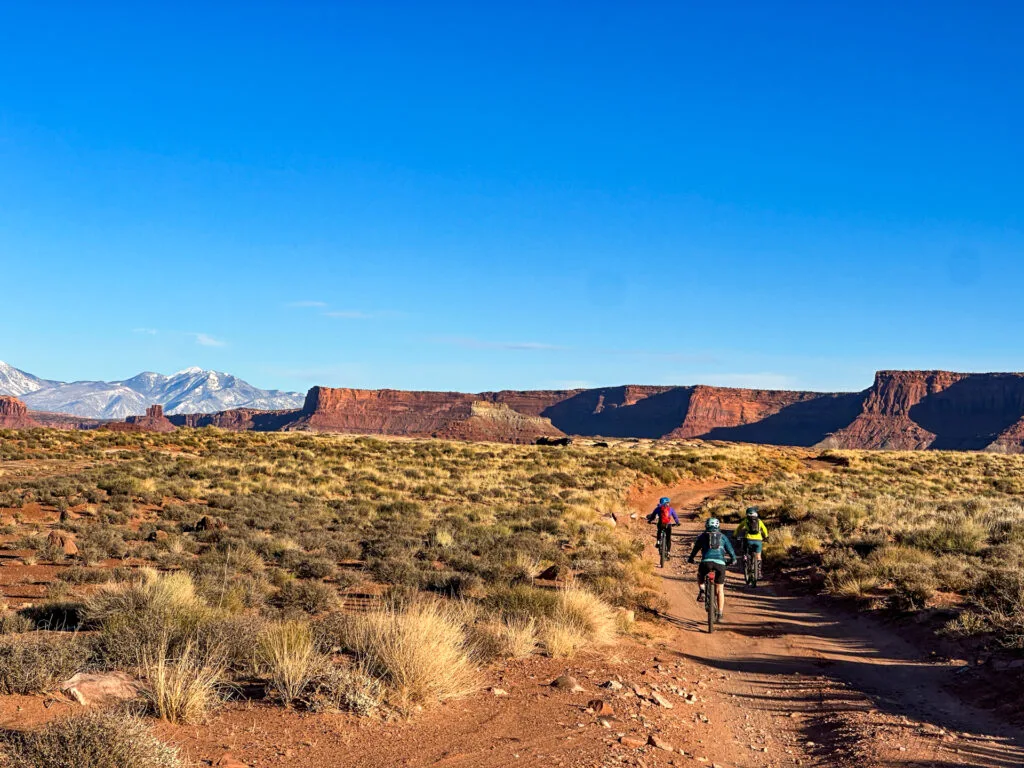
- The only shade you can expect is when you ride along the shadow side of a tall monument, so plan accordingly.
- There’s little to no cell service most of the way.
- There are no campfires allowed.
- You don’t technically need a parks pass on your person to enter as you don’t pass through an entrance booth.
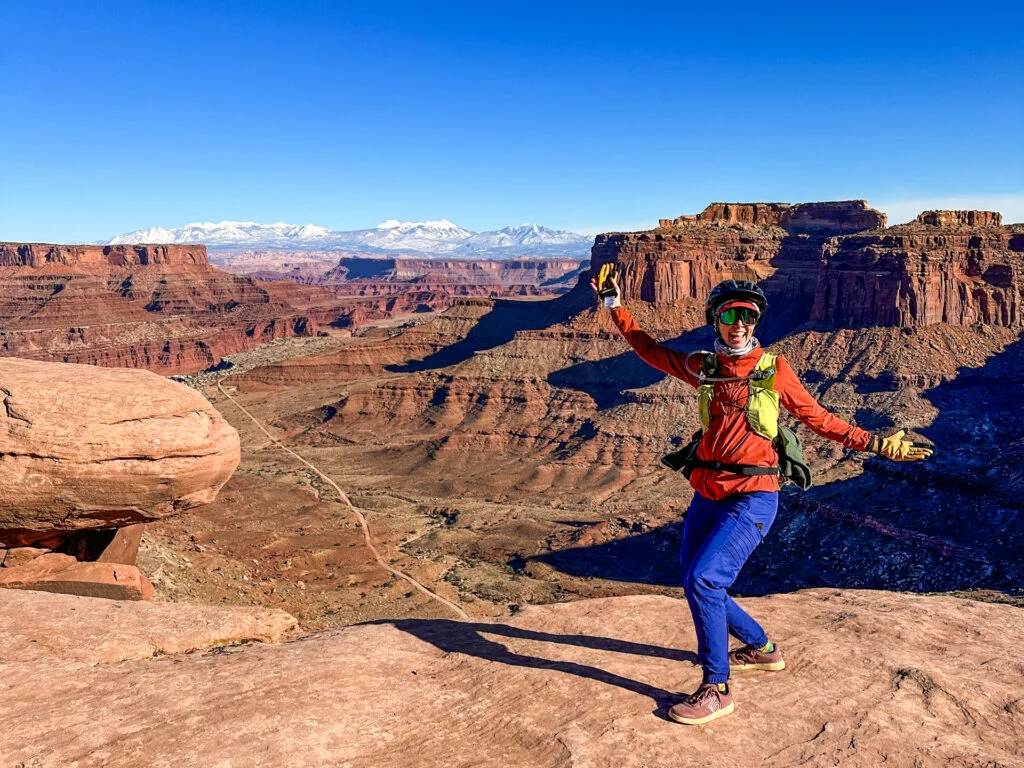
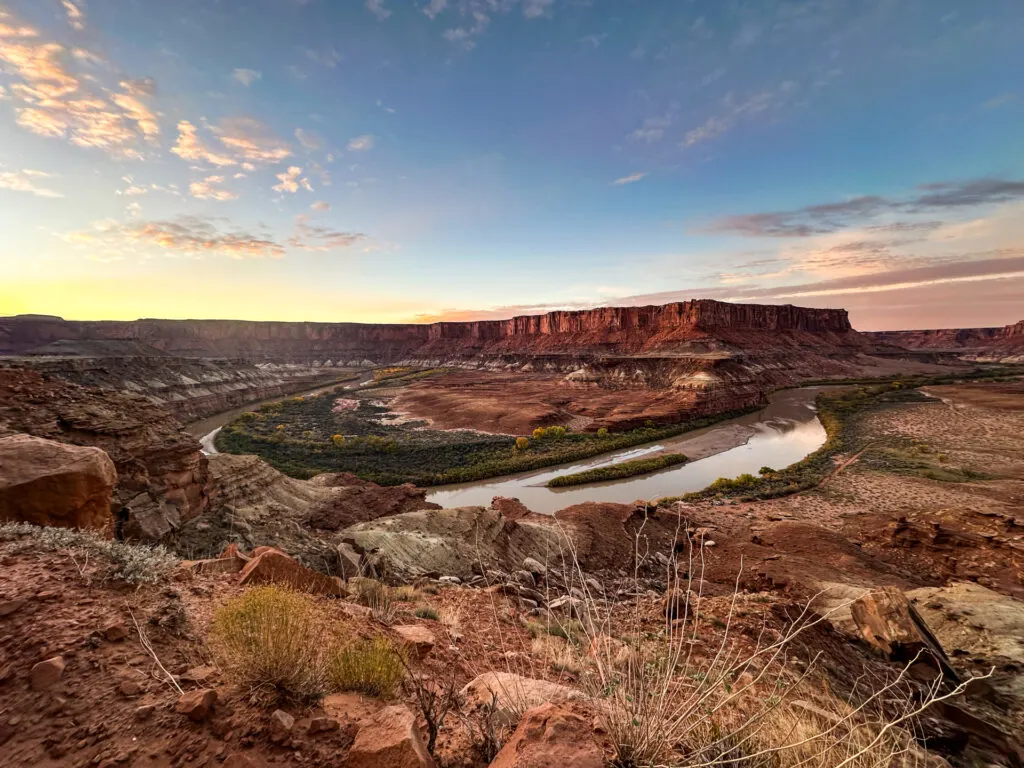
As for the park itself, I mean, the views! They just never stop! The route is, after all, located in the Island in The Sky district of the park, the most easily accessible district (the visitor center is just 40 minutes or so from Moab). There are two other districts: Needles, which is full of rad pinnacles, and The Maze, which is the most remote. Then there are the rivers, which are their own attraction: The Green and the Colorado, which both meet at the Confluence toward the south end of Island in the Sky.
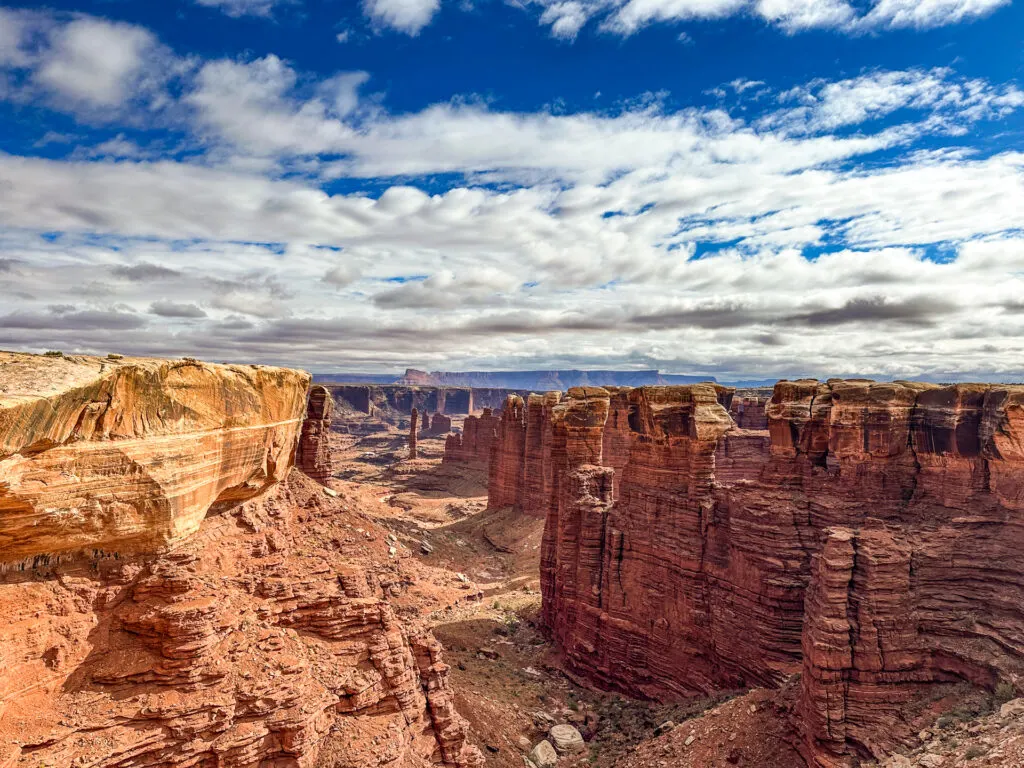
All of the units are considered primitive high desert and the whole park, which was established in 1964, is located on the Colorado Plateau. And while unit is unique, all were formed by wind and water over what scientists believe are millions of years. And the landscapes here are pretty dang cool, what with the massive canyons, tall mesas and monuments, and miles of slickrock (which isn’t actually slick).
Bikepacking White Rim Trail: Plan Your Ride
But you can’t just show up and ride White Rim Road over several days any time you want; you’ll need a backcountry camping permit. And you have to plan pretty far in advance to put a multi-day trip together. Thankfully, my friend Izzy from The Alpine Aunties did plan ahead and graciously extended me and 10 others an invite to join in on the fun. She decided she wanted to ride White Rim months ago, so applied for a permit this summer. Permits open up on a seasonal basis about four months in advance of any given season (as in, permits for fall when we rode were made available in May).
Getting one requires obtaining a backcountry permit on Recreation.gov, which involves selecting dates and specific campsites along the route. But permits are very competitive, so if you want to have the best chance for an ideal schedule–i.e. splitting the mileage up as evenly as possible across multiple days–you’ll want to make permit requests as soon as they’re available.
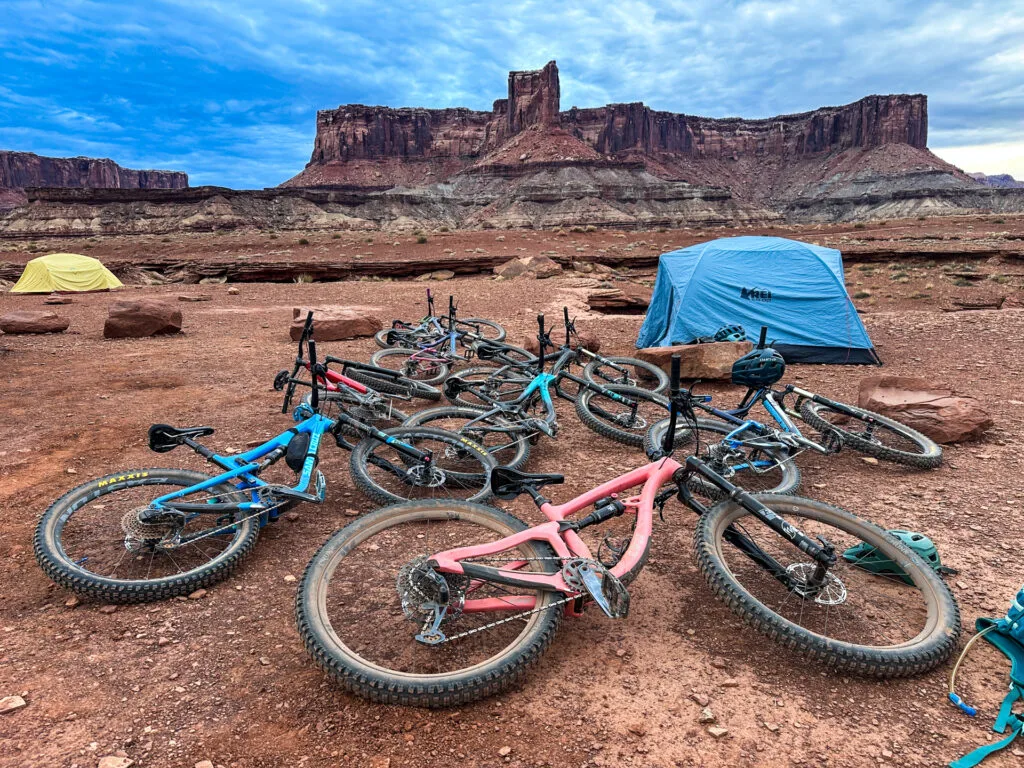
Our crew wasn’t that on it, which is why we ended up riding about 24 miles on day one, 50 miles on day two, and 26 miles on day three instead of a more even 33/33/33 split. But that’s OK, because we still got to ride and had a great time. All eleven of us, mostly women with two husbands: one of whom drove the support vehicle and one of whom was essentially a bike mechanic. Very handy to have on a long ride.
Yes, this ride was supported, meaning one person drove the same route ahead of us in an off-road capable vehicle that carried our camping gear, food, and plenty of extra water since there isn’t any along the route except for one short section near the river. He would stop periodically to check on our progress, offer additional snacks, and wait at designated lunch spots so we could all eat together, then meet us at the campsite in the evening.
A support vehicle is highly recommended (by me and the National Park Service), but if you opt to ride it unsupported, make sure you’re carrying everything you need to survive and thrive (or just bribe a friend who loves off-roading to drive with you).
Three to four days is a good stretch of time to complete the route if you don’t want to destroy your legs, but if you’re in really good shape and have lots of mountain bikepacking experience, two days may be doable. We’ve met people who have done it in one, but we don’t think that sounds like fun, so we’re not friends with those people. 😜
Bikepacking White Rim Trail: The Experience
So what was the ride actually like? Well, I can tell you honestly that even though I ride around town a couple times a week and mountain bike at least once a week, frequent the gym for weight lifting sessions, go to spin class a few times a month, hike often, and would generally say I’m in pretty good shape, this ride was most definitely the hardest trip I’ve completed in a long time. It’s for sure the most tired I’ve ever been on a bike. As in: It. Was. Hard.
After all, this ain’t your momma’s century ride, baby. It’s gnarly. There are steep ups and downs. It’s fully in the backcountry with no cell service or flush toilets or showers. There are drop toilets at campgrounds, but if you have to poo in between you have to pack it out in a wag bag. And while you don’t have to be an expert mountain biker to ride it, you should be capable and confident on two wheels and ready to spend a few days in the wilderness.
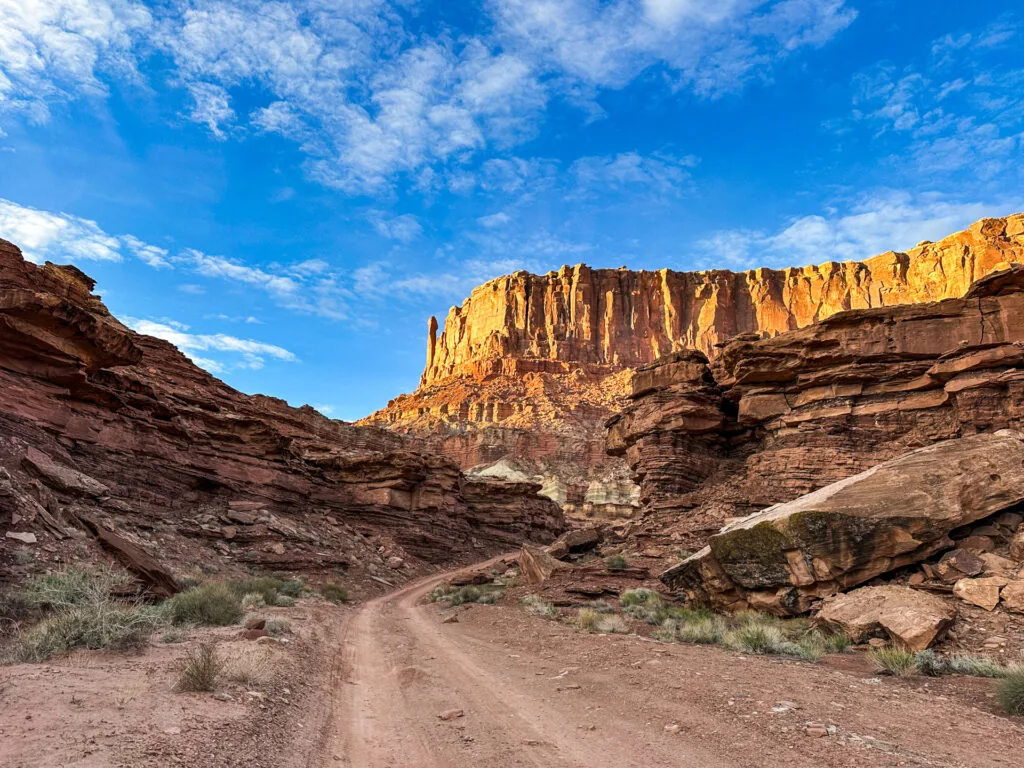
You’ll have to pedal up about over 7,000 feet in elevation (some route maps say 6,000, but that’s not what my Strava said!), which is pretty intense even if you’re NOT talking about 100 miles of uneven dirt and rock track, plenty of sand, and almost zero shade, which we are.
To top it all off, this was my first bikepacking trip. I mountain bike regularly, but I’ve never ridden 100 miles over three days. In fact, the most miles I think I’ve tackled in a day is probably around 20. But since I’m typically pretty active and in above average physical condition, and I tend to believe I can accomplish pretty much any challenge I put my mind to given enough time and trail snacks, no matter how exhausting, I had little fear that I wouldn’t finish. Besides, there was a support vehicle accompanying us and if I really was out of my depth, I could always take a break for a few miles. Spoilers: my ego did not permit me to entertain that option for more than about two seconds at a time.
My sit bones (and pretty much everything else in that region) were so sore by the middle of day two I spent as much time standing as possible. It was all I could do to distract myself from the pain despite wearing (sometimes) two pairs of padded chamois shorts. It was brutal. It got to the point where I was trying to keep up with other riders just so they could function as a distraction (conversation is a good way to get your mind off your misery).
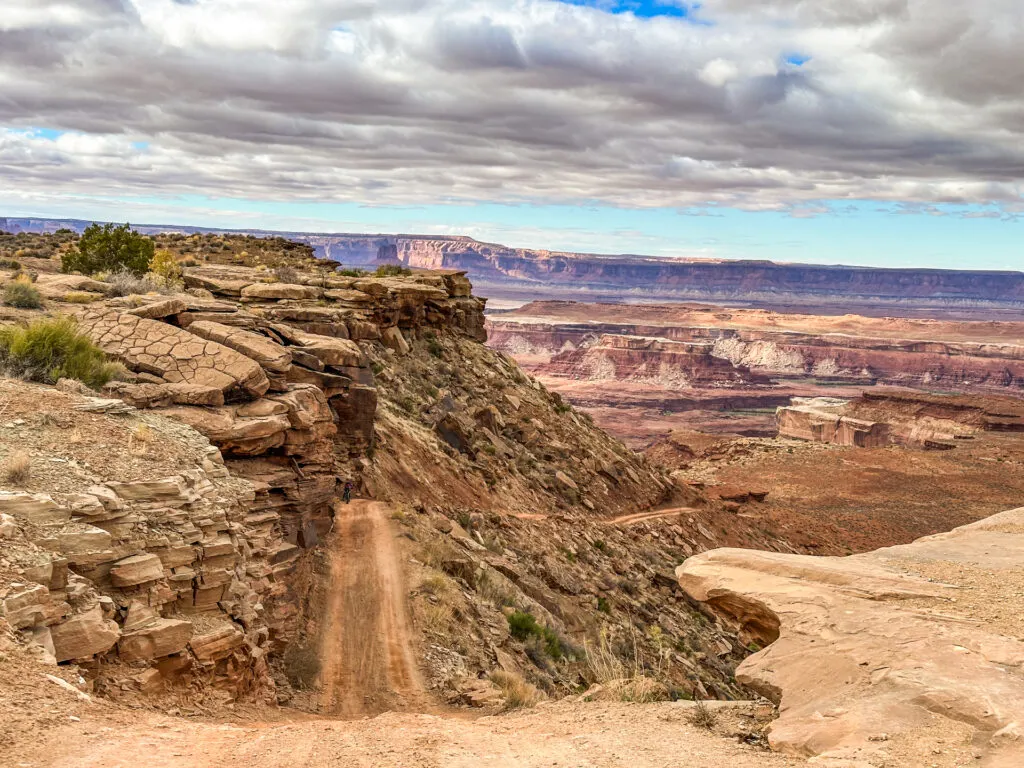
I was also reminded on this ride that I do NOT like being at the back of the pack. Which for at least half of the long day I was. It’s because I’m a slow climber and those few hours were mostly uphill. Later that afternoon I was square in the middle of the group because of all the steep and significant downhill–and girl, I can SHRED downhill–but on the up, I’m slow and steady. But that meant for hours I felt like I was trying to play catch-up and did NOT like feeling like the slowest rider, the weakest link, even though no one else cared what speed at which I was riding and others occasionally took my place in the lineup. It was an exercise in frustration that reminded me that sometimes half the battle during outdoor adventures is conquering your own mindset (a challenge that is often–at least partially–assuaged by voluminous amounts of swearing into the void).
Point being, if you haven’t been training, I wouldn’t recommend a 50-mile day. It. Was. Uncomfortable. Doable for those in reasonably good shape, but not necessarily the most enjoyable, especially without a buddy (every time I was riding with someone my mindset was markedly more positive). To prevent such a big day, you definitely want to apply for permits early so you have a better chance at claiming the route and campsites you want.
But however the milage is split up, make sure to bring more calories than you think you need. I brought lots of Tailwind Nutrition Endurance Fuel (the same stuff that fueled our road ride around Crater Lake), Clif bars, Packaroons, you name it. And to make mealtimes quick and easy, I made sure to bring easy freeze-dried backpacking meals for breakfast and dinner from Farm to Summit, which uses compostable packaging. BTW, their instant golden milk latte? My new fave for warm evening coziness.
Bikepacking White Rim Gear Guide
Wanna know what we brought with us? Check out the gear and clothing we packed to tackle the White Rim MTB trail. I also break down my gear list in this video.
Bikepacking Gear
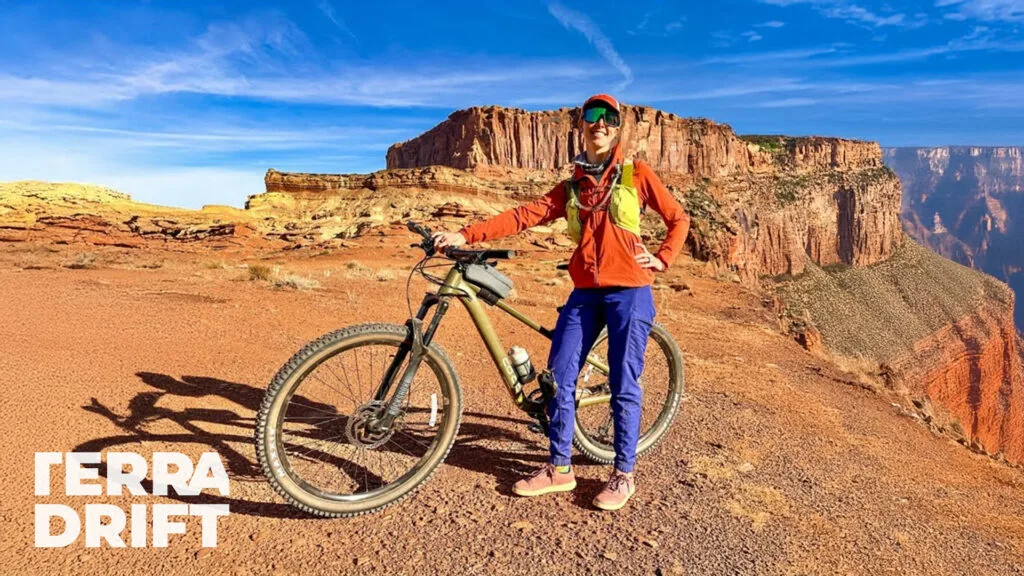
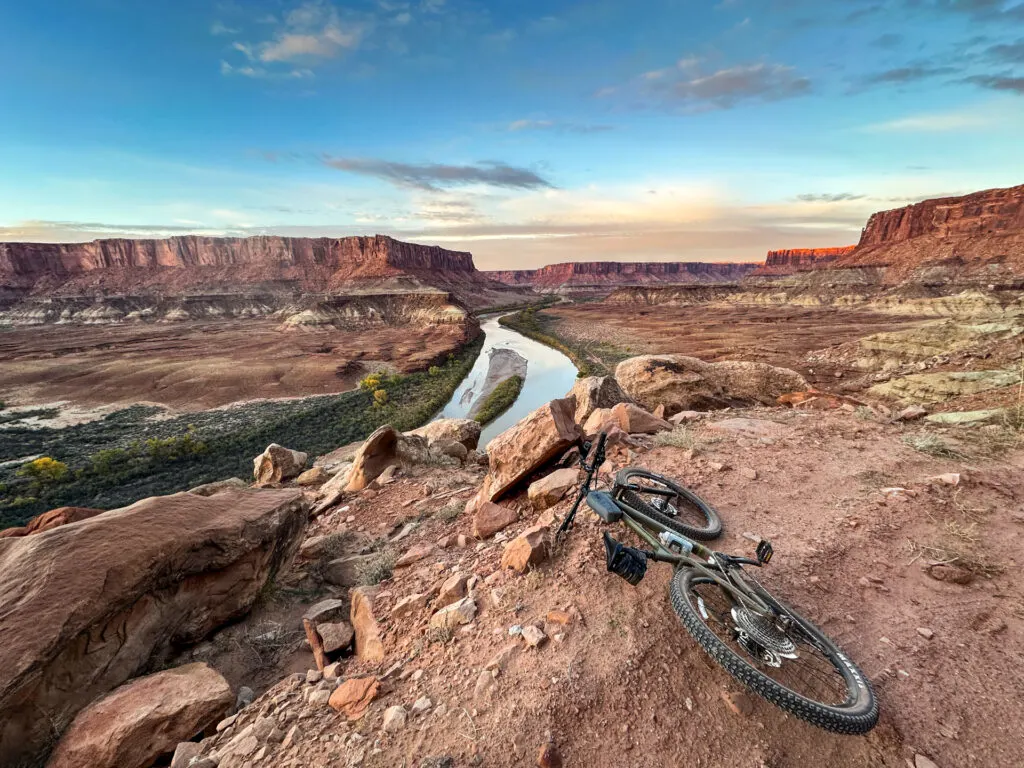
- REI DRT 1.3 Hardtail Mountain Bike: A reliable steed, indeed. But I did wish I had ridden a full suspension bike, which would have been easier on my butt.
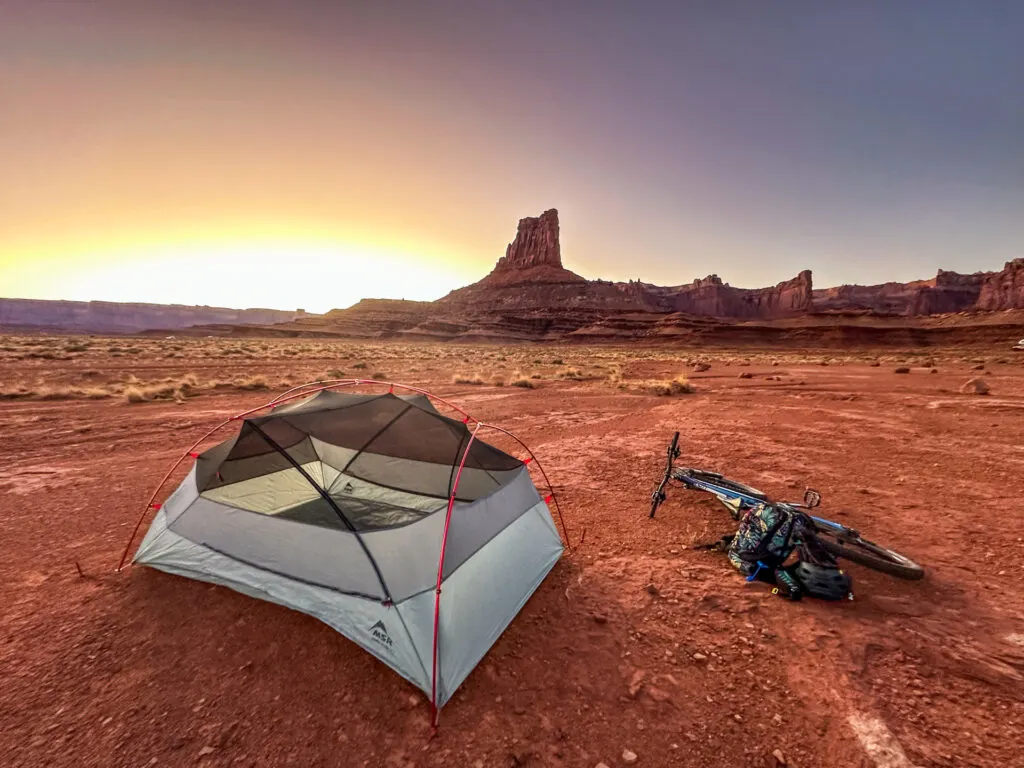
- MSR Hubba Hubba 2 Bikepacking tent: Just enough room for two and a few accessories. We loved the drying line inside the tent and it was easy to pitch.
- Deuter Traick 5 Vest: Just enough space for a day’s snacks and electrolytes, an extra layer, and a 2L hydration reservoir. And it stayed close to my body on rocky terrain.
- Sena M1 Evo Helmet: The intercom functionality is excellent to have if you plan to chat with other riders.
- Mountain Hardware Lamina Eco AF Sleeping Bag 15º: It was cold at night and this bag kept me plenty cozy.
- Selk Bag: Since we had a support vehicle, I bought my wearable sleeping bag, which kept me plenty warm in the mornings and evenings when hanging around camp.
- Optic Nerve FixiePHENOM Sunglasses: These are by far my favorite sunglasses for mountain biking of all time.
- First Aid Kit and Bike Repair Kit: Don’t get caught out there without tools to treat your body and your bike. A bike cleaning kit will come in handy, too, to clean and lube your chain each day after it’s gotten caked with dust.
- Sunscreen: Don’t forget it or you’ll regret it. There’s very little shade along the route.
- Sole Insole Pro-Lite Comfort + Support Insoles: I tried putting these in my MTB shoes instead of my regular insoles because I heard extra arch support can help prevent numb and tingly toes, a condition I often suffer from on long rides. They definitely helped!
Bikepacking Clothing
- Shredly Jacket: I dig this jacket because it breathes, is loose and airy, soft and stretchy, and has plenty of pockets and a stowable hood.
- Shredly Biker Cham: By far my favorite padded bike shorts. Ready to wear under a pair of pants or baggies or by themselves thanks to good coverage and pockets.
- Shredly All-Time Bike Pants: Again, these are just for women, but they are definitely the best MTB pants for women I’ve ever worn. Comfy, stretchy, plenty of pockets, vents for air flow, and zippered legs for easy on and off.
- Injinji Socks: It’s all toe socks (almost) all the time here at Terradrift. And these are our fave mountain bike socks.
- Patagonia Duckbill Cap: Made of recycled fishing nets, this hat fits perfectly under a helmet and helps keep the glare out of your eyes.
- HeadPeace Fleece-Lined Headband: For cold morning and evenings, nothing beat the HeadPeace fleece-lined headband for comfort, softness, and keeping the cold out of my delicate ear holes.
- Buff Neck Gaiter: Multifunctional means it serves as a neck and face warmer when it was cold and windy, a snot rag, and even an ear warmer.
- Patagonia R1 Air Fleece: This zip-neck pullover was the prefect layer for cool mornings and evening and days when the sun didn’t come out and I needed a little extra insulation.
- Outdoor Research Echo Hoodie: It’s ultralight and breathable so wicked sweat like a boss on long climbs, could be pulled over my head under my helmet to protect my neck from the sun, and was super low profile under other layers.
- Pearl iZUMi AmFIB Lite Gloves: Great for cool afternoons, but on cold mornings, we doubled-up with a more standard pair of MTB gloves for extra protection from the wind.
White Rim: Bottom Line
Despite being difficult, and my quads being more tired and my sit bones more bruised than they’ve ever been, bikepacking White Rim was still a rad experience. So would I ever do it again? Tell you what, ask me again in six months; I’m gonna need some time for my conscious brain to forget all the pain and difficulty and replace those memories with just the good stuff.
Also, it might take that long for my sit bones to fully recover. I dunno. That ride was hard. Next time I’ll spend more time training. But yeah, yeah, I’ll ride it again. I’m gettin’ those permits early though, so I don’t have to do more of this 50-mile-a-day nonsense, you know what I’m sayin’?
Have more questions about the ride, gear or planning? Ask away in the comments!
Where to Stay
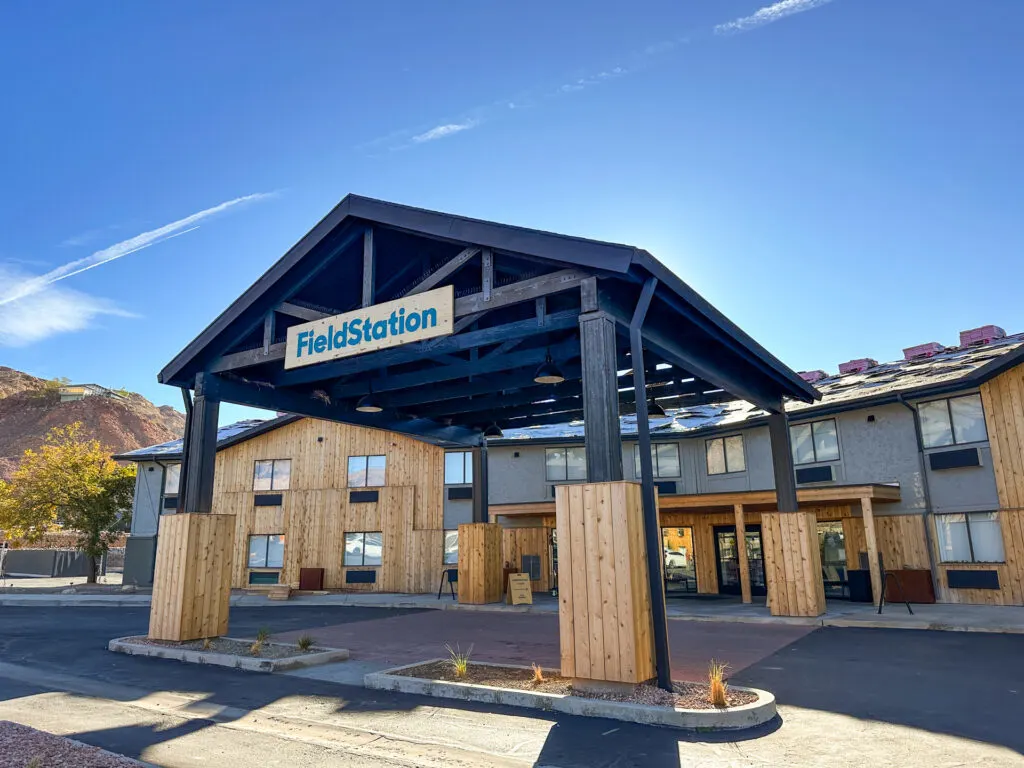
Looking for an amazing place to stay before and/or after bikepacking White Rim Trail? Head to quirky and adventurous Moab for a few days to prepare and/or recover and book a few nights at Field Station. The hotel was designed specifically with outdoor enthusiasts in mind and besides a shop full of fun outdoor gear and snacks and a hot tub to soothe sore muscles, floors are bare concrete so you can wheel your bike inside with ease, there are bike stands in the rooms, and there’s even a cafe with GF and vegan options (and drinks). Book HERE.
Riding White Rim: Top Questions
100 miles.
Very.
Well, that’s up to you, but three days is standard. People do it in one day, but they’re monsters.
Totally up to you; we rode it clockwise, but I don’t know if it matters much. Either way you’re looking at long, challenging climbs and steep downhills.
Well, maybe not if it’s your first time on a mountain bike ever, but I rode with several women who only ride sporadically at best and who wouldn’t necessarily call themselves mountain bikers, but they did it, no problem.
Absolutely.
