
How To Hike Downhill – An Expert Guide
Always wanted to nail the descent? In this guest post, Asen Stoyanchev from Gear Up Hiking explains how to hike downhill to protect those muscles and joints. Because you know what they say: what comes up must come down.
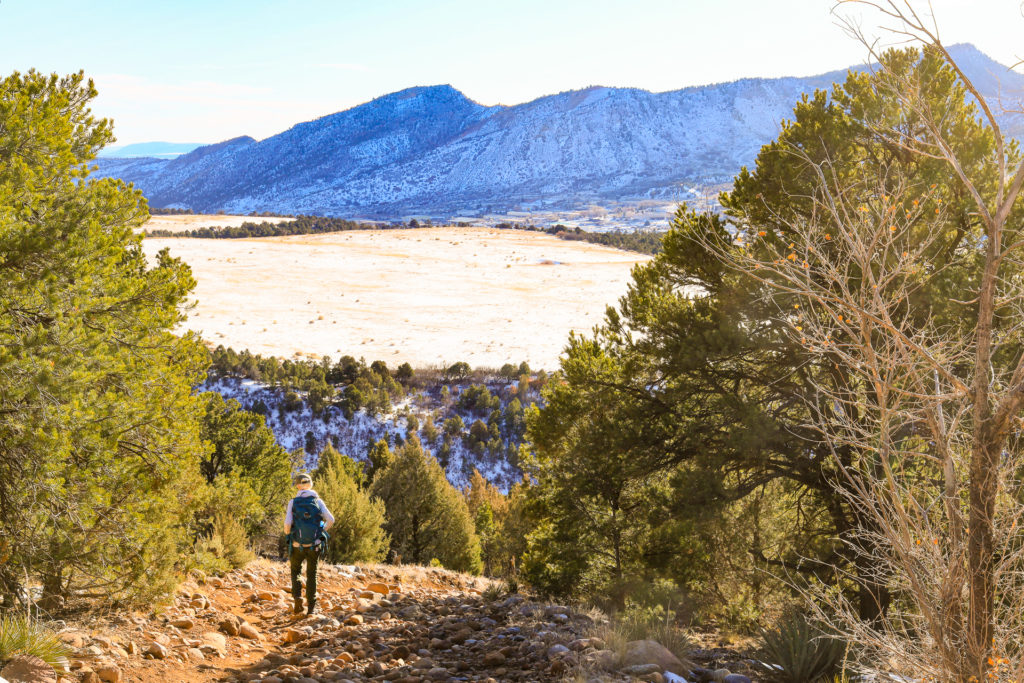
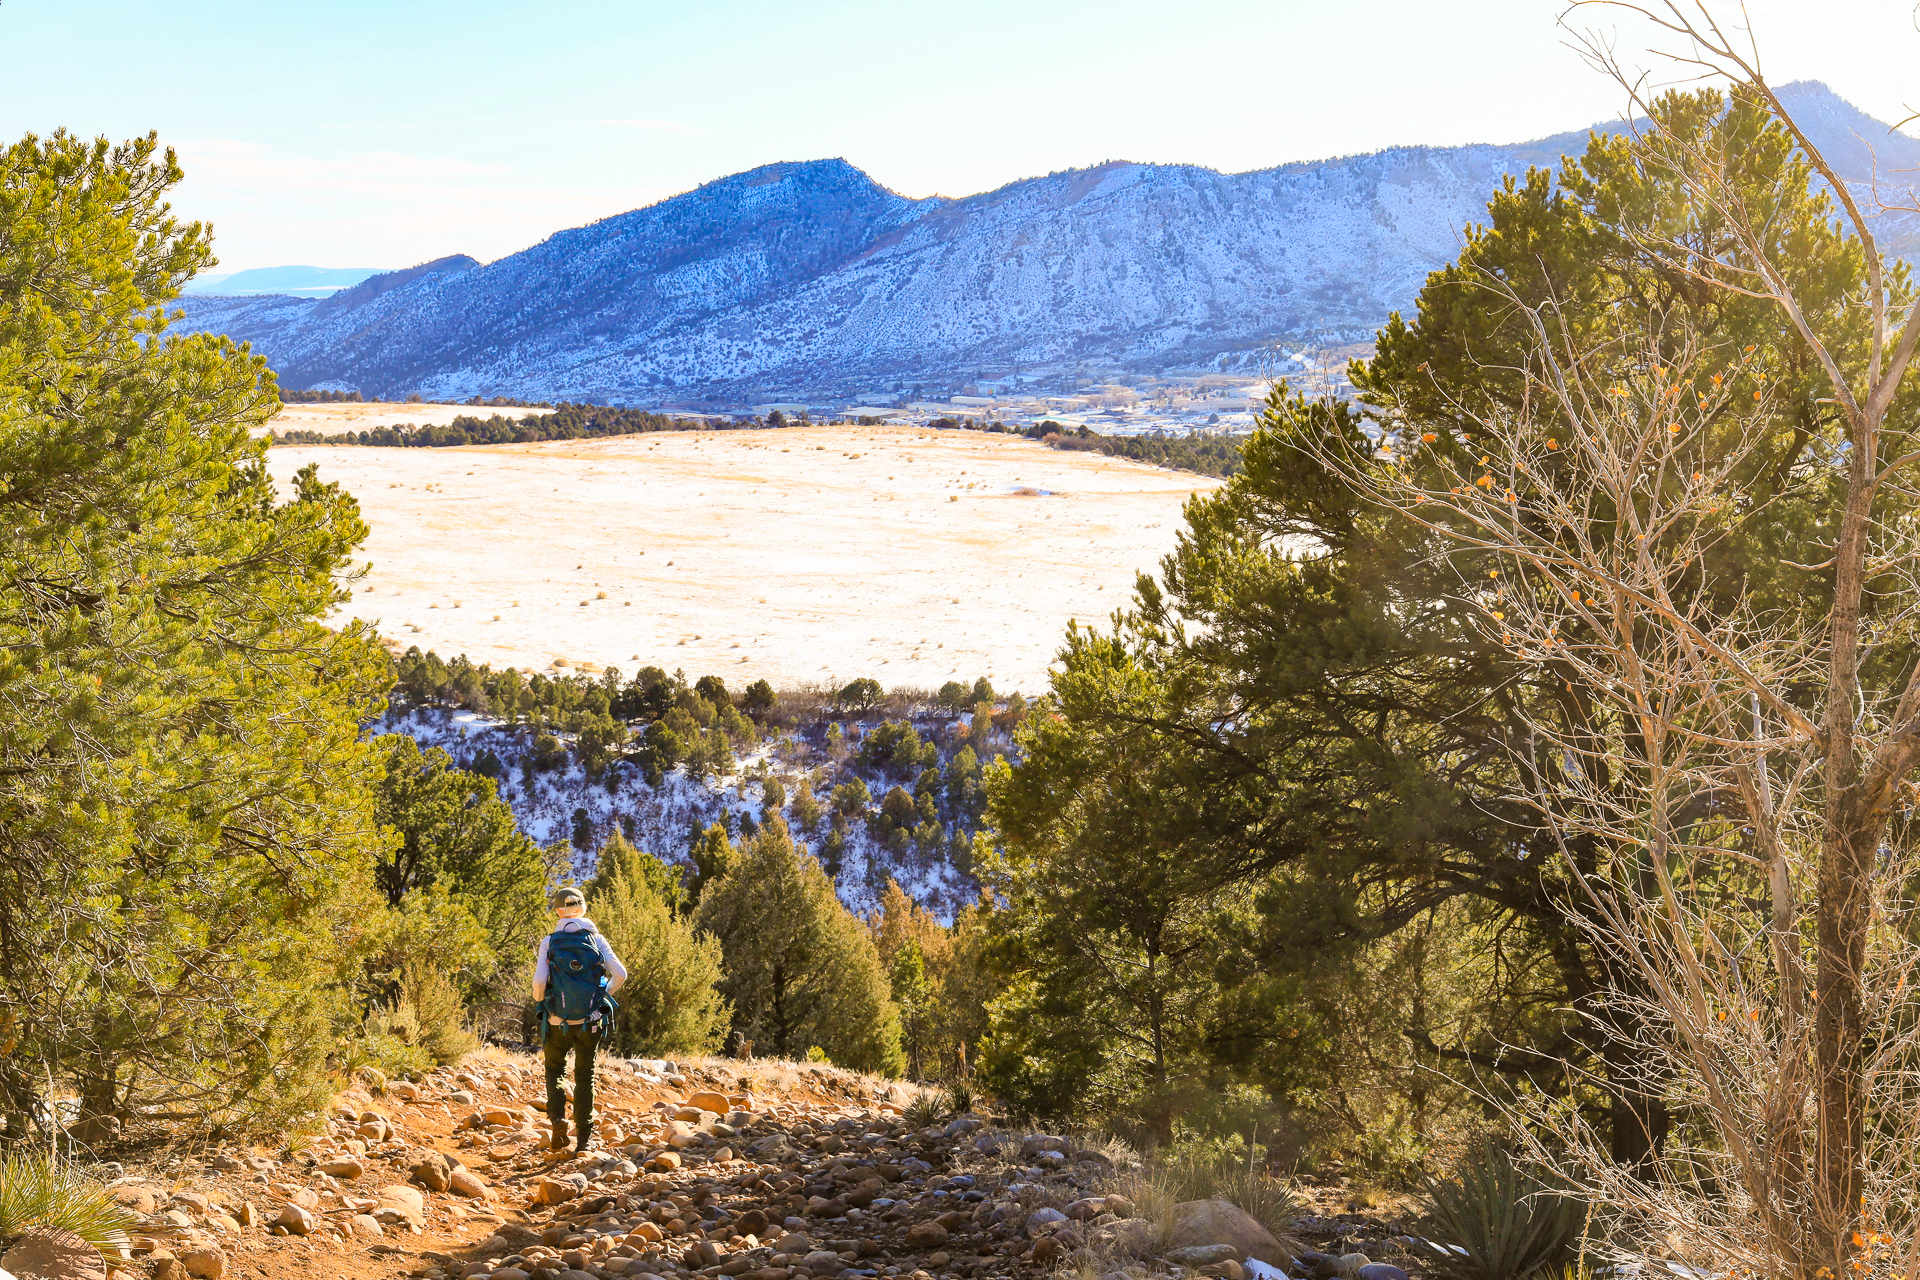
Downhill hiking is the easy part, right?
If we were talking about mountain biking or skiing, then you’d be right, but when it comes to hiking, gravity is a double-edged sword. On one hand, you aren’t having to lift yourself like you do when hiking uphill so you aren’t getting winded. But on the other hand, you have to put on the brakes to avoid becoming a runaway train.
Descending is deceptive because you aren’t huffing and puffing so it feels like you aren’t working hard but you experience impact and braking force in the muscles, which is fatiguing in a different way. And the rougher or steeper the terrain, the harder it will be on your muscles and joints.
So join us as we delve into how to hike downhill on your own two feet.
Effects of downhill hiking
When hiking downhill, gravity does most of the work of moving your forward. Your muscles and joints then have to slow the effects of gravity with each step. This combines both impact and eccentric (lowering) muscle contractions, which throughout a long descent can make your muscles and knees feel very beat up. The eccentric or lowering phase of an exercise is the main contributor to sore muscles the next day.
Since each forward step down places the knee in front of the toes there is a lot of load on the kneecap and the tendons that connect to it. With each step down your feet land at a lower point than the previous step, which creates an impact similar to running. When wearing a pack, this is magnified even more due to the extra weight of your backpack.
Fortunately, there are ways to lessen the pressure and the load to make hiking downhill a bit less stressful on your joints and muscles.
How to Hike Downhill: Improve your Descent
It sometimes comes as a rude shock the first time you complete a long descent and find yourself with painfully tired legs even though you aren’t out of breath. It seems not to make much sense. But there are ways to mitigate the damage of muscle soreness and become a better descender.
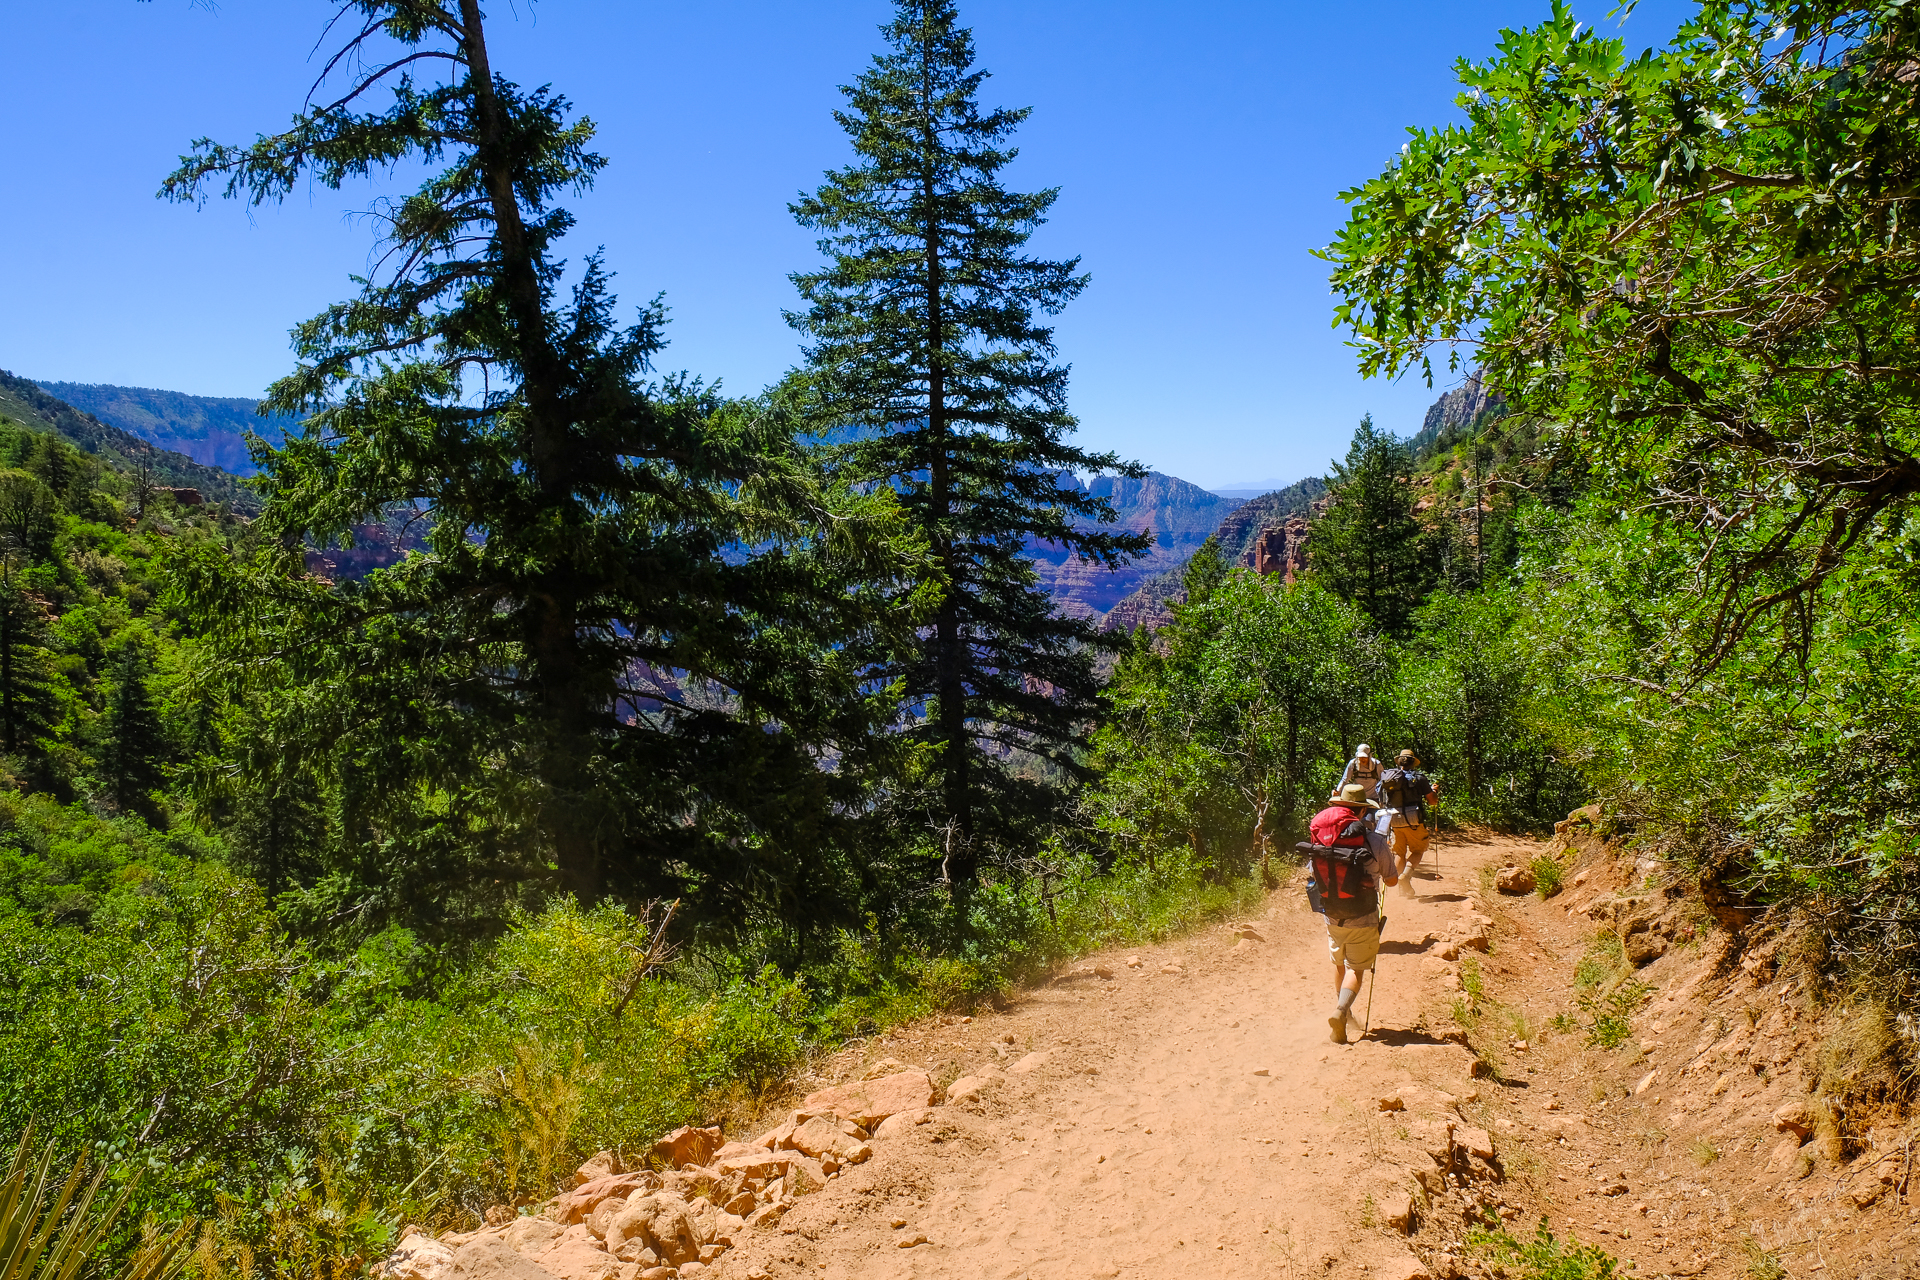
Read the Trail
Unless you are descending a smooth path, there will be various ways to pick your way down a trail. Practice picking the path of least resistance, even if this means meandering around obstacles.
Any time you can choose smaller steps you will decrease the impact on the joints. The longer the step the more momentum builds up creating a higher force you have to control when your foot touches down.
Most people don’t have muscular control when stepping down much more than the standard stair height, especially when you add the weight of a pack. This leads to letting gravity take over once the distance is more than 8-10”. The step then ends with a thud. A few of these are no big deal but over many miles it adds up.
If you can find a smoother path down you will have less impact as each step is small and requires less knee bend.
The more you hike the easier it will be to see the way through a section that will have the least impact on your body.
Take smaller steps
Big steps mean a big impact. Taking smaller steps with more control will have less pounding on both the muscles and joints.
Smaller steps allow you to engage the glutes or butt muscles more, which are stronger than the quads in the front of your leg. Consciously engage your butt muscles as you go downhill to put more load on the hips. To maximize glute engagement, make sure your heel is on the ground rather than on your toes.
Practice Parkour
The practice of parkour or free-running can help with your dexterity when making your way down a trail. You don’t have to do the backflips and wall jumps, but practicing bounding and sticking the landing of jumps can come in handy when descending rugged trails. The more you practice, the more sure-footed you will find yourself.
If there is a local park with obstacles or a gym with agility ladders, you can work on accurately placing your feet. This is a skill that is important when descending as the irregular nature of trails often have you needing to hop from rock to rock. A good example of this is sections of the Appalachian Trail in New Hampshire and Maine where you are dancing through a steep obstacle course.
Vary your steps
People are often small thinkers. They walk facing forwards. Most of the time this makes sense, but when things reach a certain degree of steepness you can often benefit by mixing it up. Side steps take the load from your knees and quads and put it on the hips. Alternate which leg is in front so you are getting a roughly even load on each side to prevent overuse injuries.
If it’s steep enough that you need your hands, don’t be afraid to go backward. Down climbing the super steep stuff is safer when you are facing the rock.
Trekking poles are your friend
Walking upright is great, but it also means our center of gravity is higher and we could fall over more easily compared to four-legged animals. Trekking poles fix this by adding our arms to the mix while still walking upright.
When descending steep terrain, you can reduce the impact on the knees and ankles by planting a pole downslope and bracing with your upper body. It helps to lengthen your trekking poles for downhills and place your palm on the top knob.
Once you get used to using them you can hike faster. They help assist you as you hike uphill, improve your balance, and studies have shown they reduce the impact of descending by up to 30 percent.
Check out our comparison of cheap vs. expensive trekking poles here.
Train your knees
Don’t make hiking the only training you do for descending if you want to enjoy your trips. By training for descending between hikes, you will have a much less painful experience and therefore more fun.
To train your knees for descending, two of the best exercises are weighted step-downs and backward sled dragging.
Weighted step-downs are slowly walking downstairs with a load. You can carry weight in your hands or wear a loaded pack. If you have the option, then step down off objects of various heights. Make your steps slow and controlled rather than just dropping down.
Backward sled dragging or walking backward up a gradual slope does a great job of strengthening the knees. You can also walk backward on a treadmill while it is off, using the resistance of the belt in place of the sled. If you don’t have access to a sled you can make your own by attaching a rope to an old tire.
Lighten the Load
The lighter you and your gear are, the lower the impact every step down will be. Getting lighter hiking gear and not bringing anything you don’t need will save a bunch of weight.
Naturally, the same goes for body weight: the more excess weight you’re carrying, the more strain you’re putting on your legs. Which means your knees are experiencing a lot of unnecessary load throughout a long descent.
But don’t let your weight stop you from getting out there to explore. People of every body type and size can (and should) get outside to play and explore! Your body will adjust to any activity if you do it enough!
The Bottom Line
Downhill hiking is often seen as the easy part, but experienced hikers see it as a mix of relief and dread. It’s not as much effort as climbing, but quietly beats you up from the hips down. Use these tips to make it a little less abusive so hiking downhill is no longer a thing to fear.
•
Know how to hike downhill more efficiently now? Want more informational and educational articles to improve your hiking and backpacking game? Check them out here.
Thanks for sharing your insight on downhill hiking. I always regret that part of the hike except knowing that the reward is at the end. The training advice is very relevant building the quads to protect the knees is important. I like the advice to actively engage the glutes. Also the trekking poles sounds like something I might try in the future. Happy Hiking 🙂
Hi, Shaun! For sure, we can’t recommend trekking poles ardently enough! They are super nice to have for both uphill and downhill hikes, but on the downhill, they’ll definitely save your knees!