We’ve always loved hiking and backpacking here at Terradrift. In fact, those activities were our first loves when it comes to outdoor adventure. But we love to try new things and explore, challenge ourselves and learn new skills. So when we finally moved to the mountains in Utah, we knew it was time to add one more outdoor sport to our repertoire: snowboarding. But being a beginner snowboarder can feel daunting. There’s so much to learn and so much specialized gear required!
So we took snowboarding lessons, rented gear at resorts in Utah and Canada, and spent a season trying out the sport before we committed to it. Even after all that, though, we had no idea where to start when it came to gear. We have to buy a board and bindings separately? Do we really need special boots? Why don’t these goggles fit my face?! So when our second winter rolled around we teamed up with Sun & Ski Sports and let their snowboard pros show us the ropes, explain what we needed and why, and geared up so we could kick the season off right.
If you’re ALSO new to winter sports, here’s everything you need to start snowboarding, including gear, tips and trick, and all the absolute essentials.
Snowboard
First things first, am I right? ‘Cause you can’t snowboard (verb) without a snowboard (noun). And while there are hundreds of options out there and just as many catchy industry jargon, not all boards are suitable for beginners. You’ll likely see splitboards, camber boards, rockers, powder boards, freeride boards, park boards, all-mountain boards, twin, directional, you name it. It can feel like a lot.
But if you’re a beginner and don’t plan to be doing tricks or signing up for races or competitions your first year or two, you probably want an entry-level all-mountain board. Some folks recommend one with a camber shape (as opposed to a rocker, which can be better for beginners, but doesn’t translate as well as you progress). Either way, though, it’s safe to stick with a true twin, a board that looks identical on both ends. That way, when you’re learning, if you get spun around or decide you like to ride goofy (left foot forward) instead of regular (right foot forward), you can keep riding without missing a beat (or buying a new board).
Snowboards also come in different lengths and you’ll need one that’s the right size for you. If you’re in a shop, hold one upright next to you, stand up straight, and if the board ends somewhere between your chin and nose, it’s the right length. If you’re at home, have someone measure in inches from the floor to the same spot, say near your lips. That’s the size board you need, give or take an inch.
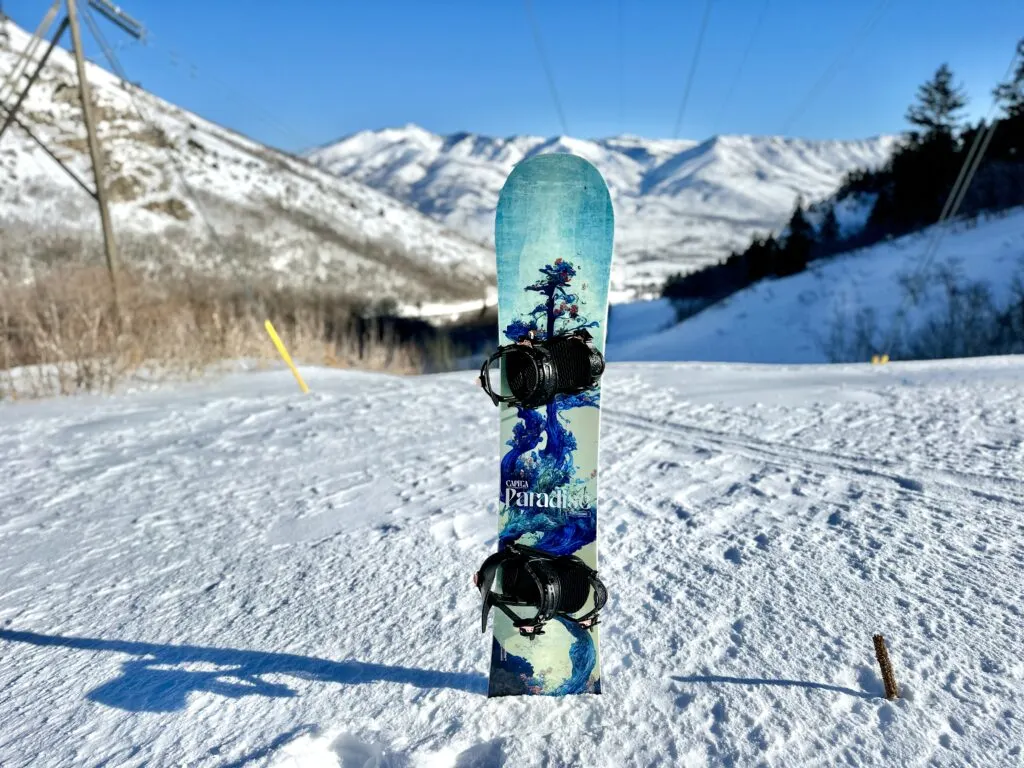
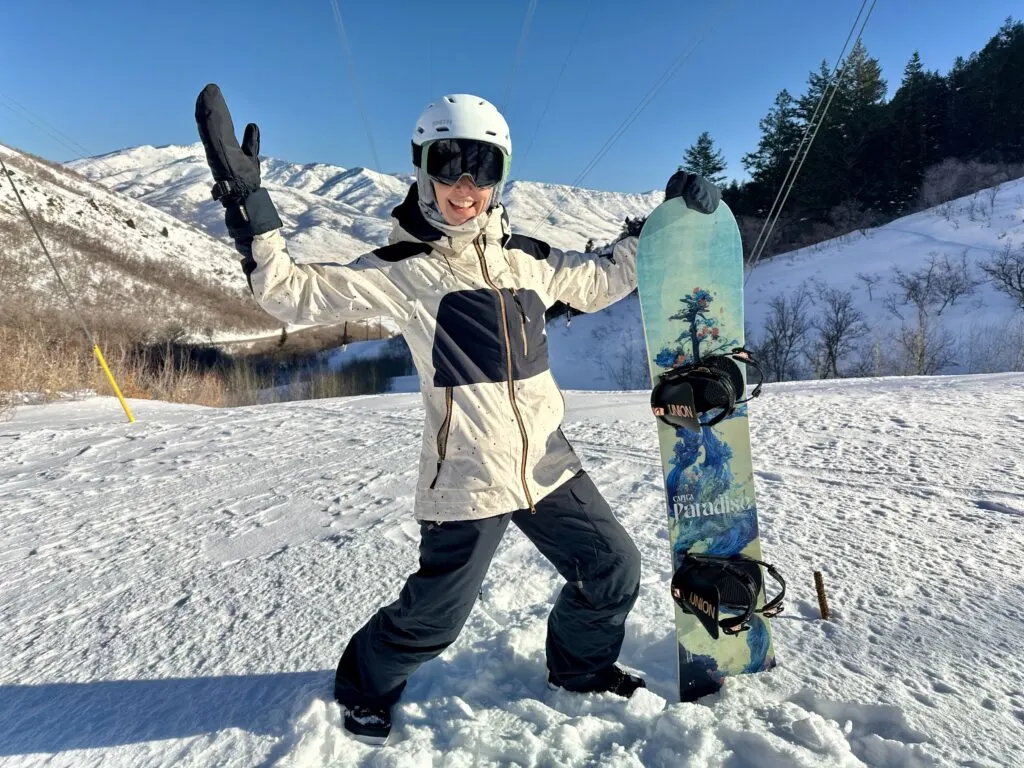
I opted for a Capita Paradise not only because it’s a solid beginner board recommended by folks who have been riding much longer than I have, but because it’s sustainably made. Capita’s Mothership manufacturing facility in Austria is powered by 100% clean renewable energy, including solar and hydropower. Also, the board is pretty. 😁
But don’t choose your board strictly on aesthetics alone (I know, it’s hard). Peruse a wide selection of beginner-friendly twin boards, ask for advice if you need it, then you can choose your favorite art from the boards that will best suit you and your new skills.
Bindings
The next thing you’ll need are bindings, the strap-in platforms you’ll clip your feet into during actual riding. You can’t ride without bindings.
Bindings come in all shapes and colors and sizes. Yes, sizes. Meaning you’ll need a set of bindings that fit your feet and the boots you’ll be wearing. Most come in men’s and women’s sizes ranging from small to large and each covers a small range of boot sizes. Usually the boxes bindings come in will state what size shoes each binding size accommodates, though an employee can certainly help you figure it out if you’re shopping in-store.
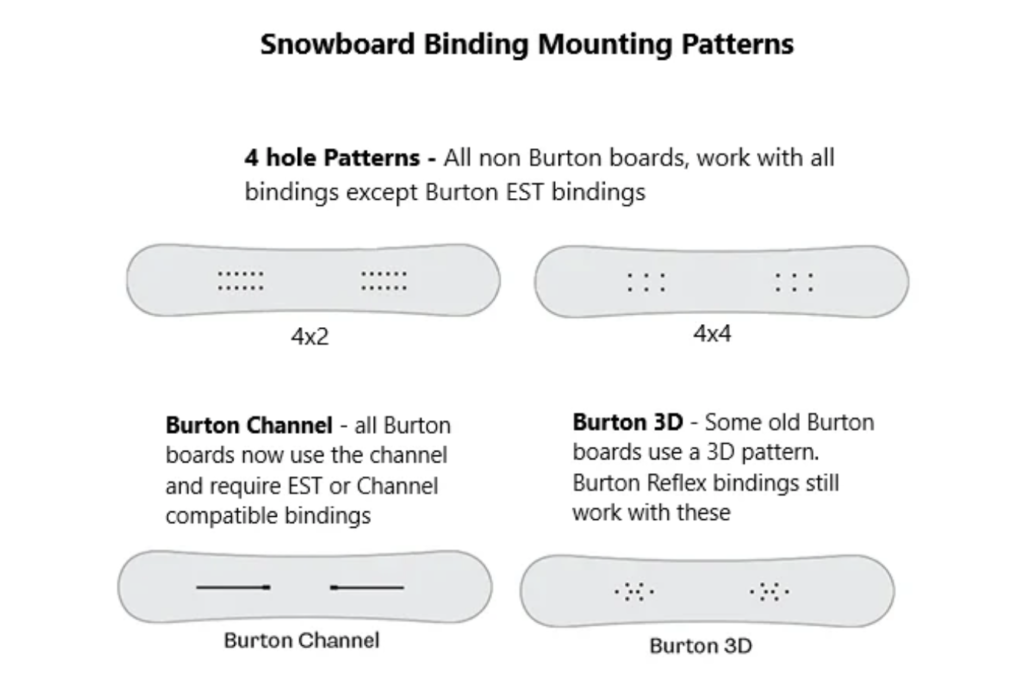
When you set up your bindings, you’ll need to know whether you ride regular (left foot forward) or goofy (right foot forward). Then you need to secure them to the board using the tools that come with your bindings. Make sure the bindings are compatible with the mounting interface of your board. Many bindings come with hardware that integrate with more than one setup (including 2×4, 4×4, 3D and Channel), but check to make sure before you buy. If you’re attaching them yourself, you’ll also have to figure out what angle you want to set them to. A good place to start is with your front foot at 15º and your back foot at -10º. You can adjust from there to find a setup that feels right for you. A good outdoor store can do all this for you, of course, including Sun & Ski Sports, which has a full service shop.
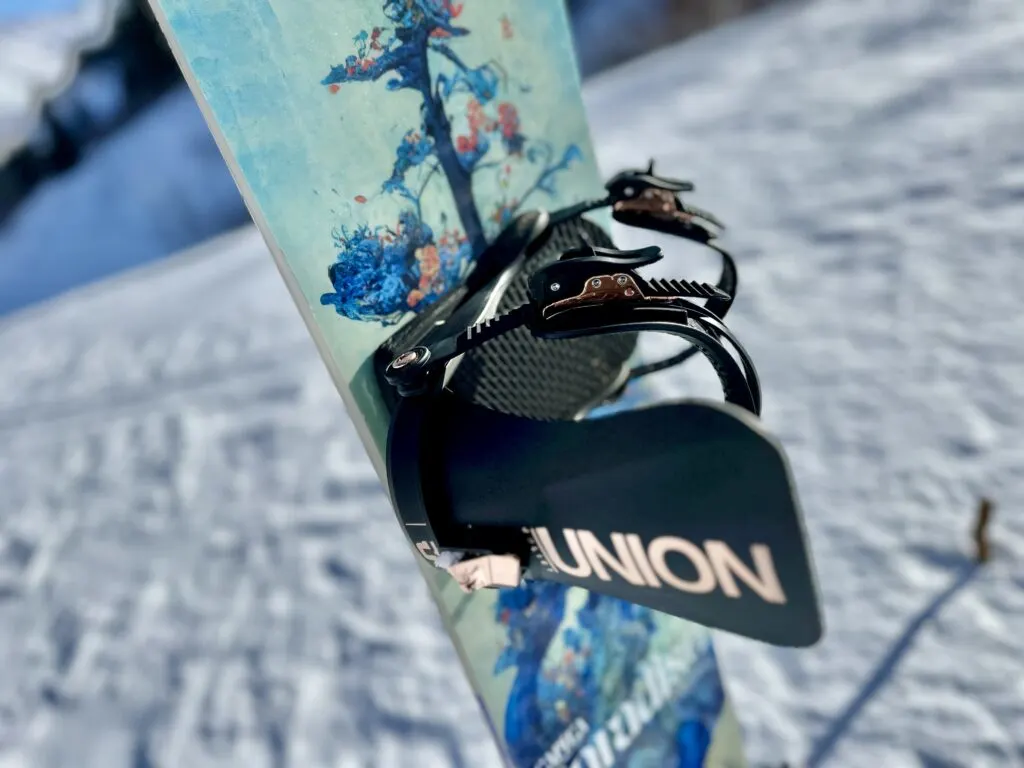
I opted for a pair of Union Juliet Bindings, which are snowboard bindings for women specifically that are designed to be medium flexible (which is best for beginners), easy to use, and highly adjustable without having to use any special tools. They feature more durable metal base plates and heel cups and the straps feature some stretch for comfort.
Boots
You also can’t ride without dedicated snowboard boots. They’re designed to work seamlessly with bindings to offer warmth, comfort, support, and maneuverability. And they fit snugly inside appropriately sized bindings. And yes, they’re way more comfortable and easier to walk in than ski boots.
The trick with sizing snowboard boots is to get boots that feel snug, but aren’t crushing your toes. Yeah, I know, if you’re like us, you like barefoot shoes with plenty of room in the toe box, but that’s not how snowboard boots work. They need to be snug so you can use all your weight to lean into your bindings to maneuver. So try on several pairs. Look for some that don’t allow your feet to slide sideways and where your toes touch the end but aren’t smashed or curled up.
There are even colors and patterns available so you can coordinate with your board, though again, fit should be more important here. At a store like Sun & Ski Sports that offers full-service fittings, you can even get machine-fitted so you have a better idea of what size you really need and which boots may be best for you.
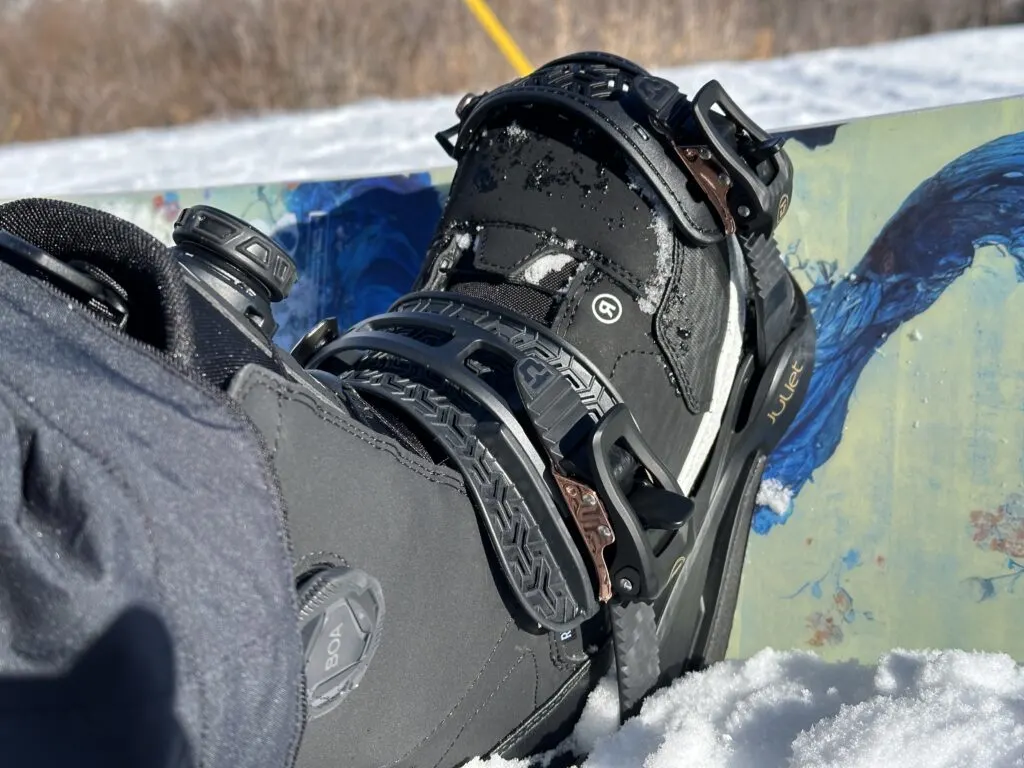
In addition to fit, you’ll want to consider how they tighten and loosen. Most boots these days don’t have laces (though more budget-friendly options still sometimes do). Instead, most are outfitted with Boa technology. All you have to do is push down a button then turn a dial to tighten your boots and pop it up again to loosen. Boots with two dials on each foot (one on the side and one on the front) can help ensure an even better fit by separately tightening the boa laces on top of your forefoot and then around your ankle/calf.
I found a pair of Ride Hera boots (women’s-specific snowboard boots) that were just right and had two Boa dials, which is helpful for me since I have an especially narrow and low-volume foot. This helps keep my foot from sliding forward. They also have medium flex, which is ideal for beginners.
Helmet
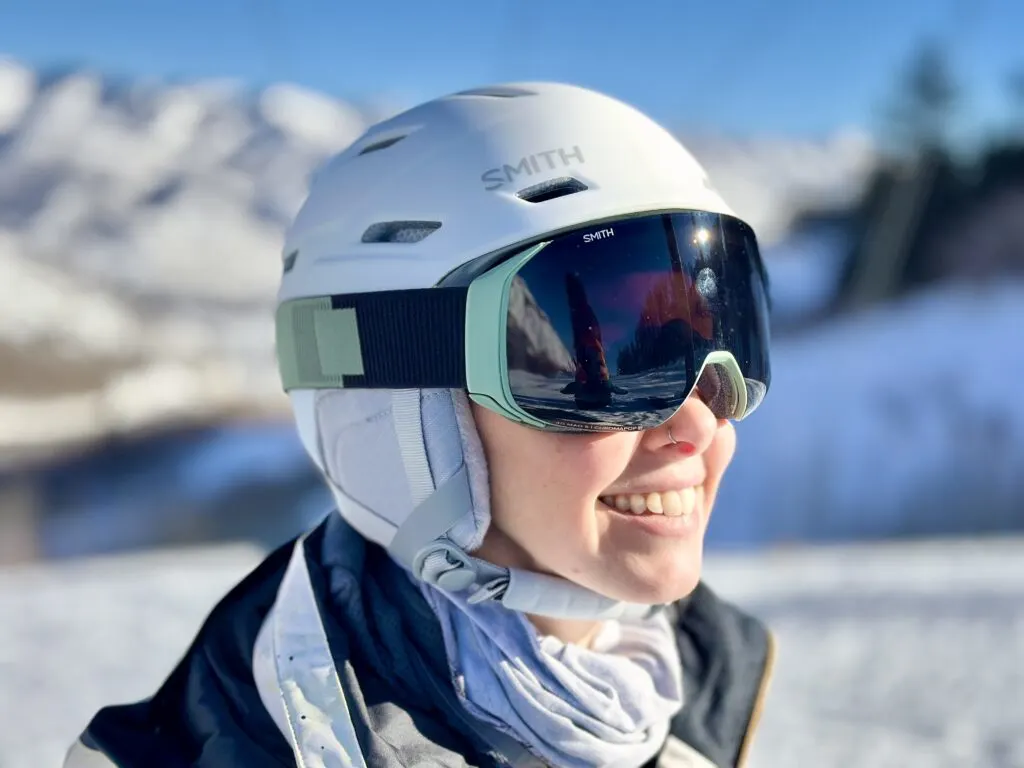
Yeah, we know, there are plenty of snowboarders on the slopes who don’t wear helmets, but we think they’re silly. And maybe a touch irresponsible. Anything can happen out there, from getting smacked in the noggin with a lift (it’s happened to Josh) to catching an edge and falling backward so hard you give yourself whiplash (it’s happened to me). So beginners especially should always wear a helmet. You won’t catch me without one when mountain biking, so you won’t catch me without one while snowboarding. Also, they keep your head warm!
So, yes, safety is important. Fortunately, helmets come in all kinds of shapes and colors and you can style and accessorize with your board, jacket or goggles to your heart’s content. Just make sure you get one that’s the right size. To do so, put it on, leave it unbuckled, and hang your head upside down. If it doesn’t feel like it’s slipping or sliding or will fall off, and it’s not uncomfortably squeezing your melon either, you’ve probably got the right size.
For extra protection, look for a helmet that has MIPS technology, which goes the extra mile to protect your brain pan from injury or damage, and/or Koroyd, which the Smith Mirage has. As a bonus, it also features vents you can open or close depending on how warm or cold the day is. Another pro tip: helmets are designed to be worn without a hat on underneath. And most even have room in the ear covers for cool tech like a Cardo Intercom System!
Goggles
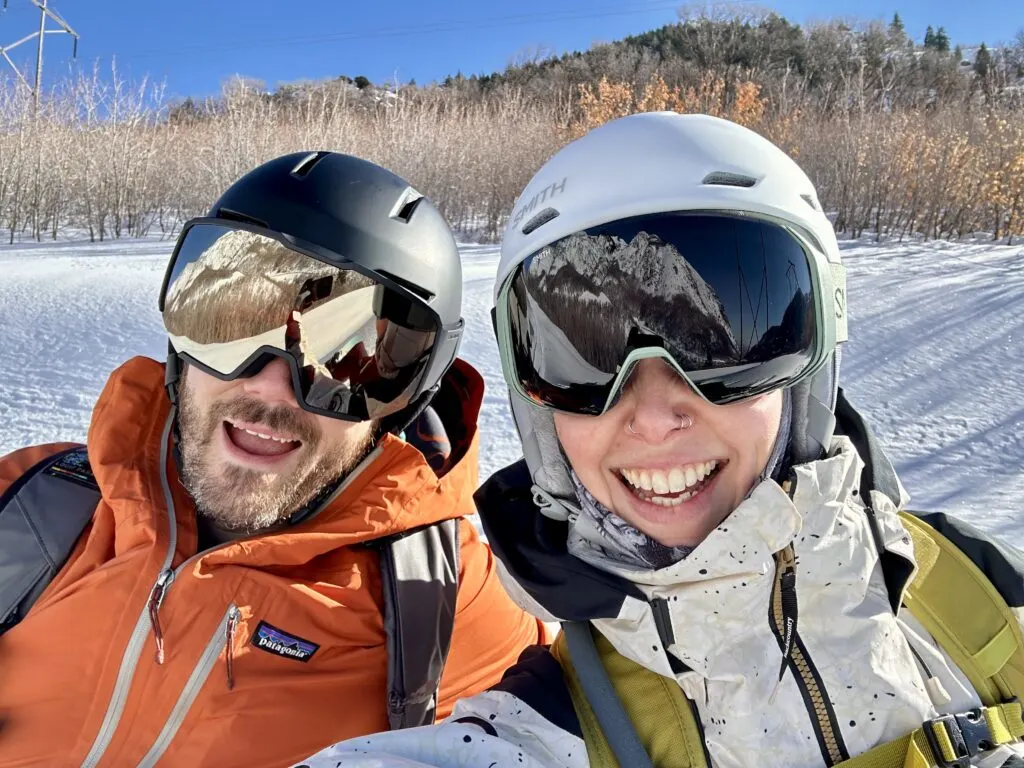
Now for the fun part. When it comes to goggles, it’s all about personal preference, although we’ve tested plenty and do have our favorite sustainable ski goggles. The only thing to really keep in mind is fit. Make sure you don’t sacrifice good fit just so you can wear a pair of goggles that look really cool or you’ll regret it about an hour into your first day of riding, trust me. If they’re too big, they’ll ride too low on your face and smash your nose. If they’re too small, they might restrict your vision or pinch the sides of your face.
So try on a few pairs, ideally with your helmet (we recommend putting the straps over your helmet, not under so you can easily take them off and on). Make sure they’re comfortable and sized well for your head and face. If they are, go nuts. Then consider a pair that comes with two pairs of interchangeable lenses instead of a fixed lens. Interchangeable lenses mean you’ll have a darker pair for bright sunny days and a lighter pair to help boost contrast on cloudy days.
For this, we love our new Smith 4D Mag Goggles. There are even option for folks like me with a low bridge. They offer a slightly wider field of view thanks to lenses that wrap around the bottom and they come with two lenses. They don’t fog up, they’re comfortable and come in multiple sizes, and they protect our eyes from both sun and icy winds.
Apparel
We’ve tested plenty of winter outdoor clothing over the years. And good news: A lot of it can also be used as snowboard clothing (although, when you’re ready to level up, dedicated ski and snowboard outer layers can truly make riding more comfortable and enjoyable). Waterproof or water resistant pants will do in a pinch when layered with a warm base layer, but insulated snow pants or shell bibs are awesome. Likewise, you’ll need an insulated jacket or shell paired with an insulating layer. Remember: layering is key!
Keep your feet warm with a pair of over-the-calf socks like some Injinji Snow Socks and toss some warm camp booties in the car for the drive to and from the resort. Finally, protect your appendages with a warm pair of gloves. We like a thin liner under a pair of mittens for warmth, but they also keep fingers from freezing when we need some extra dexterity and have to take off outer mittens.
Bottom Line: A Beginner Snowboarder Essentials List
Gearing up as a beginner snowboarder can feel daunting. There’s so much gear you need and a lot of it has to integrate seamlessly. You can do your own research to determine what will work for you, of course, but we were super glad to have an experienced boarder at Sun & Ski Sports to guide us. He was able to offer tips, answer every question that popped into our heads, helps us figure out what size and type of board we needed, and so much more. We learned plenty, even after spending last season renting and learning. But any full-service shop can offer assistance, answer questions, and help you get your beginner snowboard kit dialed in so you can shred with confidence (or at least show up at the slopes with confidence…).
