The Outdoor Guide to Layering: How to Layer for Outdoor Adventure
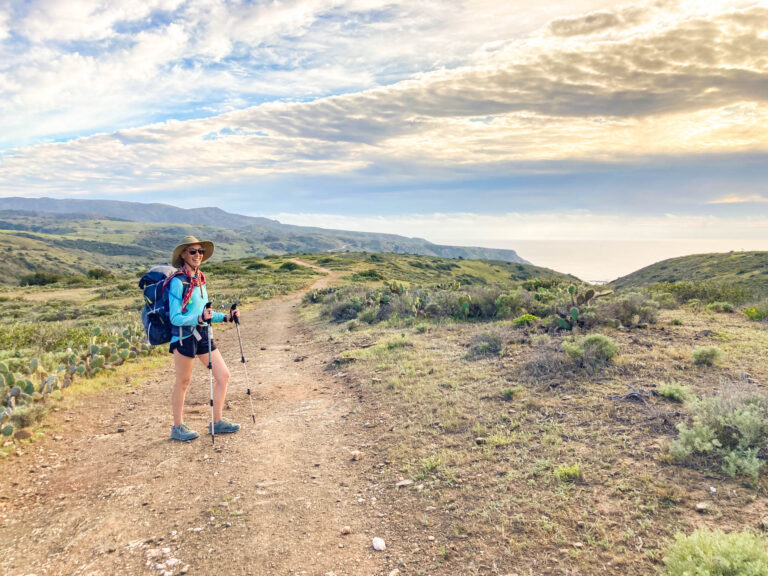
Winter is coming. Which means it’s gonna get cold. And though winter means more people will likely be hiding indoors this season, that’s certainly not necessary. In fact, for quiet, secluded trails and lots of vacancies at campgrounds, winter is a great time to get outside and beat the crowds. But the key to keeping the cold at bay during outdoor activities this season: our outdoor guide to layering.
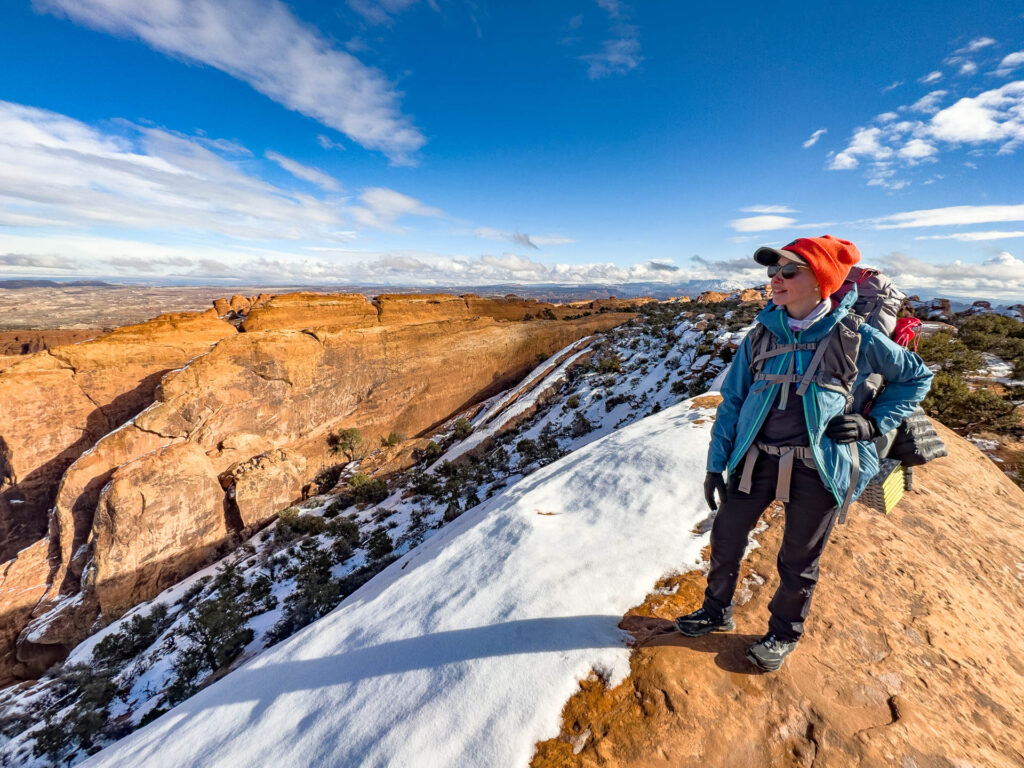
Likely, your mother has been shouting about layering since you were a tot, but she may not have been savvy with the proper rules and attire that layering for the outdoors requires. Because, fun fact: 17 layers of cotton and a denim jacket or three pairs of tube socks stuffed into too-tight boots isn’t going to cut it. Want to stay warm when hiking or backpacking (or skiing or climbing) this winter? Follow this guide to layering and gear up for all kinds of outdoor adventure this season.
Guide to Layering: Base Layer (Manages Moisture and Heat Retention)
The foundation upon which every adventure in layering begins is the base layer. It’s the first layer of clothing against your skin. Makes sense, right? But not any item of clothing will do as a base layer. In fact, you could argue that the base layer is the most important layer to get right in order to prevent freezing, hypothermia, or worse.
So when you think base layer, think synthetic. There are plenty of brands out there touting merino wool as an excellent base layer due to its anti-stink properties, moisture-wicking capabilities and hydro-phobic-ness. But we don’t like wool for the sole reason that it exploits animals. Read about that in this post about why to say no to wool.
But synthetics do the same thing: wick moisture, dry quickly (more quickly than wool), and some even keep odor at bay. Why is all that important? For a few reasons.
A. You’re likely wearing more clothing than usual in the winter, and if you’re hiking cross country skiing, you may sweat. But under all those layers, fabrics like cotton or hemp won’t be able to air out and dry. Synthetics still will. Why does a dry base layer matter?
B. Because wet = cold. In fact, damp clothing can mean hypothermia sets in much faster. It’s the reason they say “cotton kills” in the outdoor industry. This goes double if you have an accident with a water bottle or snow seeps through your other layers; wet clothing that doesn’t dry out can mean death in the outdoors.
So what makes a good base layer? It depends on your chosen activity, but generally speaking, you want items like leggings and long sleeves that are snug, but not so tight they feel restrictive or are cutting off any circulation. They should be thick enough to feel cozy, but not bulky, because you still want to be able to layer more clothing over them. They should also be comfortable. You don’t want to be itching or tugging at your base layer all day. Plus, you’ll likely be sleeping in your base layer if you’re backpacking, so keep that in mind.
Here are a few quality base layers that are both cozy and sustainable (check out an updated list of our favorite Baselayers HERE):
- Patagonia Capilene (tops and bottoms)
- REI Midweight Baselayers (tops and bottoms, only men’s are Bluesign for some reason…)
- Craft Active Extreme X Base Layers (excellent at wicking moisture when working hard)
- Your current favorite hiking tights or workout shirt

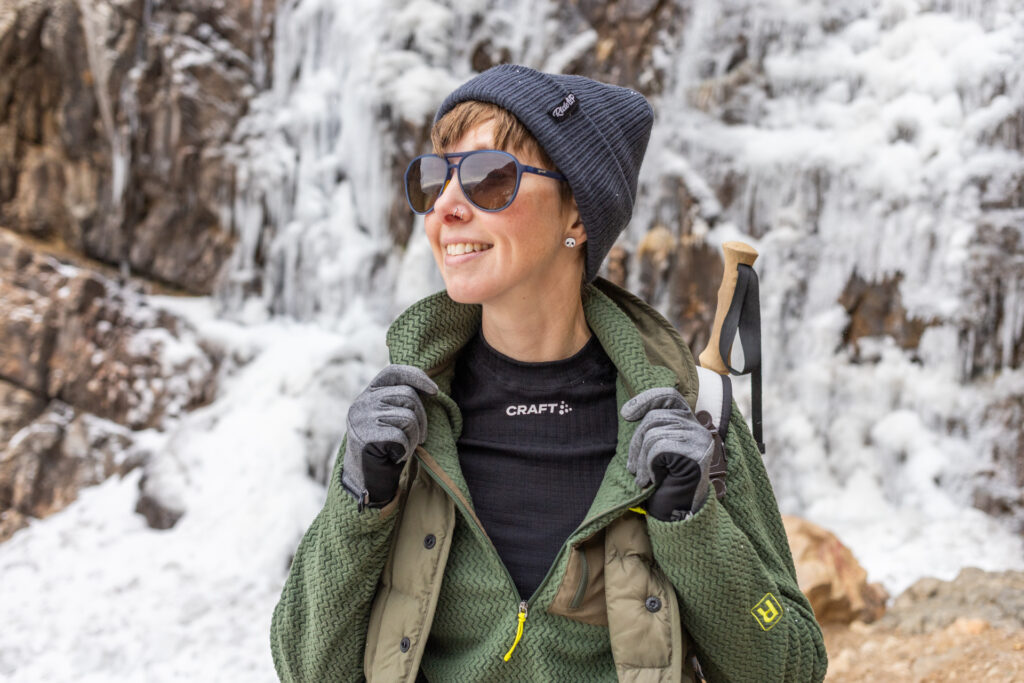
Guide to Layering: Mid Layer (Insulation)
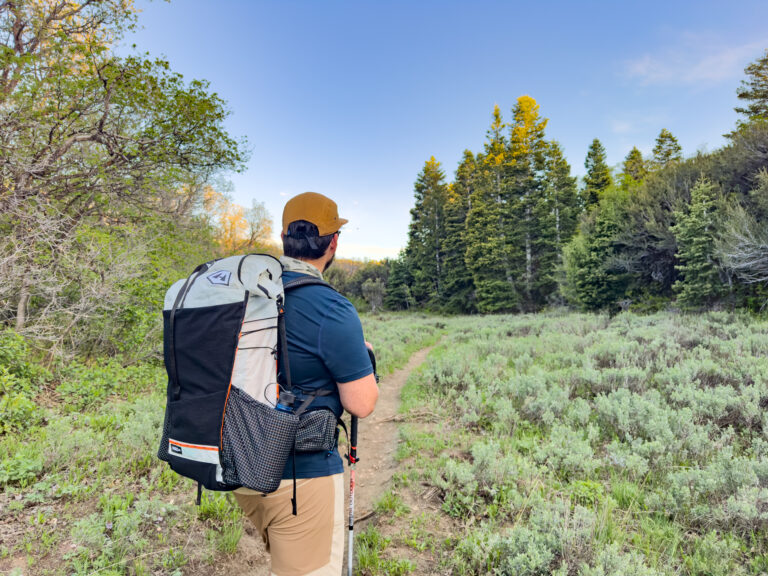
You’ve got your base layer. Now what? Mid layer! Obviously! Don’t go straight from what basically amounts to an undershirt to a winter coat; there’s no room for adjustment if you get too warm while hiking or snowshoeing or whatever it is you’re doing. No, no, it’s time for a mid layer.
Generally speaking, in the winter, your mid layer should also be synthetic for the same reasons your base layer is (moisture-wicking, water-resistant, and fast-drying). Plus, you may occasionally be exposing this layer to the elements if you really get moving, warm up, and need to shed your outer layer. SO you still want something that won’t soak through in a little snow, and will still keep you warm if it does happen to get damp (but do look for a PFAS-free option for sustainability’s sake).
So what makes a good mid layer? It should be loosely fitting, but not baggy. You should be able to easily slide it over your base layer but it shouldn’t be too bunched or bulky under a coat or jacket. Think of it as the Goldilocks layer, if you will: not too tight, not too big, juuuuust right.
Fleece and lighter weight grid fleece is many an outdoorists’ material of choice for all of the above reasons. A fleece zip-up or pullover is a beautiful thing and many are made from recycled materials, which is dope. But keep in mind that not all fleece is created equal and some may need extra care (see our post about sustainable fleece and microplastics here).
But other synthetic layers will do, too, from mid-weight puffer jackets to hybrid jackets. In fact, you can (and should) stack mid layers for really cold weather to create even more versatility in regulating your body temperature as you move and rest, move and rest, shed layers and replace them. Two mid-layers is a good choice but more could restrict movement and you could limit circulation if things get too tight.
As for your bottom half, a pair of lined, water resistant or waterproof synthetic pants (like the Go There Pant from Gnara or Stellar’s Softshell Pants) may be all you need in dry, less frigid conditions. If it’s gonna be cold-cold, though, stick with a two-layer system (leggings and a durable pair of synthetic hiking pants).
Here are a few quality sustainable mid layers that we love:
- Rab Cirrus Flex Hybrid Jacket
- Mountain Hardwear Ventano Jacket
- Squak Grid Fleece
- The fleece or mid-weight puffy jacket already in your closet
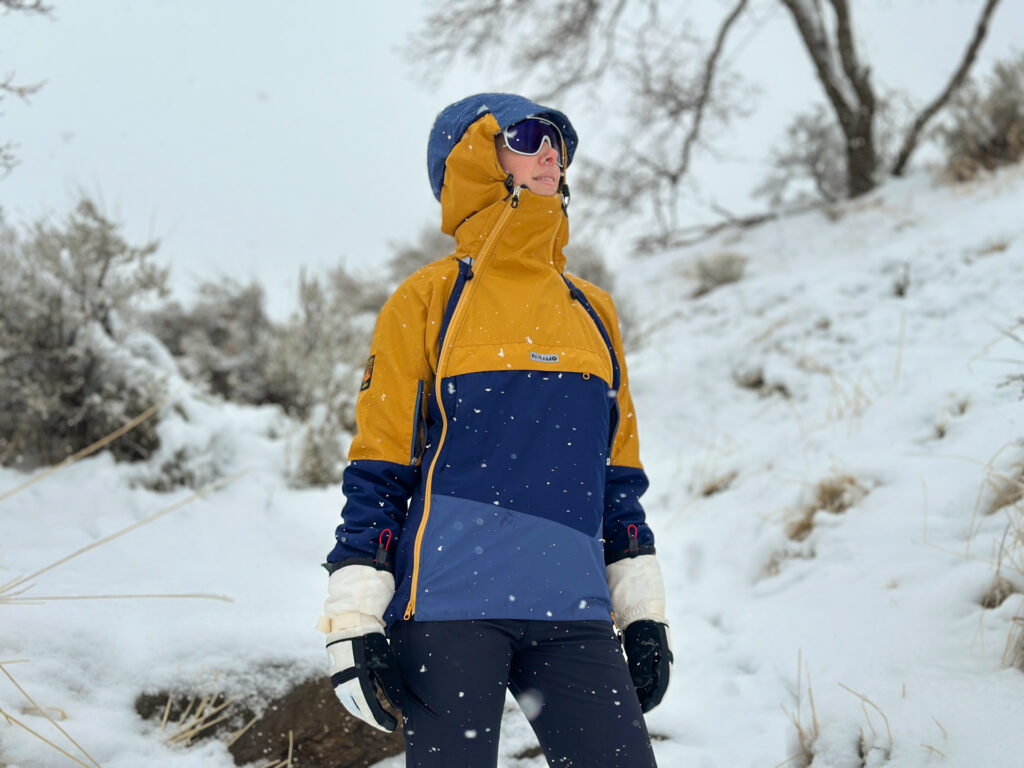
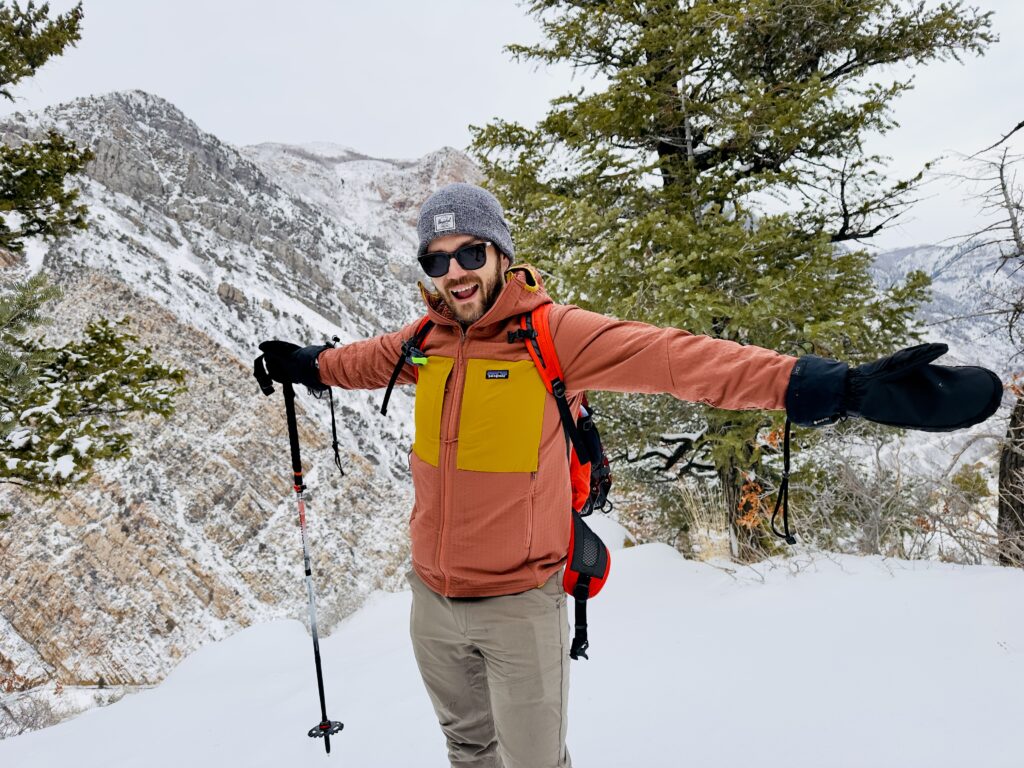
Guide to Layering: Outer Layer (Wind, Rain and Weather Protection)
You’re outer layer is exactly what it sounds like: the outermost layer of your whole outdoorsy getup. This will again be slightly different depending on whether you’re snowboarding or backpacking, but generally speaking, it’s your first line of defense against the cold. It’s a coat. You don’t have to be told what it’s for…
What makes a good outer layer? It should be waterproof for starters, and while you can opt for an insulated or non-insulated shell jacket, we like a shell for its packability. Just look for something waterproof but without added PFAS.
As for pants, if you expect snow, a pair of waterproof pants like the Fjallraven TK or snow pants might be in order if your hiking pants aren’t insulated or waterproof and you’re expecting wet and very cold weather.
Again, this layer shouldn’t be too tight or too roomy. The more empty space there is inside, the more air there is to heat. Select an outer layer that’s warm enough for the climate and weather you’ll be recreating in and that’s that!
Here are several awesome sustainable outer layers we recommend:
- Helly Hansen Verglas Shell Jacket
- Páramo Valez Evolution Hybrid Smock
- Patagonia Powdertown Shell and Pants
- The waterproof winter coat that’s already hanging in your closet

Guide to Active Layering On the Trail
Once you’re properly layered and wrapped up like a cozy, happy little burrito, time to hit the trail. But don’t think you need to keep all your layers zipped tight all day. Depending on your activity level and body type, you may get too hot. So shed, exchange, and reapply layers as needed throughout the day.
If you start getting too warm, remove your outer layer. That too cold? Lose your mid layer and keep your outer layer. Did the sun come out and really warm up the mountainside? Ditch mid and outer layers, but keep them handy for a quick change the minute the temperature starts to drop again.
But listen up: When you stop for a rest or a snack, promptly replace the layer(s) you shed as any sweat or moisture on your clothes will cool you down very quickly and your body will have to work extra hard to warm everything back up (which may never happen depending on the conditions). As we mentioned earlier, any dampness could quickly become serious in the outdoors, especially if you’re spending a night or more far from civilization. So never take a shiver or a chill lightly, but don’t let too many layers cause excessive sweat to soak your clothes, either.
The real key to our guide to layering on the trail: frequent stops to adjust layers in order to maintain a comfortable temperature as you move.
What About Extremities?
You gotta keep those fingers and toes cozy, too! Not to mention ears and noses.
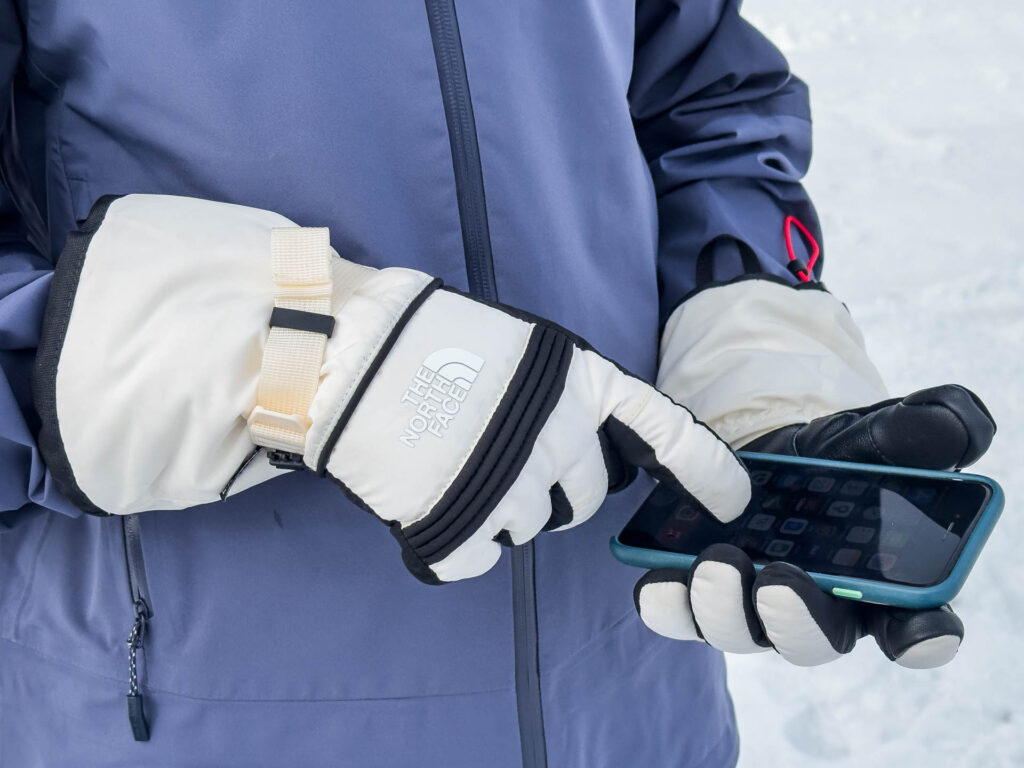
Layering goes for hands and feet just like for the rest of your clothing. On hands, start with a thin synthetic glove that fits snuggly and isn’t bulky. Then, depending on how cold it is, add a layer like a mid-weight fleece glove followed by a waterproof mitten as an outer layer. In less extreme temps, two layers will likely do, but one should always be a warm, waterproof glove or mitten (Check out our fave sustainable options here).
As for feet, you’ll probably want to stick to no more than two pairs of socks (here are our recommendations for synthetic hiking socks) as they can get bulky fast and make your boots too snug. And boots that are too tight can cause circulation problems, which mean frozen toes. So opt for a thin synthetic sock closest to your foot, then a warm synthetic sock that’s not too tight over top, and boots that are plenty roomy for both. Always keep an extra pair of socks on hand and make sure they are always dry. And if you know your hands and feet tend to get cold, stock up on the hand warmers (we like these from Ignik)!
And don’t forget a hat and something to keep your face and neck warm. Neck gaiters are perfect for that and cover your cheeks and nose, too. A balaclava can be even cozier. Just don’t forget warm hiking boots and some cozy camp slippers for the campground!
Here are a few sustainable items to protect your extremities:
The Guide to Layering: Bottom Line
Proper layering is crucial to enjoying outdoor activities like winter backpacking, snowshoeing or hiking in the colder months. It’s also the only way to ensure that cool temperatures don’t keep you cabin-bound during shorter days when it’s more important than ever to get outside and get active. Besides, are you really gonna let yourself miss out on all those empty trails?! We didn’t think so.
So gear up and get out there. And stay toasty, my friends! Wander on.