BioLite CampStove 2 Review – Everything you need to know about the BioLite CampStove
Maybe you read our Q&A with sustainable outdoor brand Biolite (if you didn’t, you really should). Maybe this is the first time you’re hearing of the company. Maybe you’re a fan from afar but haven’t yet acquired any of their dope, eco-friendly products. Maybe we can help with that. We recently tried out the BioLite CampStove Complete Cook Kit and if you were hoping for a review, wish granted. We’ll break down what’s included, how it functions, and who might want to grab one for themselves in this here review. So grab the popcorn and watch the vid or read on to find out more!

BioLite CampStove 2: The Deets
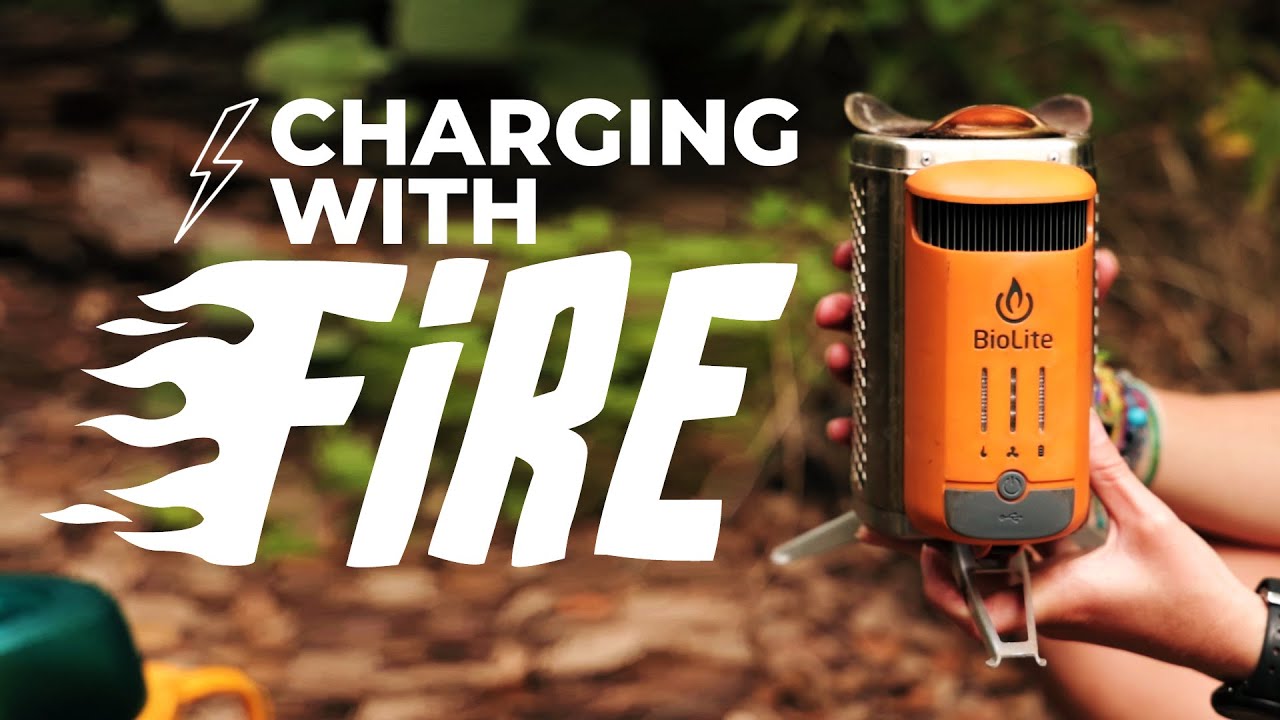
Let’s start with the BioLite CampStove Complete Cook Kit itself: It’s a smokeless, totally portable stove that runs on biofuels (aka sticks and stuff). But even more exciting is its ability to turn the heat of your fire into energy. That’s right, energy. Which can then be used to light USB-powered lights, your cell phone, backup batteries, you name it! It generates 3W of power and utilizes a built-in fan to create a vortex for clean-burning fires. The best part? No gas canisters required.
Here’s how it works:
- BioLite’s patented core technology captures waste heat from the fire through a heat probe attached to the orange powerpack.
- Heat is converted into electricity via a thermoelectric generator. This powers a fan and sends electricity to a USB charging port. Excess power is stored in the internal battery.
- The internal fan injects air back into the burn chamber dramatically improving combustion and creating a cleaner, more efficient burn.
Here’s what’s included:
- Stove body
- On-board battery with a smart LED dashboard
- A USB-powered 100-lumen flex light to illuminate your cooking endeavors
Want More? Stuff and value? Sure ya do. Here’s what’s in the CampStove Complete Cook Kit, which we highly recommend:
- Stove body
- On-board battery with a smart LED dashboard
- A USB-powered 100-lumen flex light to illuminate your cooking endeavors
- KettlePot and Coffee Press for boiling water + making coffee
- Portable Grill top for grilling
- Plus: a bag of pellets which can be used instead of sticks and twigs
Here are the Specs:
- Boils 1 liter of water in about 4.5 minutes
- 2600 mAh battery
- 4 fan speeds
- Weight: CampStove: 33 oz (935 g), KettlePot: 16 oz (465 g), Grill: 30 oz (850 g)
- Size: CampStove: Height 8.25 inches (209.6 mm) + Width 5 inches (127 mm), KettlePot: 10.20 x 5.20″ (25.91 x 13.21 cm), Grill: 9.5 x 12 x 3.5 in (24.13 x 30.48 x 26.67 cm)

How to Use the BioLite CampStove 2+
Starting a fire in the BioLite CampStove proved pretty easy. Now, we’re not noobs when it comes to starting fires, but all it took was a few tiny sticks, a little fire starter material like dried grass, and a match and we had ourselves a fire. You can also use actual store-bought firestarters if you prefer, but we find that dried grass, fallen pine needles, dried orange peels, or even dryer lint and cardboard work pretty darn well.
Once there’s a flame, wait 10 seconds and turn the fan on low by pushing the power button twice. This will get oxygen to the fire and help get it going as the battery pack starts charging. Once the tiny twigs catch, start adding slightly larger sticks a few at a time, making sure none of them extend out the top of the stove body. The biggest sticks you probably want to use are those about the size of your thumb. Once you’ve got bigger sticks in there, it’s time to turn up the fan to really get the fire going.

Once you’ve got quite the little blaze, time to start cooking. If you’re boiling water or cooking in a pot, carefully set the vessel on top of the stove body with any handles positioned over the battery pack. Then do your thing, adding sticks a few at a time to keep the fire going. If you’re using the grill attachment, carefully place it on top of the stove body and arrange your grillables! But be careful to use tongs or a stick to open the fuel intake lid because it’s gonna be hot!
Once the fire is roaring, time to plug in a light or cell phone or whatever needs charging around camp. Just know that if the fan shuts off, you’ll have to unplug it as that means it’s drawing more power than the battery can spare for both the fan and the device. And don’t expect it to give you a 100% charge in 10 minutes; it’s a heat-powered battery, not a supercharger!
Once you’re all done cooking, the fan will automatically adjust to lower settings as the stove cools, but you can still use the USB power as long as the little green bars on the LED dashboard are lit.
Voila! Dinner (or breakfast or coffee or s’mores) is served!

BioLite CampStove 2+: Our Thoughts
Right off the bat, we were pretty stoked about this stove. I, for one, hate having to constantly run to the store to buy fuel canisters every time I want to go camping. They’re not that expensive, but it adds up. Plus, the canisters are difficult to recycle (you have to make sure to vent them, then puncture the canister, then take it to a special recycling center) and just not that environmentally friendly. Sticks and twigs, on the other hand? Totally renewable. Also, free! We like free.
However, we had a little trouble getting the stove to be entirely smokeless, especially the first time we used it. It was pretty smokey when we first got the fire started and would smoke some more if it burned too low or we added too much fuel (aka sticks) at once. That said, it smoked less and less with every subsequent use, which implies that there is simply a learning curve and that by the time we’ve used it half a dozen times or so we should have it down to a totally smokeless science. Now, after about 4 uses, it only smokes sporadically when we’re not paying attention to when the fire needs stoking or when the fan needs to be adjusted up or down.
I will also say that the fan is a little tricky to navigate at first. On the stove’s maiden voyage, we couldn’t get a handle on how high or low we needed to set it, finagled with it to see if we needed to turn it up or down to reduce smoking or encourage a bigger blaze, and couldn’t figure out where to set it when we accidentally let the fire get too low. But we worked it all out and had little to know trouble the next few times we used it.

As for the kettle, it works great for both boiling water and making French press coffee with the available attachment. It does take a little longer to boil water than it does on our MSR Pocket Rocket backpacking stove and probably a little longer than it would on a portable gas camping stovetop, but this is natural fire we’re dealing with here, not refined fuel with adjustable knobs and dials, so what do you expect?
And speaking of cooking with fire, like roasting a veggie dog or burger over open flame, using the grill attachment is going to offer uneven results. So keep in mind that you’ll want to keep an eye on whatever you’re cooking to make sure it doesn’t burn. I am very bad at that. I burned many veggie dogs and veggie kabobs during testing. However, it did cook things quickly, from homemade veggie burger patties (you can fit about 4 on the grill) to kabobs to chili we heated up in a pot over the stove.
The grill attachment is surprisingly stable, as was the kettle, which fits snuggly on top of the stove body, and our crappy Goodwill camping pot. Which is great, because it’s nice to have a stove that works with pots and pans that BioLite didn’t manufacture. That said, we did have one gripe with the grill attachment: the pair of legs, which bend out away from the stove body to provide extra stabilization, stuck out a bit too far. This wouldn’t necessarily be a problem, but since they’re just silver metal, they’re kind of hard to see. While using the stove, we inadvertently kicked the legs multiple times while cooking or moving around to grab ingredients. Never hard enough to topple anything, but if you’re not careful, that could be a distinct possibility. We’d love to see future iterations of the stove include some kind of bright or reflective material on the legs to make them more visible. Although, in all honesty, we could easily get some Day-Glo yellow paint or tape and take care of that ourselves if it continues to be an issue.

BioLite CampStove: The Bottom Line
Overall, we dig this stove. We love that it runs on (free) renewable, natural resources, that we can not only cook in a pot or kettle, but grill with it, too, which we’ve never been able to do before because we’ve never had a portable grill, and we love that BioLite as a brand is not only super sustainable but also Climate Neutral and their mission is to bring energy everywhere, including to remote villages around the world with little to no access to electricity or clean cooking methods. Basically, it’s a brand you can get behind.
We can say that the BioLite CampStove is a win. Free fuel, the ability to grill, clean-burning fires, the power to charge our devices and portability? Yes, please. In light of all the wins, the issues we had with finding a perfect smokeless operation point and the troublesome legs are pretty minor. And it’s definitely a stove that will see a lot of use on camping trips and backyard cookouts this summer.
Have any questions we didn’t address? Have you used the BioLite Campstove or any other BioLite products? What do you think of them? Share in the comments below! We love a good chat. And if you want one for yourself, find the BioLite CampStove here on BioLite’s site. Now gear up and wander on!
•
![The 5 Best Ways To Make Coffee When Camping [Ranked]](https://terradrift.com/wp-content/uploads/2020/04/Untitled-3-1-768x432.jpg)