Up to 50% Clearance Clothing & Footwear + Extra 25% Off REI Outlet.

There’s not much in nature that can parallel the awesomeness of Grand Canyon National Park. It’s miles and miles of rugged canyons and layers of geological phenomenon. And yet an astonishingly high number of visitors only stay at the world-renowned park for 3-4 hours. Don’t be that tourist. Stay a while and embrace the true beauty of nature.
Getting Around
Inside the park, there are free shuttles that run all day so you can get almost anywhere you want to go and they run every 15 minutes most of the time.
There’s only one entrance to the park on the South Rim side, so you can’t miss it. But if you need directions, find them here.
Free Things to do in the Grand Canyon
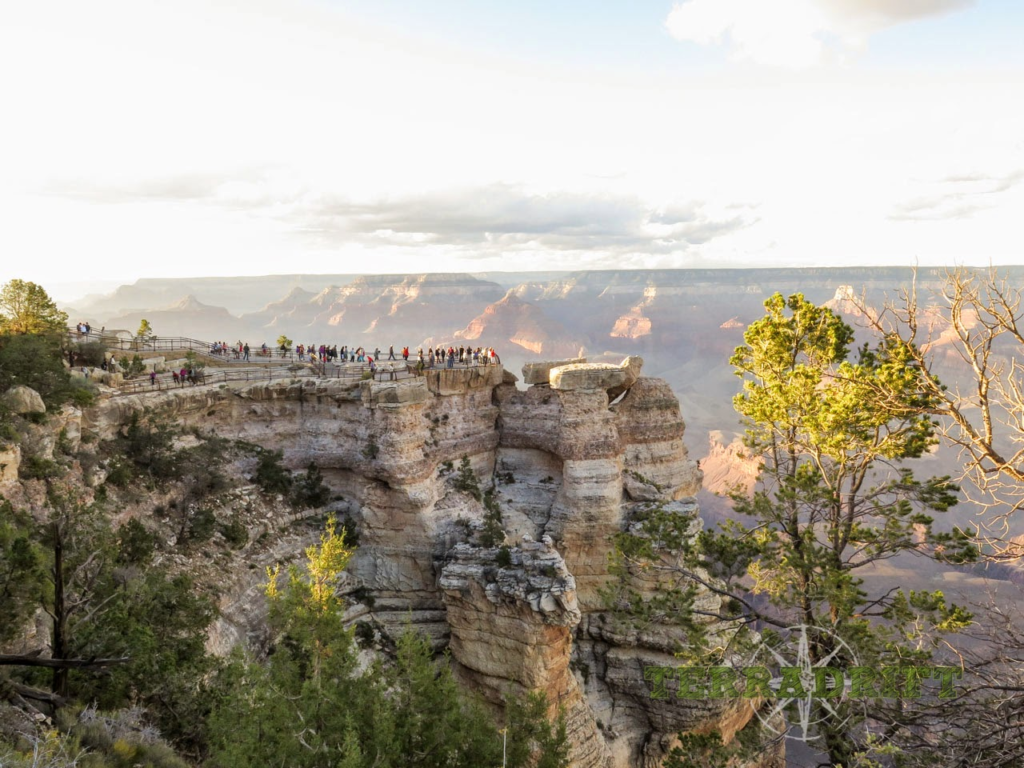
Walk the South Rim: This is the most popular side of the Canyon and there are several miles of pathways that run along the edge. They provide spectacular views and there are several cafes and gift shops along the way if you need a break.
Visit the outlooks: These are some of the great places that jut out into the canyon enough to appreciate the depth and breadth of the Canyon just a little more. They’re marked on the maps you can pick up anywhere in the park.

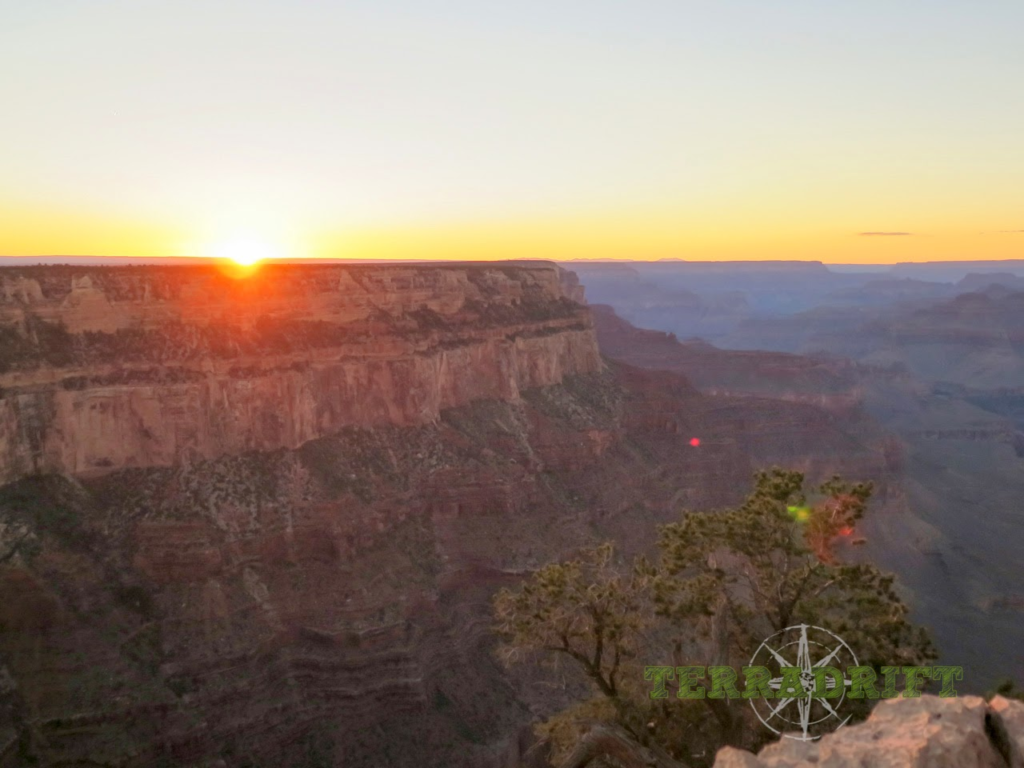
See a sunset: The best place to view the sun dipping below the horizon is Yaki Point. Sunrise, too.
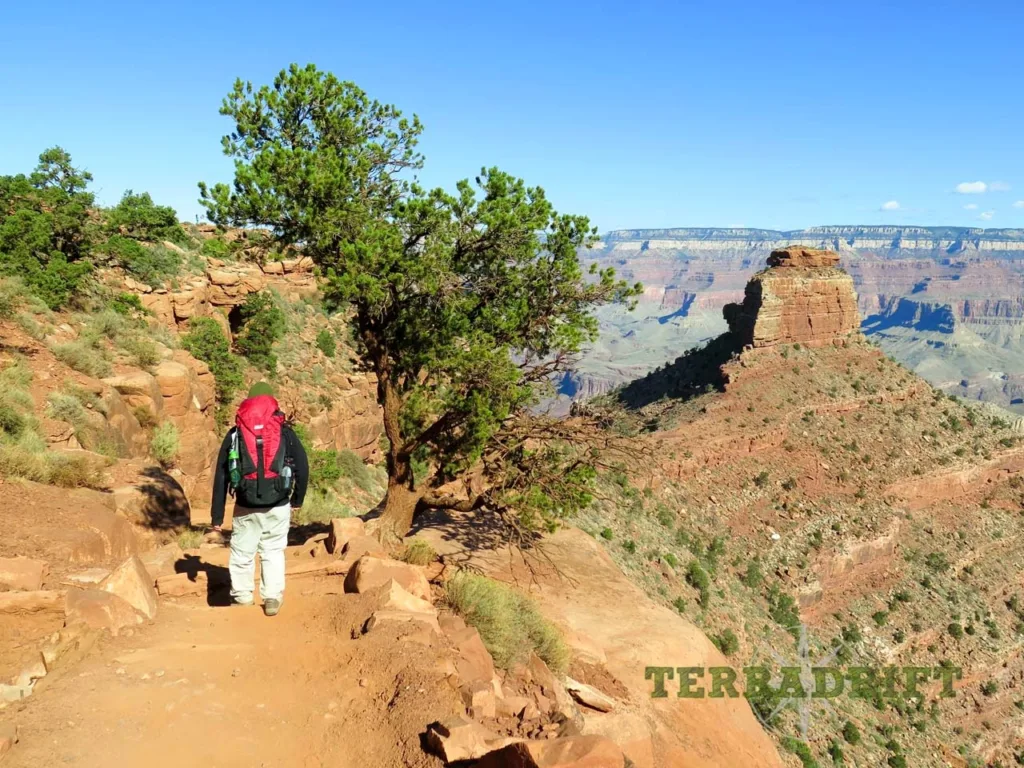
Go for a hike: Don’t get too ambitious on the first day you arrive (especially if you’ve traveled from an altitude closer to sea level), but otherwise enjoy the outdoors! Most of the hikes are quite strenuous, so if you’re not in great shape, your best bet might be to stay on the rim. However, the effort is well worth it. The Canyon just gets more beautiful the farther down you go!
Ranger Talks: There are quite a few each day that take place around the park that cover topics like elk, condors and geology. They’re more interesting than they sound (unless you’re into that sort of thing, in which case they already sound pretty interesting), so give it a go. The weekly schedule is in the park paper that you’ll find just about everywhere.
Our Favorite Things
Entrance Fee: Unfortunately, having your breath taken away by the broad red vistas of this state park isn’t free. Admission to the park is $25 per vehicle, but a pass lasts for seven days and you can come and go as you like until it expires.
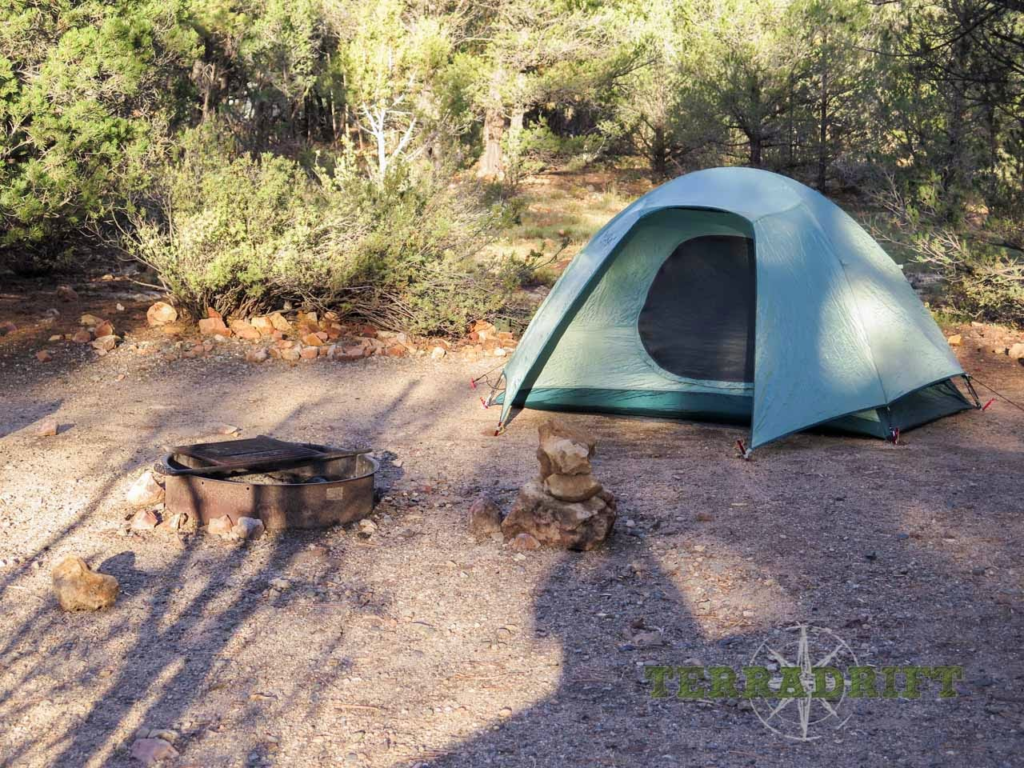
Backpack: Want more than the views from the top? So did we. But it’s not recommended that anyone hike all the way down to the Colorado River and back in the same day, especially in the summer. So pack up the tent, a few hearty meals and about four pounds of trail mix and backpack to the bottom, stay a night or two, then head back out. It’s beautiful down there and no matter how sore you are in the morning it’ll be worth it. You will want to plan your trip early. Permits have to be acquired and campsites reserved over a month in advance. Find info here. If you forgot, you still have the option of waiting in line for an available spot once you get there, but it may take two to four days to get the sites you want. Permits cost $10 per campsite plus $5 per person per night. So for two people to backpack in and camp two nights it was $30. A word to the wise: don’t forget your trekking poles!

Grab a Bite
If you don’t want to prepare all of your meals over a stove, you can find some cheapish eats around the park.
Bright Angel Bicycles and Cafe at Mather Point: For some wake-up juice and easy prepared wraps and sandwiches, stop by this cafe near the visitors center. You can grab some energy bars before you hit the trail, too.
Delicatessen at the Marketplace: Located inside the General store you can grab breakfast, lunch or dinner in the form of oatmeal, wraps, paninis and more.
Canyon Cafe at Yavapai Lodge: This cafeteria-style dining establishment also offers three square meals a day includes a salad bar. The spot for homestyle favorites.
Maswik Food Court: More cafeteria style with a little bit of everything. You can even grab some fresh fruit or prepared meals and pizza to go if you’d prefer to eat outside or pack for the trail.
Tusayan: It’s the little town right outside the entrance gates and it offers a small handful of fast food restaurants if that’s really what you’re craving.
Where to Stay
Mather Campground: If you want to stay inside the park limits – which we highly recommend – this is your cheapest option on the South Rim. Really, it’s your cheapest option inside or out. A campsite for tents is $18 and you’ll be within walking distance of the general store. The only downside is the campground charges $2 to use the showers. So either embrace the outdoors and put the showers on the back burner or pay the price. Or do what I did and fill a water bottle at the sink and take it into the shower stall with you. Sneaky.

Money Saving Tips
If you’re staying for a while, especially camping, bring in the food and necessities you’ll require during your stay (plus a bit extra). Sure you can get just about anything you need—including sleeping bags and booze—at the general store, but it’s overpriced and there’s nowhere else to shop for some 30 miles.
Want more info? Read about our experience and find more tips for navigating Grand Canyon National Park here.
Alisha is a freelance outdoor journalist and photographer based in Ogden, UT. She loves backpacking, hiking, mountain biking, kayaking and snowboarding (even though she’s terrible at it). She’s also pretty sure she’s addicted to coffee. alishamcdarris.com