The Best Deals on Camping, Backpacking and Outdoor Gear [May 2025]
We’ve used a lot of water reservoirs over the years, but almost always find something to complain about with all of them. However, we may have just found the perfect reservoir for hiking and backpacking: The HydraPak Contour.
What Makes a Good Water Reservoir
But before we get into the details, let’s define what actually makes a quality hydration bladder for outdoor recreation.
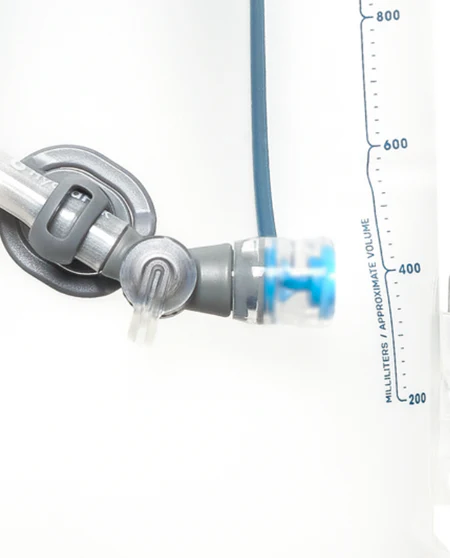
Bite Valve + Mouthpiece
The first thing to consider on a water bladder is the bite valve or mouthpiece. This is the feature you’re gonna be interacting with the most, so it’s an important one to get right.
I like to look for one that advertises a fast flow rate so I can really gulp some H20, but also one that has a locking mechanism. Not all of them do. And more often than I’d like to admit, I go to grab my bag off the ground or out of the back of my car and it’s sitting in a puddle because I accidentally set it down on my bite valve.
And then I’m short half a liter of water and have a soggy backpack. So opt for a bladder with a lockable valve or a cap (like on this Mazama), which has the dual function of also keeping dirt off your mouthpiece.
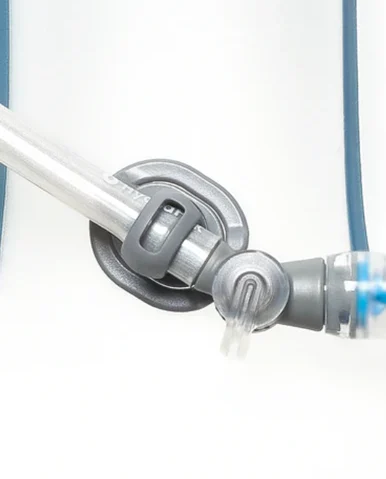
Stay Clip or Magnet
I won’t even look at a water reservoir that doesn’t have a magnetic clip. Though, if your pack has a routing clip like the Big Agnes Impassable 20, well, that’s cool too.
But a magnetic clip lets you secure your tube in place anywhere on your pack straps so it’s not floppin’ all over the place while you walk.
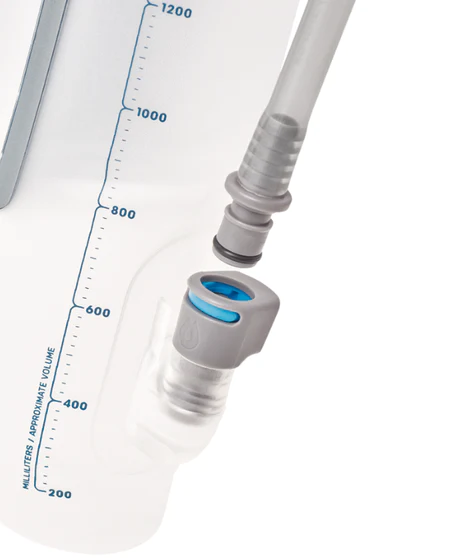
Quick Connect Hose
The next feature I think is a must-have in a water reservoir is a detachable or quick-connect hose. These are freakin’ brilliant. Most big, brand-name reservoirs have them these days, but not, all, so pay attention.
Because a quick connect hose allows you to quickly unclip it from the bladder body to: A.) get it out of the way during filling. B.) Leave your hose routed through your pack when you have to re-fill your bladder after you’ve gotten it all set up. And C.) route the house through too-small hose ports in your backpack when the bite valve won’t fit through.
Brilliant, right? So useful.
The placement of that quick connect valve matters, too. While most reservoirs just slap it on the bottom of the front, I really love that HydraPak thought to put theirs on the side. It makes sliding it into a full or almost full pack much easier.
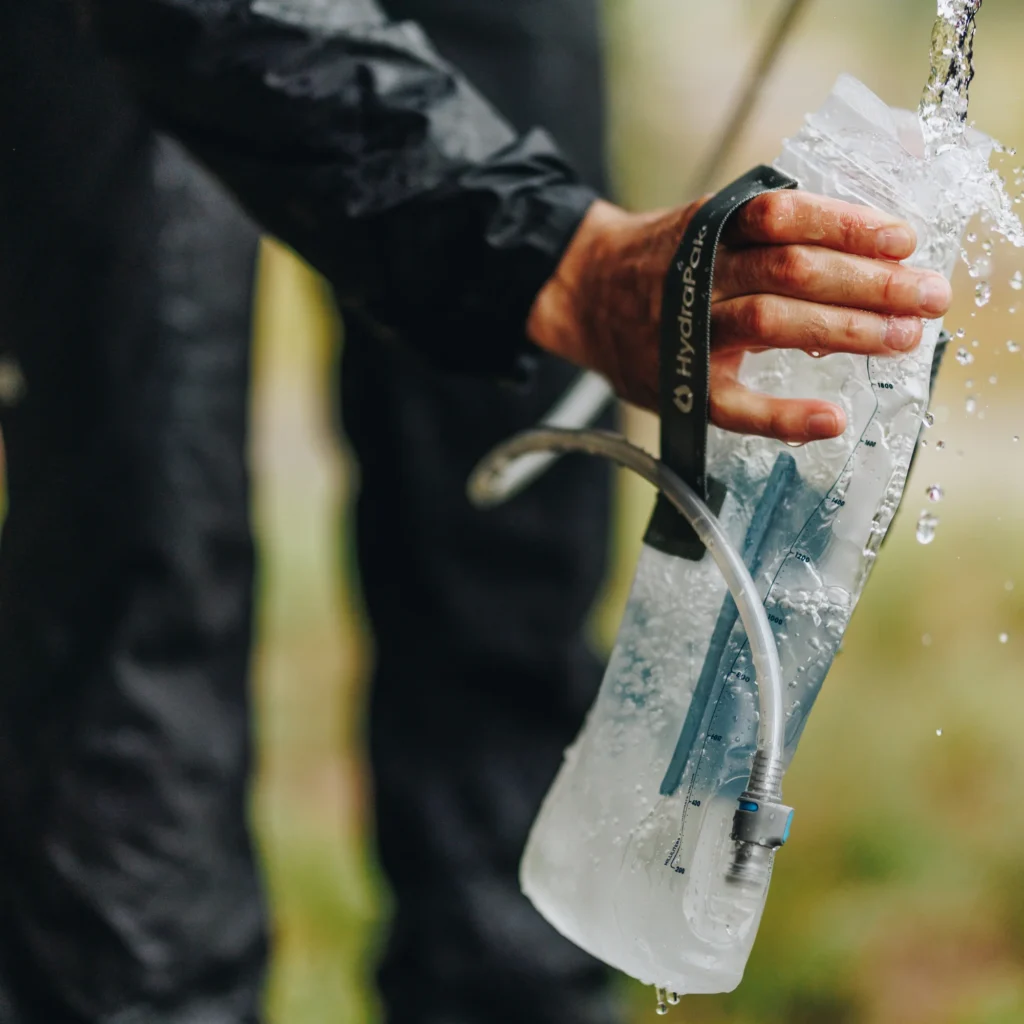
Openings
At the top of the water bladder, opening designs vary wildly. And hikers all have their favorites. And least favorites.
For a while I was a fan of a style like this Camelbak Crux bladder, which has a rigid handle that makes it super easy to hold and a large circular opening with a screw top. You can easily grasp it, fill it, and screw the lid on without fumbling the whole bag.
But these rigid handles tend to get in the way when you’re packing the bladder into a full bag and they weigh more, too, if you’re an ultralight backpacker measuring ounces or grams.
Plus, a circular opening like this means it’s hard to get all the water out after you wash it. It gets trapped up there in all the nooks and crannies.
But I haven’t historically been a fan of those fold-over, slide-shut openings, either. They’re usually finicky to close and don’t offer a good way to hold a heavy bag as you’re filling it with water. They’re easy to dump out and dry, though, and don’t have bulky handles, so that’s a plus.
Hanging Hardware
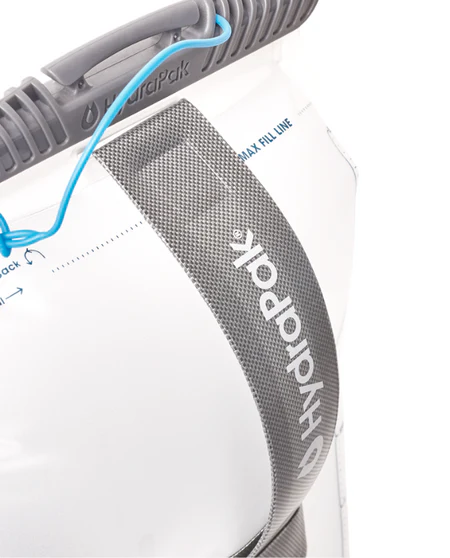
The last major feature involves hanging hardware, which can be a real nuisance. I mean, most bladders aren’t designed to be universal. Some of them are first and foremost engineered to be compatible with the same brand’s backpacks.
That they work with others is just a bonus.
But some just don’t work at all. Take this Mazama Intake, for example, which has an incredibly narrow AND slotted hanging accessory. That means pretty much all it’s gonna hang from is a wide velcro strap like in the Deuter Future Air Trek.
Try to hang it on a thinner piece of webbing and it’ll slide right off. And if a pack has a chunkier hanger, you can forget about hanging it altogether. Plus, see how it’s designed? Thin plastic only mounted on one side of the bar? Mine broke after just a few uses.
And the Camelback? Sure it’ll work OK if a bag just has a large loop for hanging, but if there’s a wide velcro strip, a toggle, or a large buckle, you’re outta luck.
So if you have multiple packs and one bladder, look for universal hanging hardware on your reservoir, which is compatible with a wide variety of bags.
Of course, compatibility is only a problem if you have way too many backpacks. If you just have one or two and a bladder for each, just look for one that’s compatible with the bags you have.
Warranty
Finally, look for a hydration reservoir that has a solid warranty. Many of the ones I mentioned do. That way, if something breaks or starts leaking, you can get a replacement or repair parts for little to no cost.
The Best of the Best
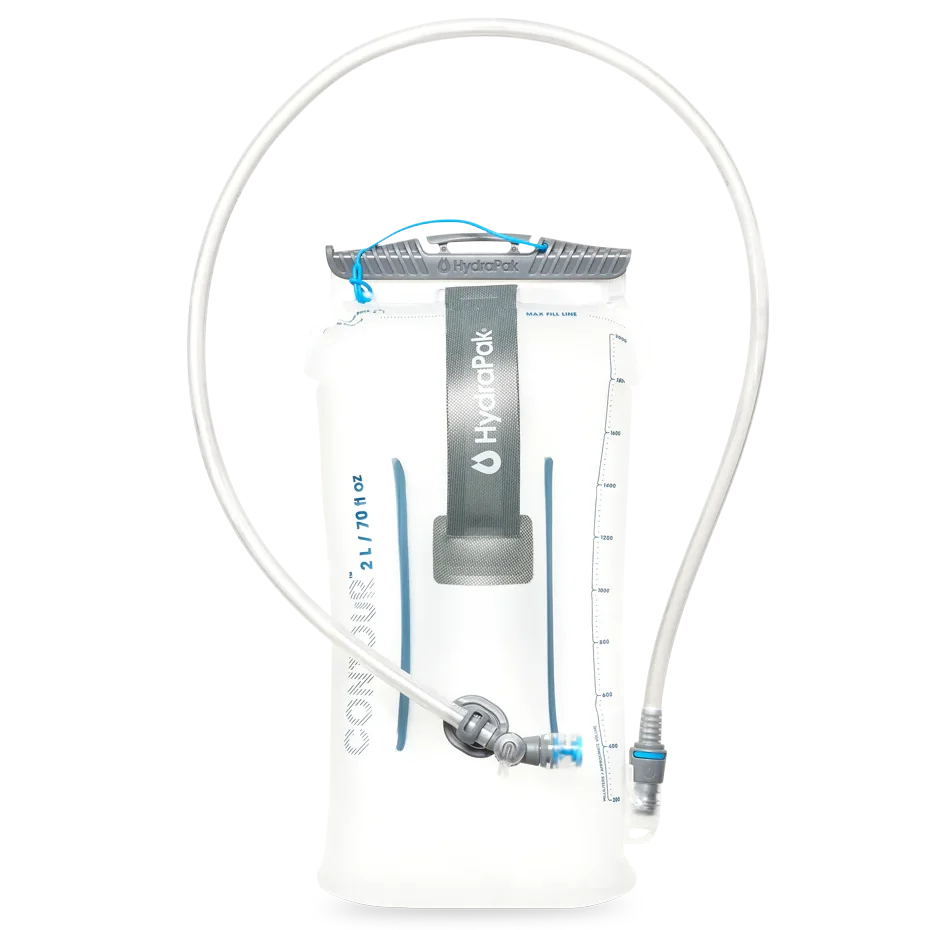
And I gotta say, the HydraPak Contour water reservoir hits every mark. It has a slim and durable grab handle that lays flat, a side-mounted hose port so it slides into a pack easier, a wide opening at the top that makes it easy to fill, empty and clean and that folds over and slides shut really smoothly, a solid warranty and incredibly universal hanging hardware, lockable bite valve with a high flow rate, and a secure way to clip it to your pack strap. It may have just taken care of all my hydration reservoir complaints. There’s nothing about it I don’t like.
And it comes in 3L, 2L, and 1.5L lumbar versions! So grab yourself the last hydration reservoir you’ll ever want, and wander on (and stay hydrated).
This post contains affiliate links, which means when you clicky-click and make a purchase, we may receive some compensation. Don’t worry, it won’t cost you any extra, but you will be supporting Terradrift! That’s what we call a win-win!
