Intro to Bikepacking: What You Didn’t Know You Need to Know
Ready to hit the trail on two wheels? In this guest post, Ashley Parsons from the En Selle duo offers some tips to start planning your first bikepacking adventure in this intro to bikepacking. We hope you’re ready to get inspired, don those bike shorts, and get pedaling!
•
If you read our Intro to Bikepacking, there’s a chance you’re all, “Yeah! Let’s get in that saddle and hit the trail, ASAP!” Maybe you’ve even begun to prepare your “kit” for your very first bikepacking adventure. But easy, tiger; you’re not ready to pedal away just yet! It’s not all about the gear! Before you go, you also need to have a plan to tackle the tricky situations every bikepacker encounters at some point or another. In this article, we’ll cover what you didn’t know you needed to know: bike maintenance, planning your route, finding the perfect campsite, and knowing when to quit.
Intro to Bikepacking: What You Didn’t Know You Need to Know
Learn Basic Maintenance
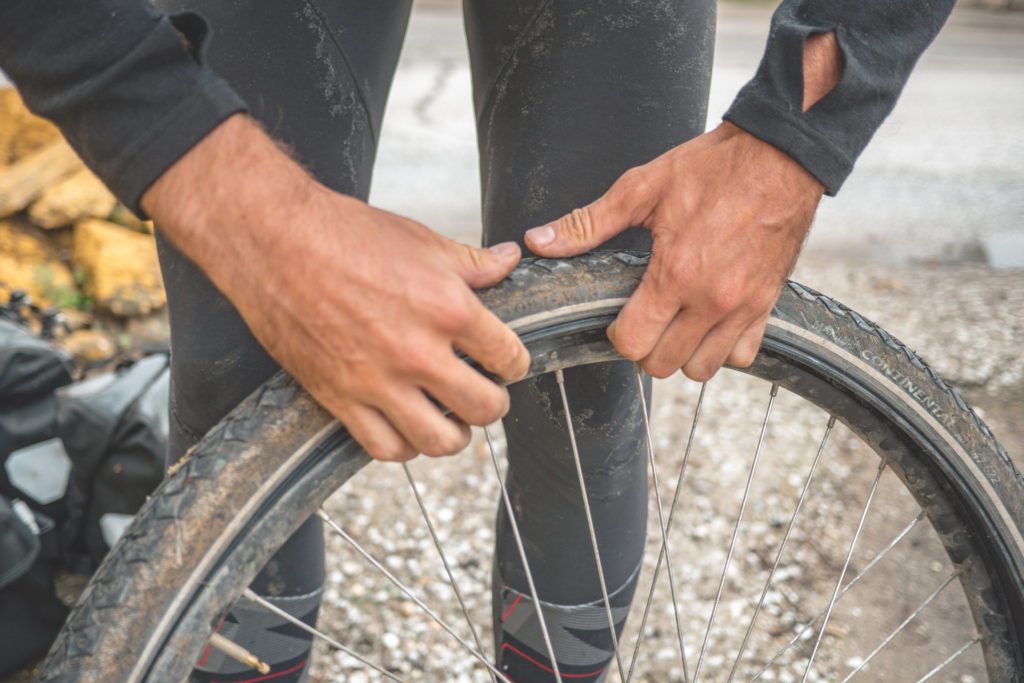
No intro to bikepacking would be complete without talking about bike maintenance. Getting off the grid and into the wilderness is one of the most appealing things about bikepacking. It offers liberty, serenity and a sense of independence. But there is a fine line between a sense of independence and actually being independent. One of the fastest ways to ruin the fun when you’re far from civilization is to face mechanical problems that you’re unable to fix.
The most common problem you’ll come across will be flat tires. Be prepared for this eventuality by having at least one spare tube with you at all times. Don’t throw away the punctured tube, though! Better cyclists than you have crossed the world riding on tubes that look like patchwork quilts! So hang on to it and when you take a break for lunch or you stop riding for the day, patch that tube! It takes about a half hour for the glue to dry when using a patch kit, so plan accordingly (or try a glueless patch kit).
Other common mechanical failures to be able to recognize and know how to repair:
- Snapped brake or gear cables
- Deregulated gear set
- Used up brake pads
- Loose chain
- Cracked fork or frame (especially on carbon fiber models)
- Broken spokes
Most of these problems only become urgent when you ride hard or don’t pay attention to your bike’s maintenance. It’s good practice to check up on your bike before departure, and in the evenings after your ride is over. If you’re on a long journey, take your bike to a mechanic every 1200 miles, or when you pass through big cities. And before you set out on any bikepacking adventure, learn some repair basics to ensure you enjoy the most successful outing possible (and don’t get stuck miles from civilization and a bike repair shop).
Many bike shops offer workshops to teach you bike maintenance; Alternatively, you can watch videos on Youtube, or grab a copy of the bike maintenance bible. If you’ll be traveling somewhere with poor cell coverage, download instructions for offline use or take photos of the guidance you’ll need to make basic repairs. Finally, keep zip-ties and duct tape in your tool bag along with more conventional repair tools as they can help you limp your way to the next repair shop when needed.
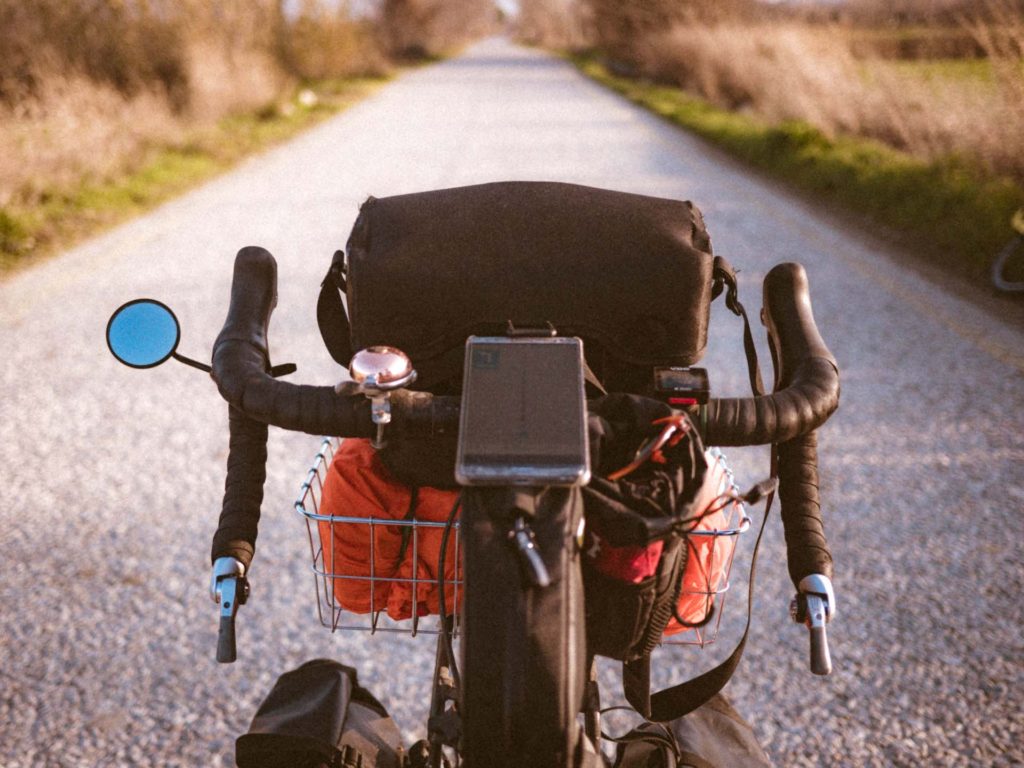
Consider Ditching GPS
With all the technology available today, it’s easier than ever to plan your itinerary to a T. A good GPS application is useful, of course: it can offer off-road options and even include an elevation graph so you can plan your daily mileage in relation to the time you’ll spend climbing. And there are loads of apps for cyclists like:
But isn’t one of the key elements of bikepacking a thirst for adventure? Having a GPS trace is a good backup for when you get lost, but relying too much on GPS means you pay less attention to your surroundings and miss out on the adventure. While we were cycling in Turkey, we quickly realized that the best trails weren’t on any of the apps listed above. If we’d listened to our phones, we’d have followed a busy state road across the Anatolian plateau; dangerous, but not very adventurous.
Here’s a general rule we’ve learned that’s worth putting into words: if there are two places relatively close to each other, odds are there is a path that connects them. Asking locals, checking the satellite map or reading a relief map creates the opportunity to creatively find a way to get from point A to point B. If you’re not relying on GPS voice guidance to announce, “Turn left in 1 mile..turn left in ½ mile…,” you’re sure to see the world differently!

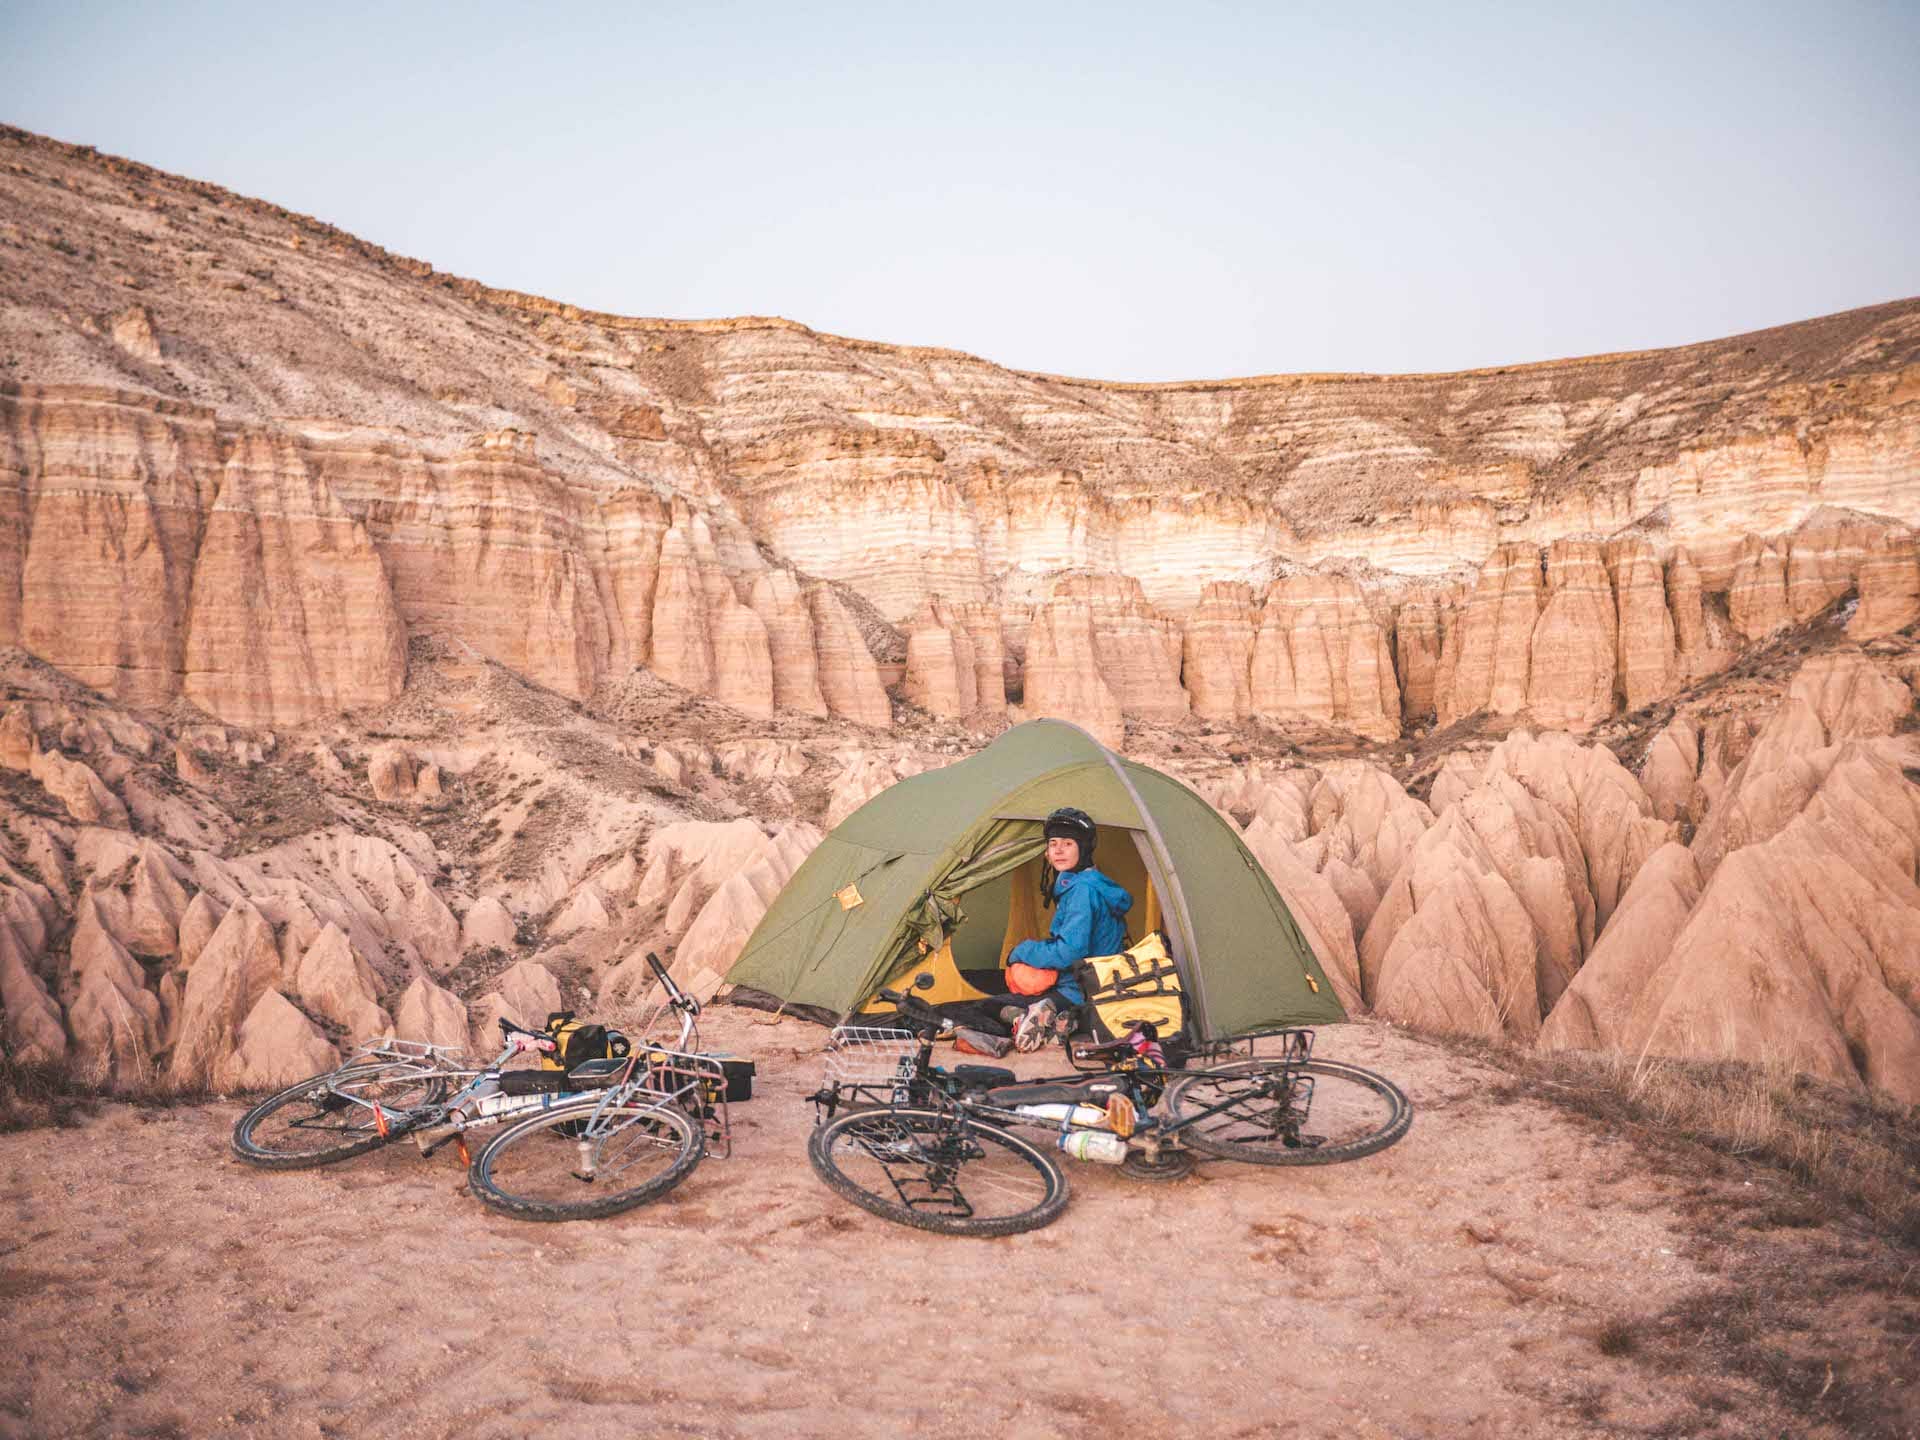
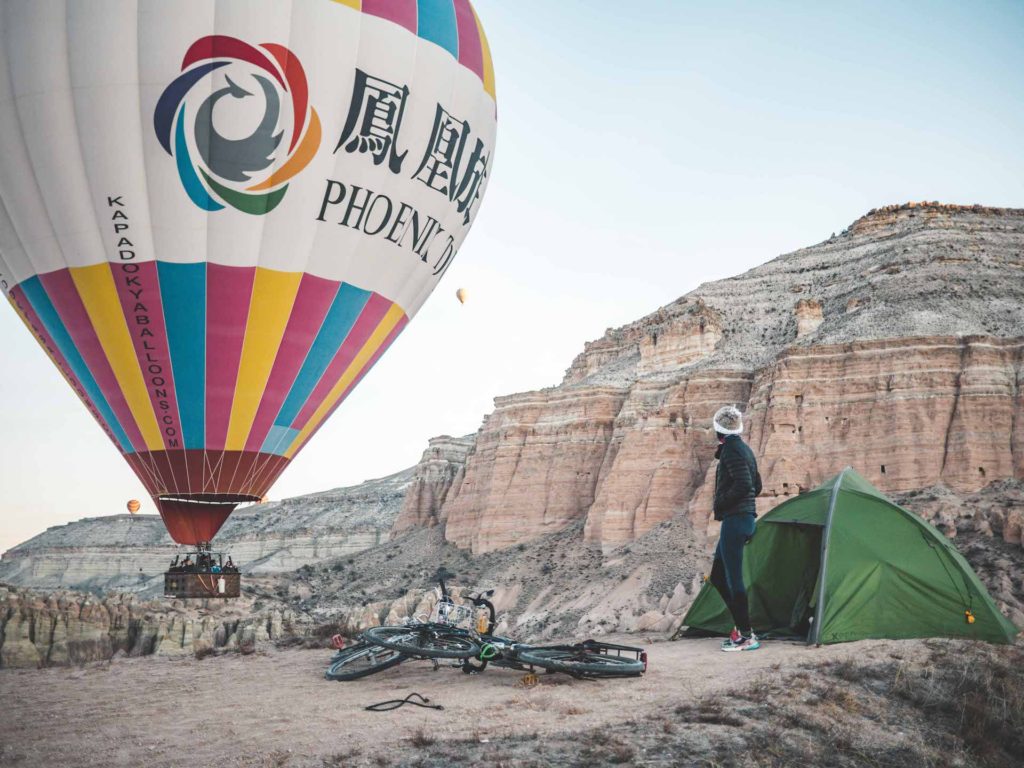
Find The Perfect Campsite
All days must end, and if you’re bikepacking on backroads, dirt roads, or mountain trails, you should begin looking for a campsite a few hours before dark. We’ve written an in-depth guide to wild camping here, but below are the essentials.
Campsites can be broken down into three categories:
- Good: safe enough to pass the night without your things disappearing or waking up to a flooded tent
- Great: has the above plus some comforts like access to water, protection from the wind or rain, and seclusion from passersby
- Amazing: all the above plus a great view or a place to take a swim
You can’t have amazing all the time, but with a little practice you can almost always have good, even great campsites. There are applications and websites that can help you find a spot, like Campendium.com and FreeCampsites.net (read terradrift’s post on finding free campsites here), but I tend to wing it. If you have phone service, checking the satellite map is a good way to scout for campsites.
If you spot a place you’d like to camp that’s clearly on someone’s land (close to a house or building), it’s best to ask if you can camp there. More often than not, the owner will say yes, or show you somewhere nearby where you can pass the night. If asking permission isn’t possible, stealth camping usually goes unnoticed as long as you are discrete and clean up after yourself.
Fitness isn’t just physical
It’s better to underestimate rather than overestimate how many miles you’ll cover in a day. Even if you’re able to push through days one and two, if you’ve been too ambitious in your mileage, by days three and four, your muscles are going to be screaming. If you keep overdoing it, you might end up pushing yourself into an injury: lower back and knee pain are warning signs to watch out for.
Your mental fitness is important too. Long climbs, muddy roads, getting lost, and being chased by dogs are all challenges you’ll face at some point on a bikepacking adventure. Don’t forget to add the stresses of inclement weather, the lack of a hot shower every night, and the digital detox you’ll be going through as you try to conserve your cell phone battery. You may find that your fuse is much shorter than you thought!
But bikepacking isn’t like baseball: you’re totally allowed to cry! When things get tough on a bikepacking adventure, get yourself to a place where you can take a break to calm down and do something to make yourself feel better. It might be adding a layer of clothes to warm up, eating a snack, or heating some water using your camp stove to scrub the dried sweat and mud off your body before crawling into your sleeping bag at night. As long as you and your bike are in one piece, the most important thing to remember is that the day will end and you will be there to see it through. It’s cliché but it’s true: tomorrow is a new day.
What’s next? Getting out there!
You can read all the articles and gear reviews on the net, but to become an experienced bikepacker, you gotta hit the road! As the miles tick by, you’ll get to know your bike, your kit, and yourself. With the topics mentioned above in mind, you’re ready to face almost any unexpected bikepacking situation! See you in the saddle!
Wander on.
•
Ashley Parsons is a wandering journalist who covers adventure travel and sustainability while traveling by bicycle and horseback. She’s camped over 100 nights with her bike, cycled through a 5°F Anatolian blizzard without snow tires and pedaled without enough water through the Uzbek desert, among other probably dangerous things. You can find her somewhere along the Silk Road, and you can read her work in publications like Atlas Obscura, Sidetracked Mag, Earth Island Journal, and Fodor’s Travel, at www.enselle.voyage or Instagram @enselle.voyage
•
*This post contains affiliate links. That means when you click on a link and gear up, we may receive a small percentage of the sale. That means you’re supporting more great content. Thanks for that!