Get the best deals on flights, rental cars, and hotels for this destination.
In July, we headed to the mountains. The Tetons, to be precise. We loaded up the car, hit the road, and adventured our way all the way to Wyoming where we met up with my parents for our annual family backpacking trip (past years included Isle Royal National Park, Grand Canyon National Park, and Red River Gorge), somehow managed to cram all of our stuff AND their stuff into our overloaded car (thank goodness for that Yakima Exo System), and prepared for some epic backpacking in Grand Teton National Park.
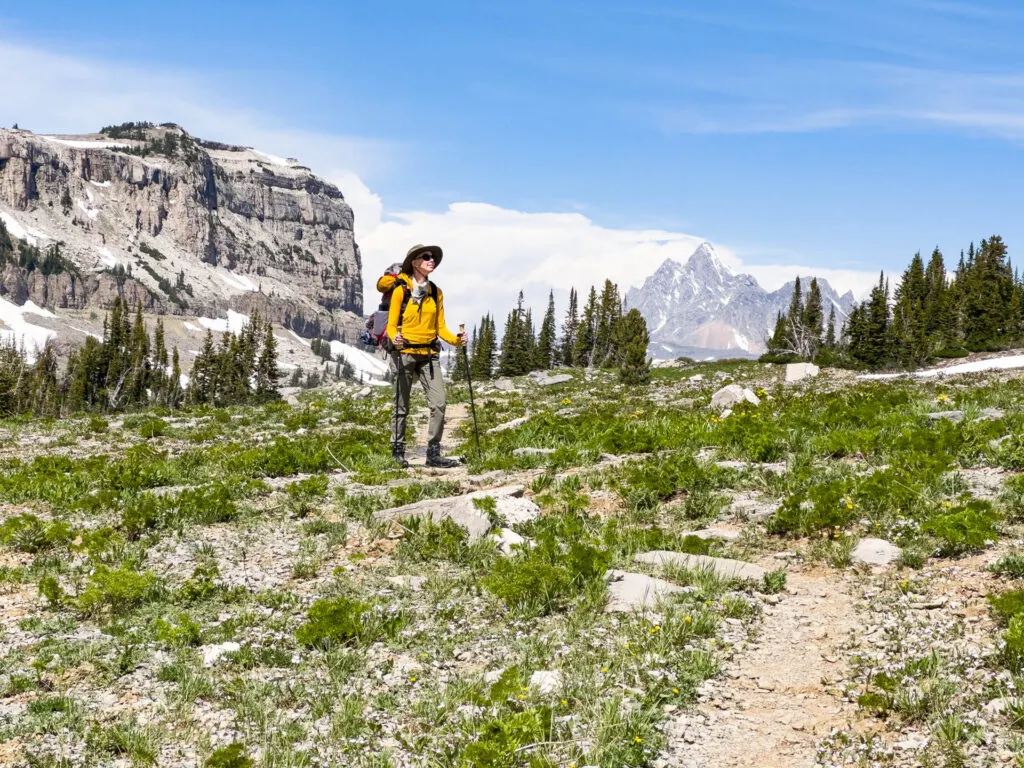
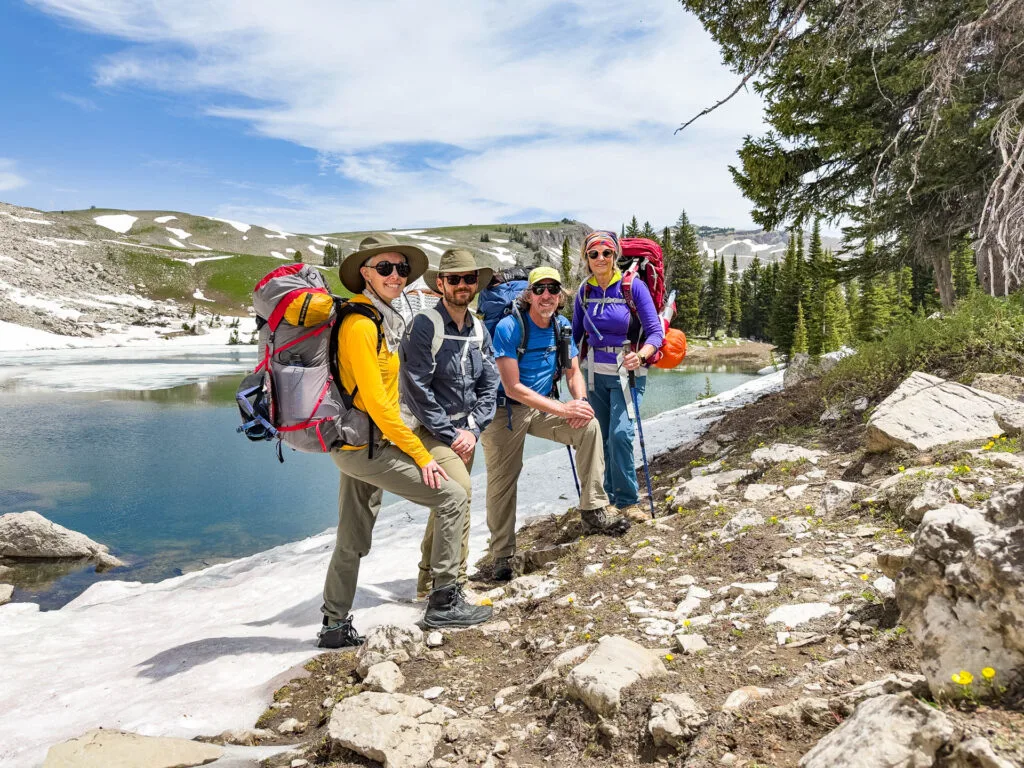
We laughed, we broke trekking poles, we shooed marmots away from our dinner, we jumped in very cold lakes, and I only made fun of my dad’s propensity to pack the opposite of ultralight once: when he pulled a small–and very heavy–glass jar of fancy jam from a stuff sack on day three.
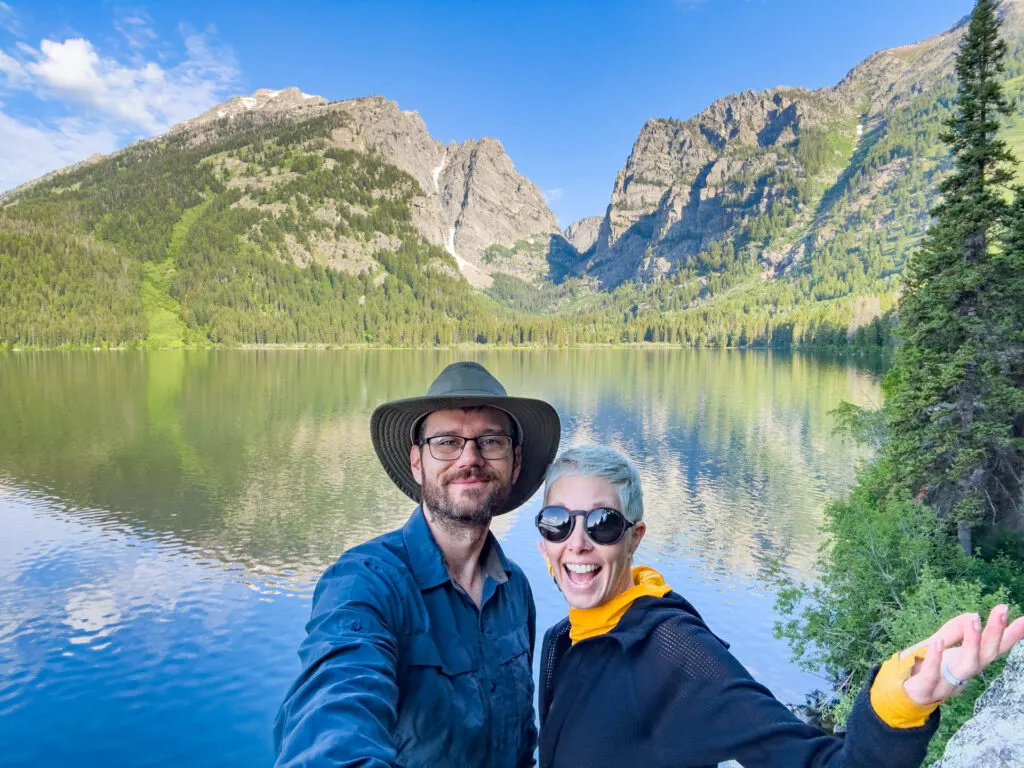
I was reminded how majestic these mountain are, how at peace I am when sleeping in the dirt, and how grateful I am to have parents who introduced me to the outdoors and are still willing to get exploratory with me (even though I make fun of their packing and mooch their vegan snacks and hike way too fast). So whether you’re an armchair explorer or researching and planning your own backpacking trip to the Tetons, here’s our trip report, with deets, route info, and, of course, gear recommendations, to help you plan and pack!
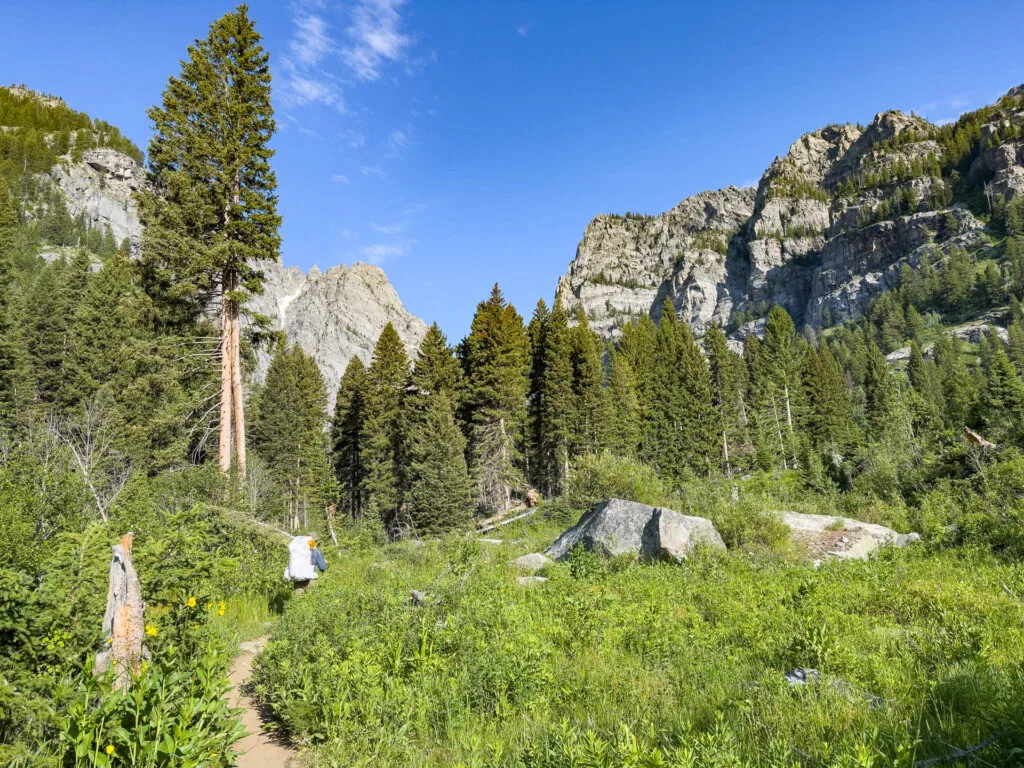
Planning + Permits for Backpacking in Grand Teton
Before you show up to start backpacking in Grand Teton National Park, know that if it’s the high season (summer through fall), you aren’t likely to get a permit for the most impressive routes. And you do need a backcountry permit to backpack in Teton.
We did show up once mid-week in the fall a couple years ago and managed to snatch up a one-night permit for an overnight near Trapper Lake, but we knew we were taking a gamble and weren’t planning on going far anyway, so it was no big deal if there was nothing available. If you want to plan a multi-day adventure, however, plan ahead and apply for the exact route and campgrounds you want.
Permit applications open for the summer season ( June-October) on January 10 at 8:00am Mountain Time. You have to request it on recreation.gov and they cost $45. Walk-up permits cost $35 if you’re willing to roll the dice, but I wouldn’t recommend it on weekends in summer. My parents applied for all of ours the morning permits dropped and got just the route they wanted. So for the best chance of doing the same, plan your route, call the permit office and ask your questions beforehand, and be ready to put in your request the day permits become available for the best shot at your first choice.
One important note: if you’re camping in the backcountry, you’re required to carry a bear canister and bear spray is all but required. If you don’t have a bear canister, the permit office will lend you one for free. You can pick up bear spray in one of the park stores if you didn’t come prepared. Just don’t try to fly with it. Not in your carry on and not in your checked luggage.
The Route
The route we chose was the Granite Canyon and Death Canyon Loop. It just so happened to be the one rangers recommended if we didn’t want to carry ice axes and self-arrest tools for passes elsewhere that would almost certainly still be covered in snow at the beginning of July.
But as it turned out, the week before our trip, I contacted the backcountry permit office and received reports that sections of this loop may still be covered in snow. Yikes. How much snow no one could tell us for sure. So we packed our spikes and hoped that would be enough. More on that in a bit.
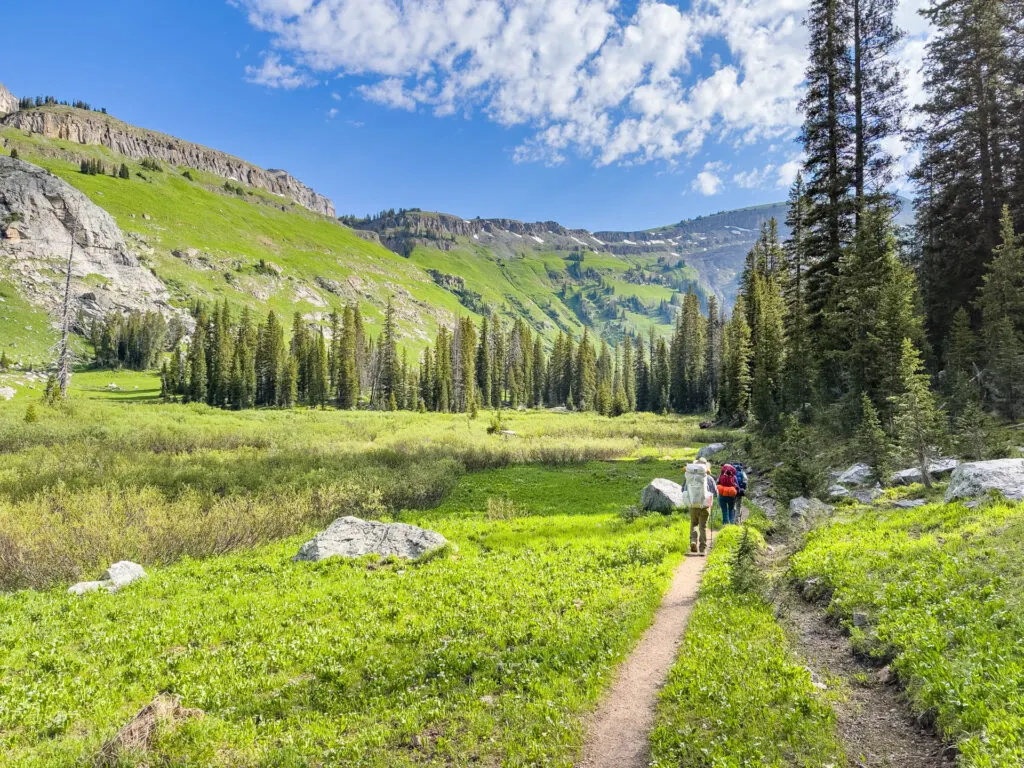
As for the route itself, the Granite Canyon Trailhead was closed (because Moose-Wilson Rd. on which the trailhead is located was closed), so we started at Teton Village and took the Valley Trail up and away from the restaurants and mountain bike lifts. It added an additional 1.7 miles to our route, but much of it was a picturesque 1.7 miles, so no hard feelings.
When we reached the junction with Granite Canyon, we turned left to complete the loop clockwise, which in hindsight was a solid decision. We agreed there would have been far more brutally steep uphills if we had traveled counter-clockwise. As a result, we tackled those on the downhill.
We camped at the end of the Granite Canyon Camping Zone the first night after hiking about 7.5 miles (there are pleasant designated sites spaced far apart along the trail).
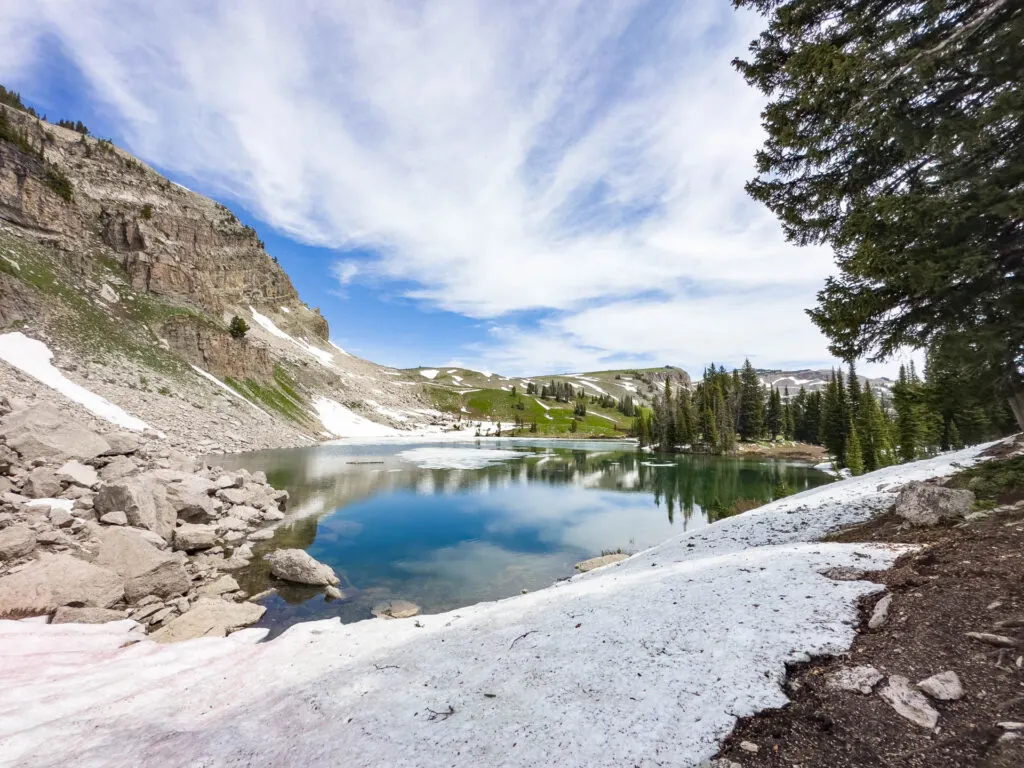
On day two, we hiked another 7.5 miles, this time past Marion Lake, before and after which we encountered a fair number of snow patches and fields. We pulled out our spikes once or twice, but because of how warm it was, the snow, even where it was deep, was packed and neither too slippery nor required postholing, so we could have done without. Keeping our footing was little tricky in sports and it required a bit more slow-going, but it wasn’t anything to make us lose the trail or encourage us to turn back.
We camped at a site overlooking the creek in Death Canyon Camping Zone the second night.
On day 3 we began our decent, first gradually, then all at once as we headed down alongside Death Canyon Creek in the stunning canyon. Another 7.5 miles led us to one of three campsites next to Phelps Lake. Ours (site #1) was a short walk to a popular cliff jumping rock where we waded into the water instead of leaped. Because I listen to my survival instinct when it says not to throw myself off of 30-foot-tall rocks…
On day 4 we hiked another approximately 7 miles on Valley Trail to complete the loop back toward the junction with Valley Trail where we returned to our starting point.
The Animals
While I was hoping to spot a grizzly across a river or something that warranted carrying the heavy bear canister we were required to bring, there were no large carnivores spotted this trip, alas.
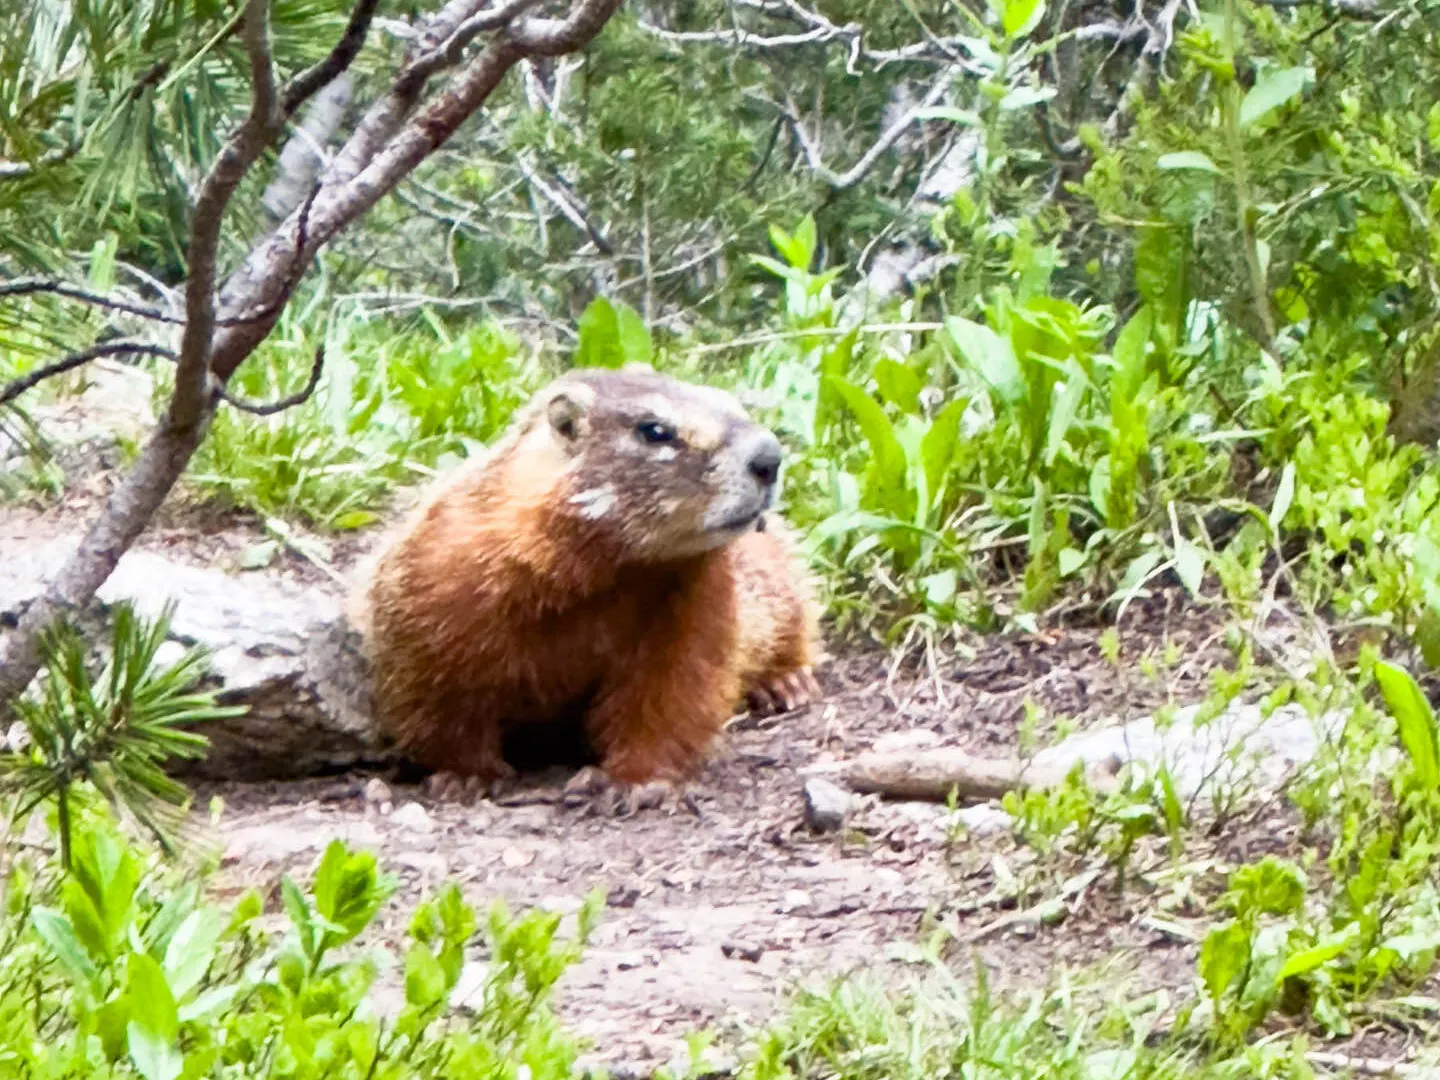
What we did see was a moose from our campsite in Death Canyon, plenty of curious marmots, and one porcupine chewing on a camp chair outside the tent in the middle of the night.
We did take food storage and cooking very seriously–storing all smellables in bear-resistant containers and preparing meals far from where we set up our tents. Everything else went in our tents with us at night. Except for the unfortunate and afore-mentioned camp chairs, which are evidence that everything should have meant everything.
The Weather
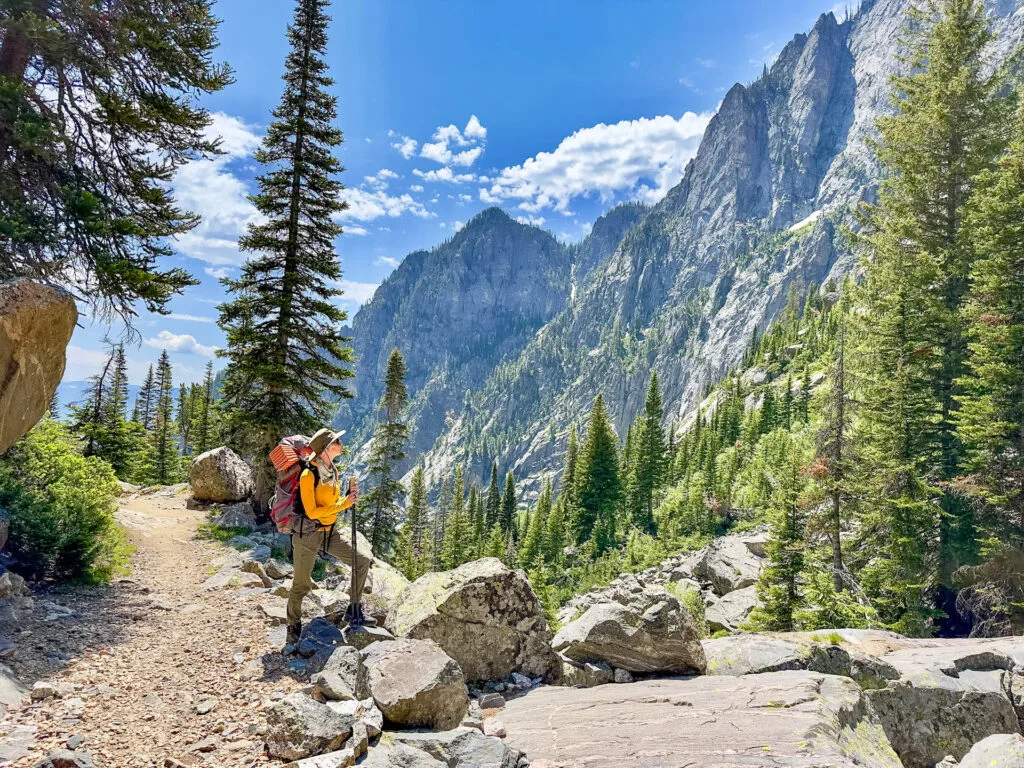
While we did expect snow to still be on the ground, we were incredibly fortunate to have beautiful weather all four days. It was warm and sunny in the mornings and afternoons and only twice did it rain a bit overnight.
Daytime temps were pleasant and warm at lower temperatures, but at the higher altitudes, shorts and tees stayed in the pack in favor of pants and insulating layers on top of our sun shirts. Breezes were often cool and even in the sun a zip-up was comfortable if we weren’t exerting ourselves too heavily.
Backpacking in Grand Teton: The Gear
Terradrift wouldn’t be Terradrift is we didn’t talk about gear! Here’s what sustainable outdoor gear we packed for the adventure:
- Big Agnes Tiger Wall 2 (read our full review of the Tiger Wall here)
- Grayl UL Backpacking Stove
- Toaks Titanium Pot + Cup
- Therm-A-Rest NeoAir UberLite Sleeping Pad + Nemo Switchback Foam Pad
- Therm-A-Rest NeoAir XLite NXT Insulated Sleeping Pad
- Sierra Designs NightCap 35 Bag (this one was pushing it, temp-rating wise–read our review here)
- Mountain Hardware Lamina Eco AF 15º Sleeping Bag (read our full review here)
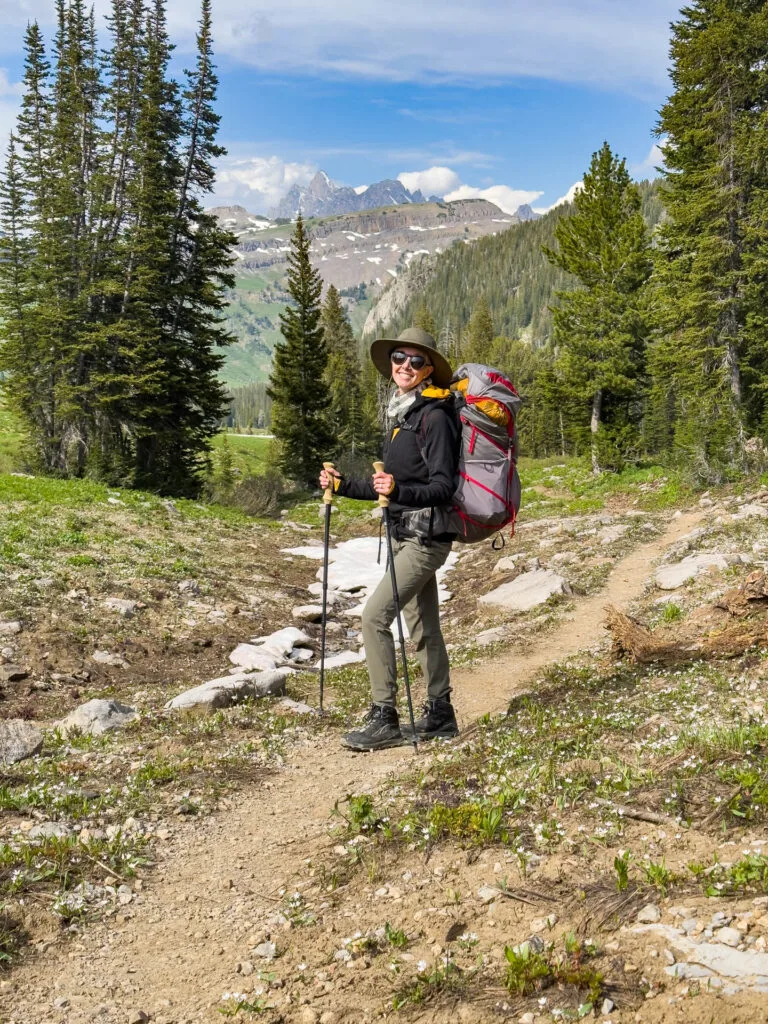
- Granite Gear Crown3 60L Backpack (undyed for sustainability)
- Osprey Eja Pro 55L Backpack (watch the full review here)
- BioLite HeadLamp 325 (all the function with none of the weight)
- LifeStraw Peak Series Solo Water Filter (super fast flow rate–just don’t forget to purify after you filter!)
- Gossamer Gear UL Carbon Fiber Trekking Poles (Jealousy-inducing weight)
- Frontiersman Bear Canister
Here’s what I brought, clothing-wise:
- Beyond Clothing Sojourn UL Jogger (A solid compromise when expecting cool and warm temps)
- Altra Lone Peak All-WTHR Mid Boots (Kept my feet dry during snow hiking and creek crossings)
- Outdoor Research Echo Sun Hoodie (My favorite breathable UL sun shirt)
- Houdini Pace Flow Hoodie (A cozy and extremely breathable zip-up perfect for layering)
- Outdoor Research SuperStrand LT Insulated Jacket (light and cozy and perfect for layering)
- Outdoor Research Helium UL Rain Jacket (Wind and waterproof for light showers and breezy mountains)
- Montane Dart Shirt (I don’t usually bring an extra long sleeve shirt, but when rain or snow is expected, I bring one extra layer, just in case)
- Patagonia Endless Run Tights (For sleeping and as an insulating layer)
- Injinji Spectrum Trail Crew Toe Socks (For zero blisters)
- Tilley Modern Airflow Hat (Looks good and keeps the sun off)
- Ombraz Armless Sunglasses (With side shields for reflective light in the mountains. My fave sunnies for adventure)
Bottom Line
If you get a chance to backpack in Grand Teton National Park, do it. Without hesitation. You’ll just have to plan ahead, pack smart, be aware of the conditions, and enjoy yourself.
So get out there and wander on, already!
•
This post contains affiliate links, which means if you clicky-click and make a purchase, we may receive a small percentage of the sale. It doesn’t even cost you any extra! Win-win!
