How to Hike Victoria Peak, Belize’s Most Challenging Trek
Looking for a multi-day backpacking trip for the ages? One that none of your friends and family have ever heard of but promises to be the challenge of a lifetime? Head to Belize to hike up Victoria Peak.
Known as the most extreme challenge in Belize, the Victoria Peak 3-day trek is not for the faint of heart or weak of legs. It’s the second highest peak in the country–the first highest (by just four meters), Doyle’s Delight, isn’t easily accessible. That makes Victoria THE challenge for both Belizeans and adventurous travelers. In fact, far more Belizeans tackle the challenge than visitors. What’s more, actually doing the hike is no easy task for a few reasons:
- It’s an investment (about $550-$650 USD per person)
- Guides are REQUIRED
- It’s only hikeable during the dry season, which lasts from about March-May (rain turns parts of the trail to waterfalls and other parts to mud)
- A skilled and trained team has to clear the trail and perform safety checks on climbing equipment before the start of each season
- Only one group is allowed to camp in the along the trail, which is within the Cockscomb Basin Wildlife Sanctuary, at a time (which ensures a real wilderness experience and protects wildlife)
- Only 150-200 people complete the hike every year
Also, it’s hard. Really hard. So you’re guaranteed bragging rights and that sweet, sweet post-adventure pride (and celebratory beverage of choice). Here’s all the info you need to prepare.
How to Book a Victoria Peak Hike
As I mentioned, guides are required for the Victoria Peak trek and they must be specially certified for the route. That means bookings are only available through a few guide companies. The Belize Audubon Society manages those certifications and permits in addition to managing the wildlife sanctuary and Victoria Peak Natural Monument. Wondering how to find a guide for the Victoria Peak hike? Email info@belizeaudubon.org for a list of certified guides. Only three this season are registered and approved to guide.
Ours guides work for Cayo Adventure Tours, which offers plenty of tours in addition to Victoria Peak.
Victoria Peak Trek: The Deets
First things first. It’s important to know some stats and facts on the Victoria Peak Hike so you know what you’re in for:
- Distance: 54 km/35 mi
- Type: Out-and-back
- Days: 3 (two nights)
- Mileage per day: 12.5, 10, 12.5
- Peak elevation: 1,120 m / 3,674 ft
- Cumulative elevation gain: 2,897 m / 9,504 ft
- Max slope angle: 60º+
- For experienced hikers and fit travelers only
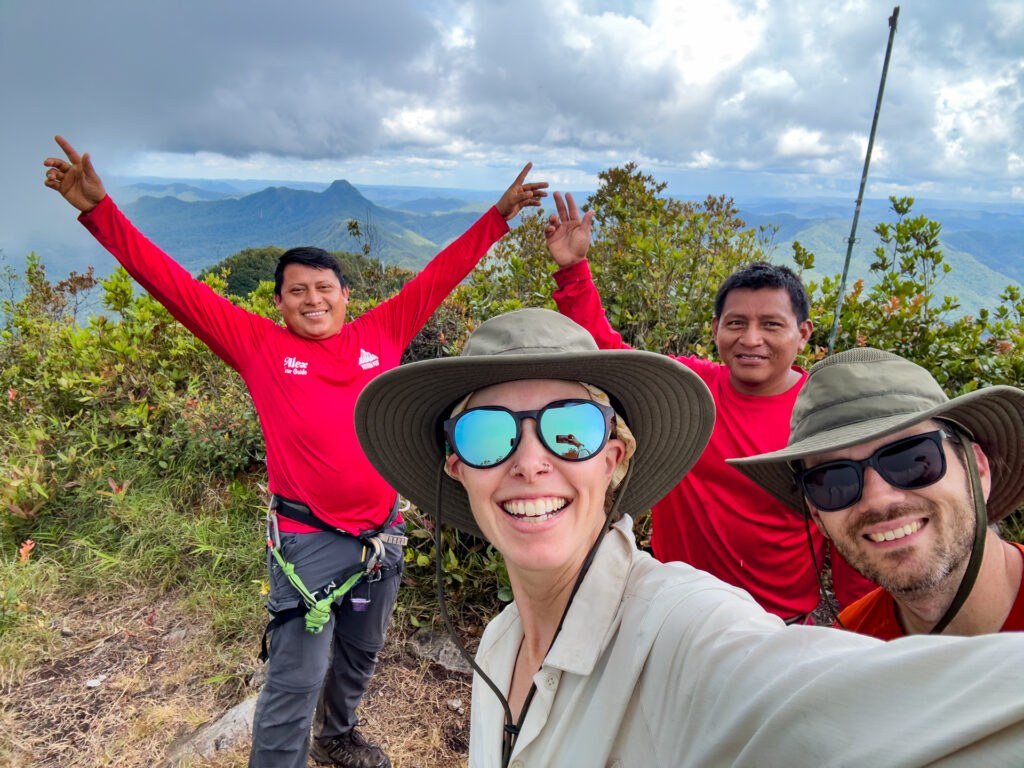
- The guides: The inimitable Macario Cucul and Alex Mes (your guides may differ, but you CAN request specific guides from the Audubon Society and I recommend these two knowledgable guides wholeheartedly)
Victoria Peak: The Experience
When I say this multi-day hike is a challenge, I mean it. It’s hard in all of the ways a half dozen different tough hikes are hard. There’s an insane amount of elevation, incredibly steep inclines and declines, creek crossings, heat, humidity, rope climbs, technical scrambling, repels, insects and mud. You will be completely wiped at the end of every day. Your feet will be screaming at you to stop. Muscles will be sore. You will have to rally all your stamina to keep going.
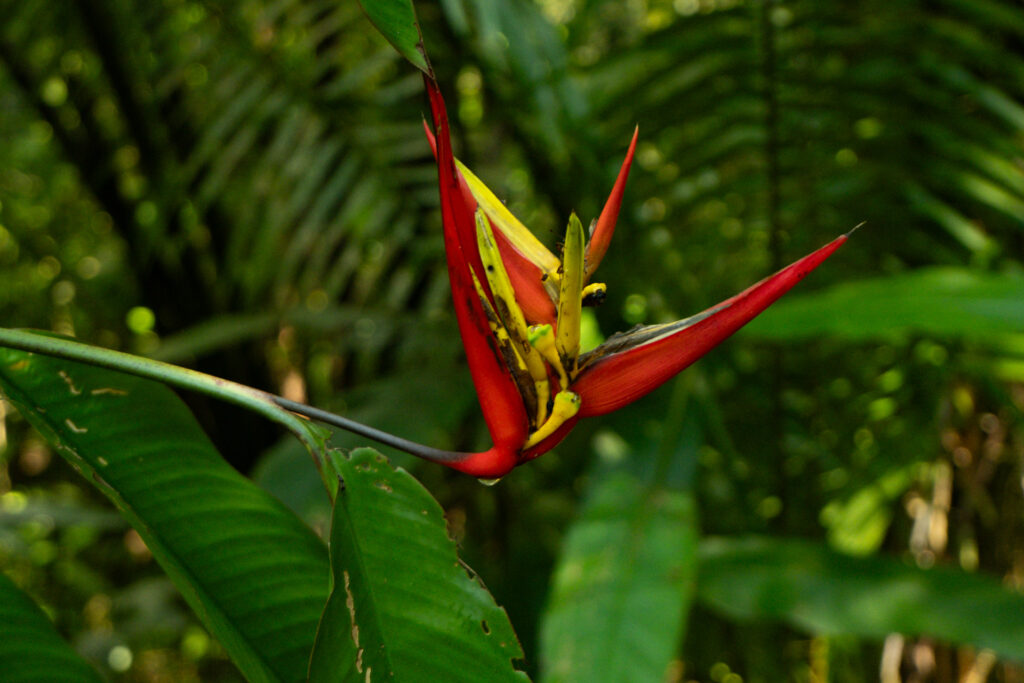
But it’s also delightful and wonderful. There are beautiful views, birdsong that accompanies you throughout the day, new trees and flowers to investigate, giant insects with which to make friends, edible plants, a stunning canopy, fresh challenges to overcome, and the thrill of adventure.
In short, this is the most Type-2 fun of any Type-2 fun I’ve ever experienced.
Here’s what to expect on each day of the journey.
Day 1: Cockscomb Wildlife Basin to 19km Camp
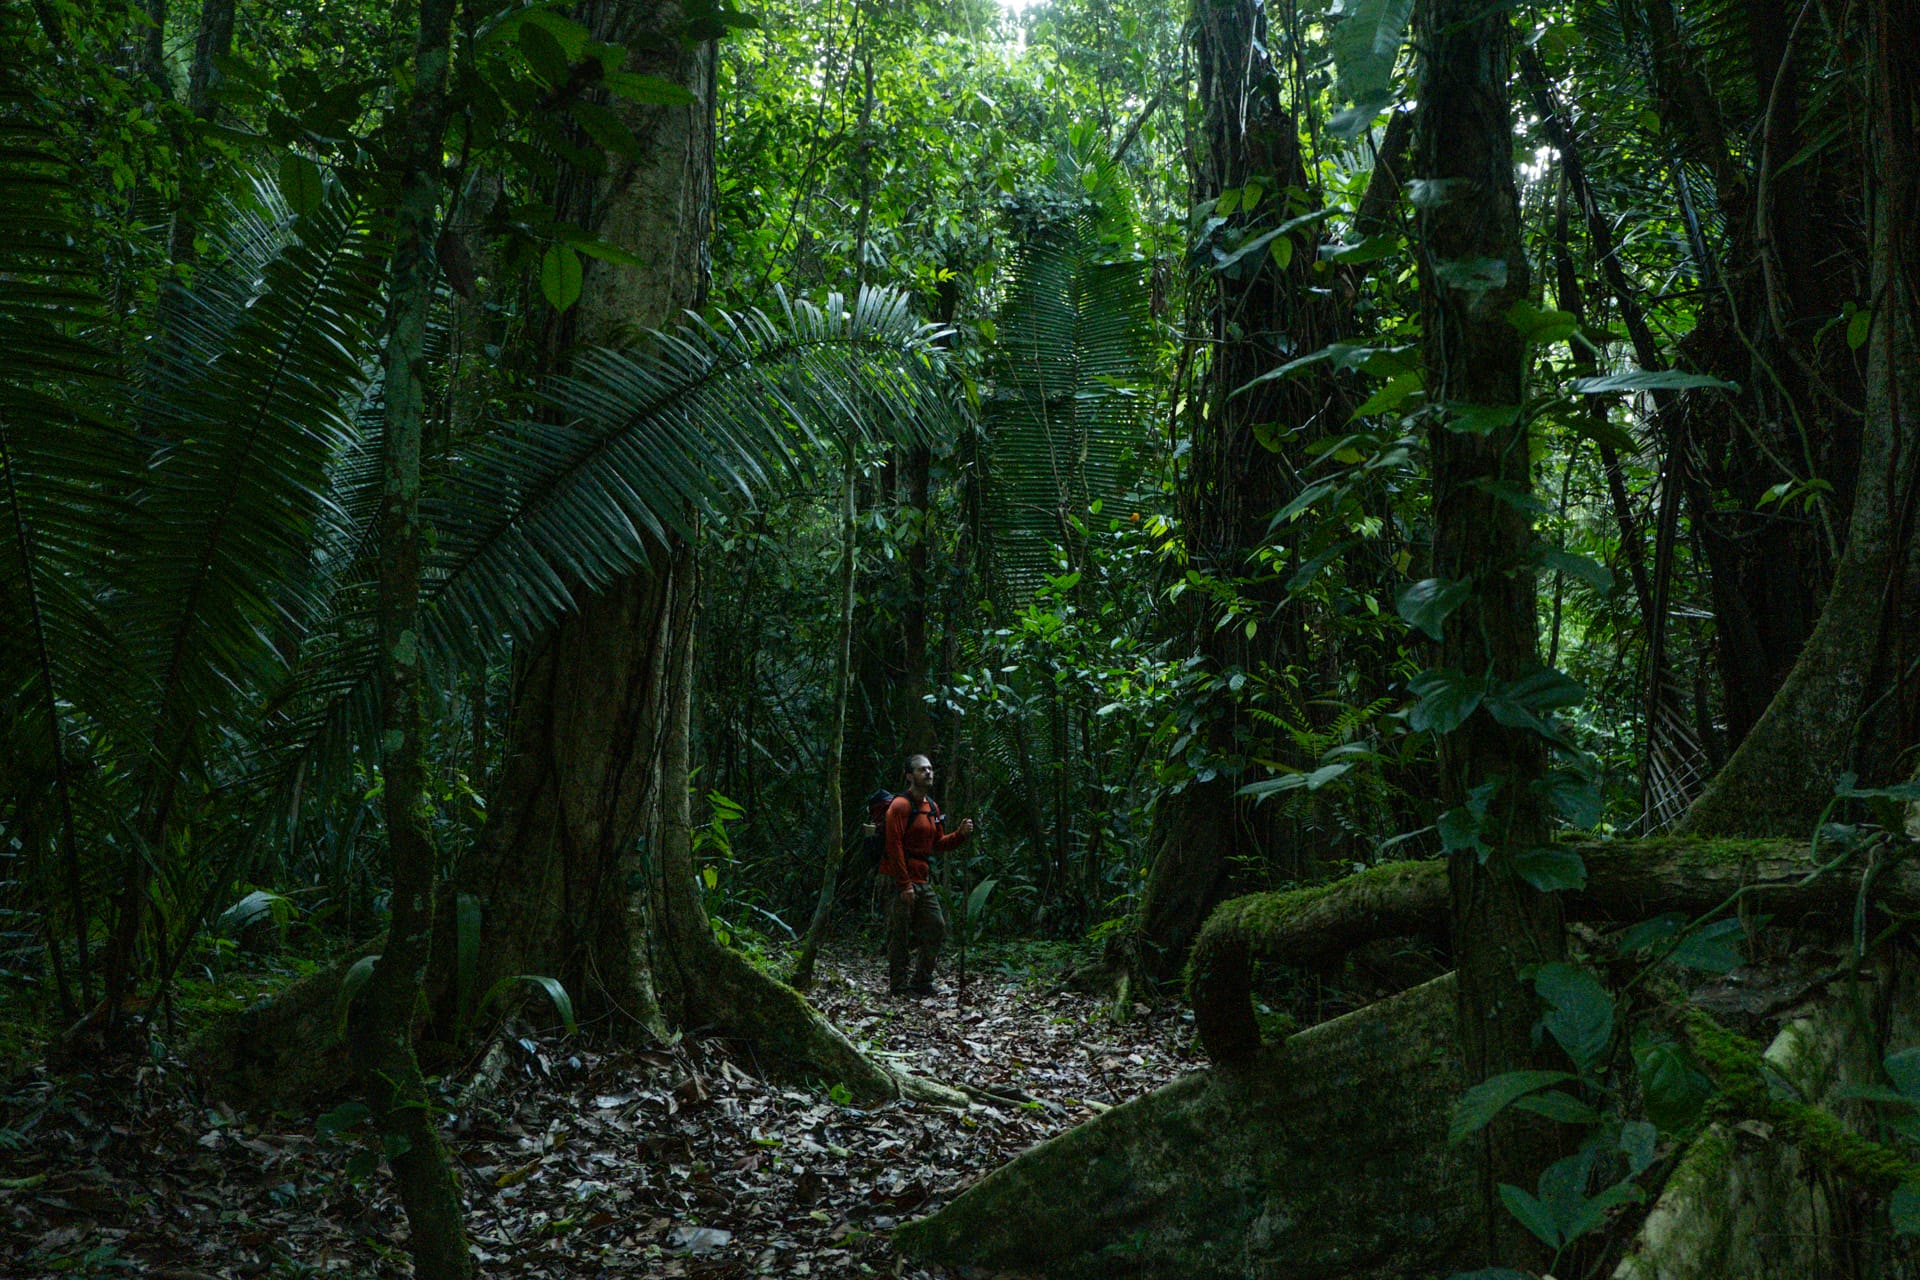
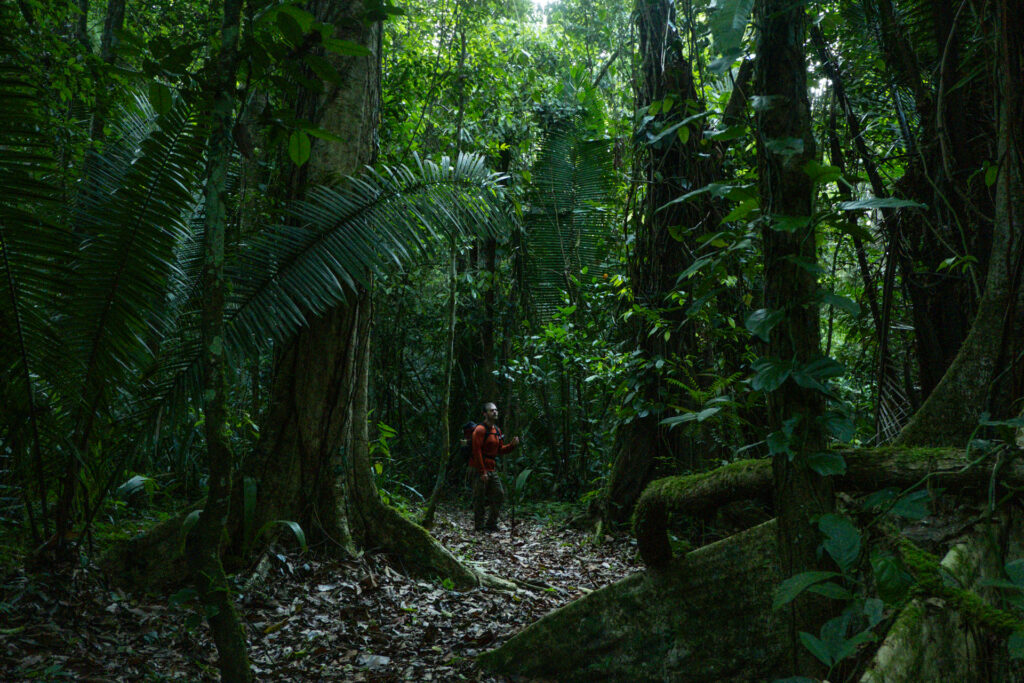
You’ll set off from Cockscomb Basin Wildlife Sanctuary in the morning, probably around 6:00 in the morning. The first 12km are relatively easy and mostly flat with some brief rolling hills. It makes for a good warm up for your feet and legs. The canopy is the thinnest on this section, so a hat and sunscreen are recommended. Our guides told us some folks opt for shorts on the section since the trail is wide, open, and warm.
If you haven’t already, this is when you’ll really start feeling the humidity of the jungle. If you’re not used to it (we aren’t–we live in Utah in a dry high desert), it can feel oppressive. Remember to drink lots and sip on electrolytes and resist the urge to peel off every scrap of clothing and hike naked (there are bugs).
You’ll cross plenty of shallow streams, which offer ample opportunity to wet a bandana and/or fill up water bottles (don’t forget to filter). If your guides are as good as ours were, they’ll always let you know how far it is to the next creek so you can gauge whether to fill up now or wait. Don’t carry more water than you have to!
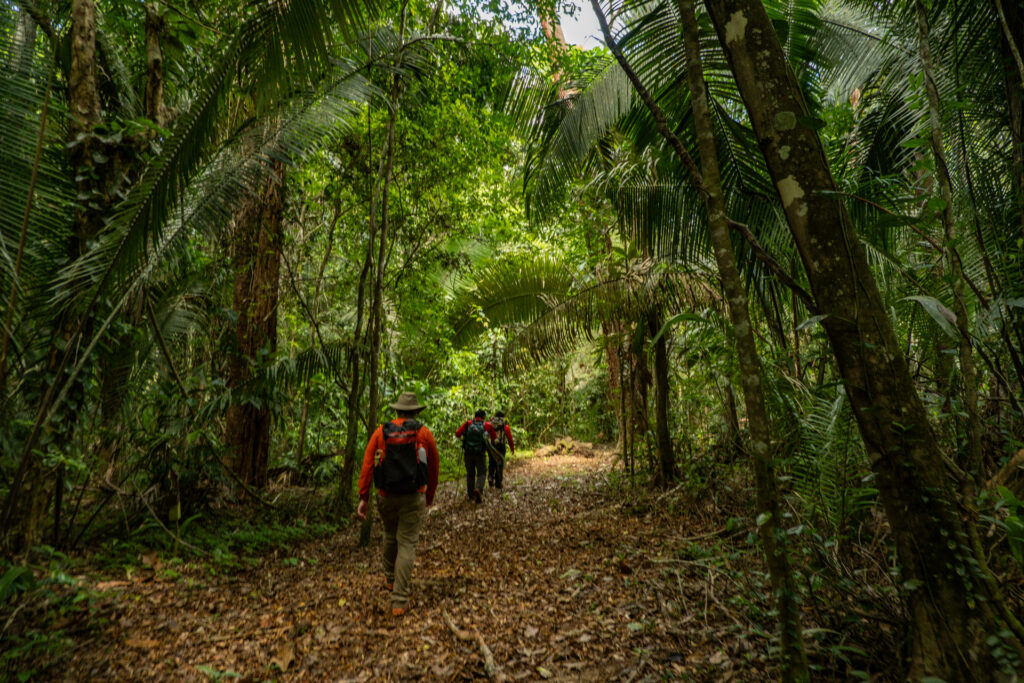
You’ll stop for an early lunch at 12km camp, then the trail turns to narrow single-track and starts going up and down in increasingly steep and long undulations. It didn’t take long for me to get annoyed that there was quite a lot of up and down for a trek that was meant to summit a peak, lol. After all, I live in the Western US where if you want to summit, you go up and up and up until you reach the peak, then back down again, usually via switchbacks that reduce the steepness of the climb.
Not here. There are no switchbacks in sight and because the route is in a wildlife sanctuary with one road to the visitor center and that’s it, you have to walk a long, difficult route to the base of the peak.
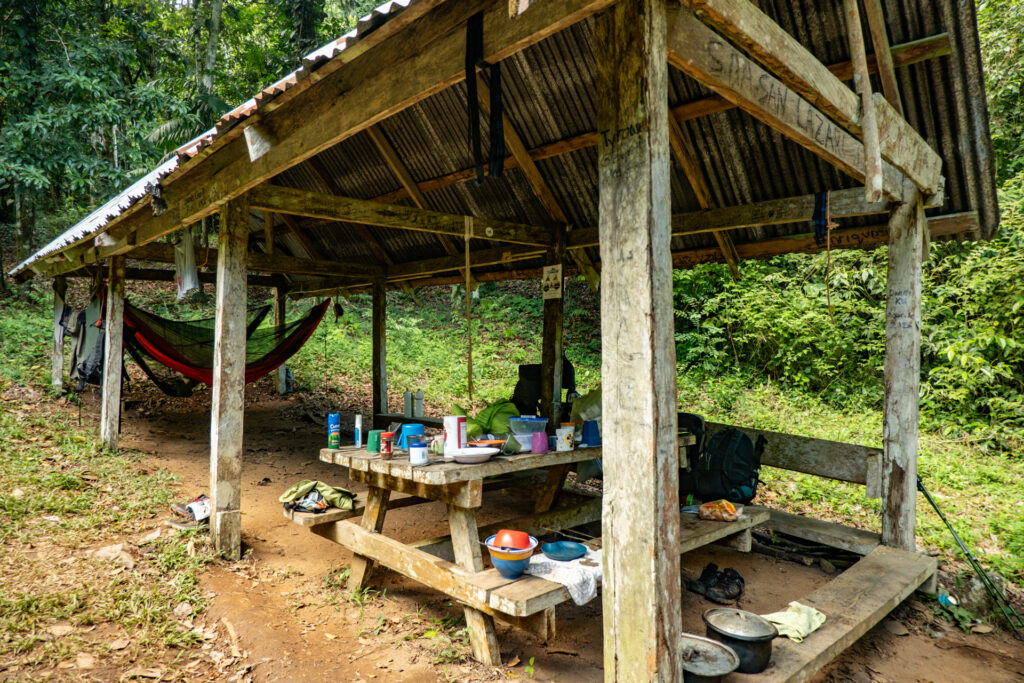
After about 19km you’ll reach the appropriately named 19km camp, a shelter under which you’ll eat, hammock camp, and rest up for the night. There’s a tiny waterfall nearby where you can rinse off the dirt and sweat in stunning privacy.
Day 2: 19km Camp to Victoria Peak
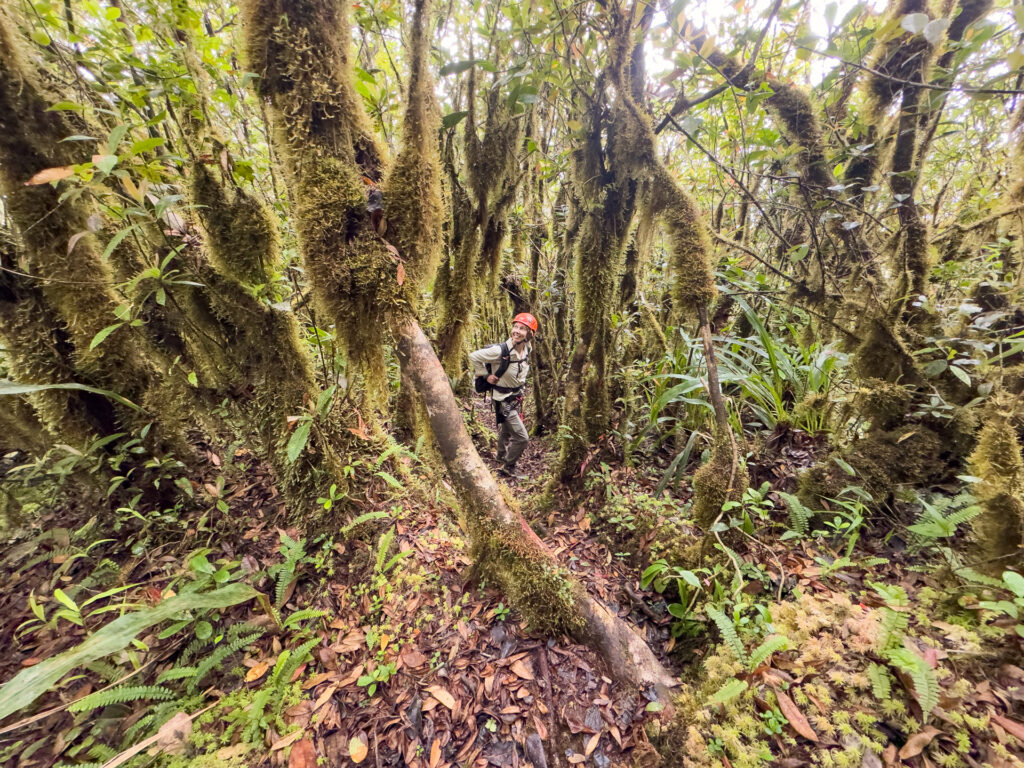
The hardest day by far isn’t the longest (though you will start hiking before dawn at around 5:00am), but does involve the most cumulative elevation gain: about 5,000 feet of it. And most of that gain (and related descents) are ridiculously steep (60% slopes are common). Most of the route involves hiking under the dense and magical jungle canopy, crossing streams, refilling water and trying to spot the birds you hear singing high above.
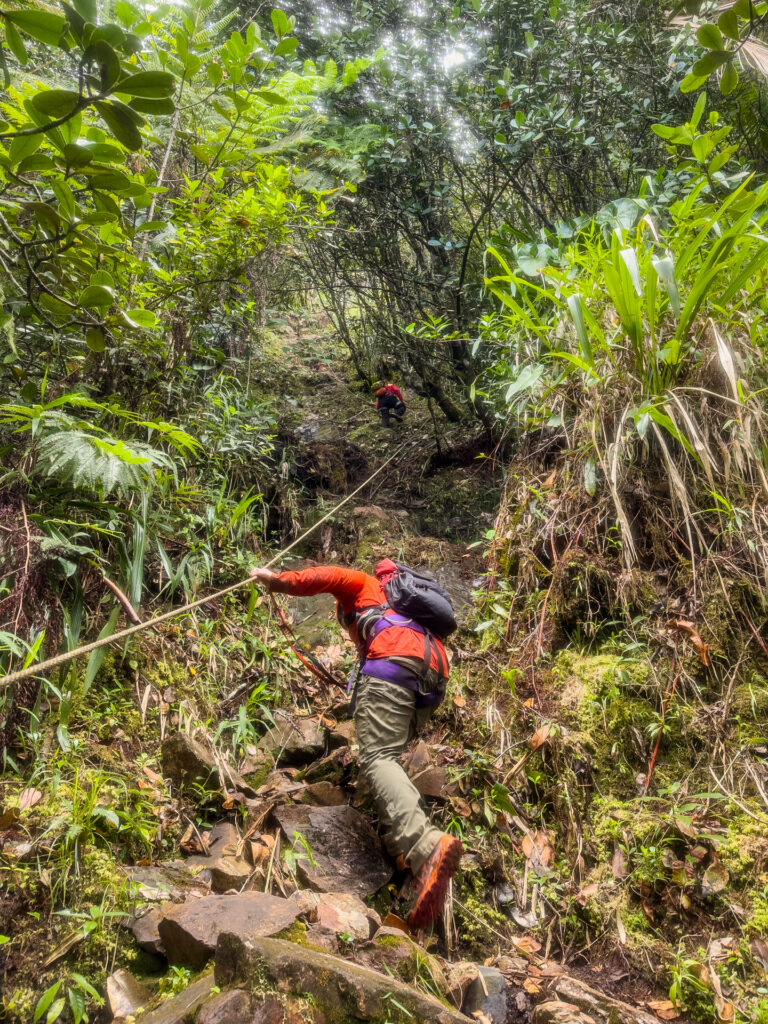
But the last .5 miles or so is straight up to the peak. You will don a helmet and climbing harness, which are stashed in a storage locker at the start of the climb, and ascend sheer cliffs. You will pull yourself over rocks, use ropes to suck yourself up large steps, clip in to sections of safety rope as you go, and occasionally have to shuffle over narrow ledges and crawl over precarious boulders, all with a magnificent view of the valley below and Maya Mountains all around you.
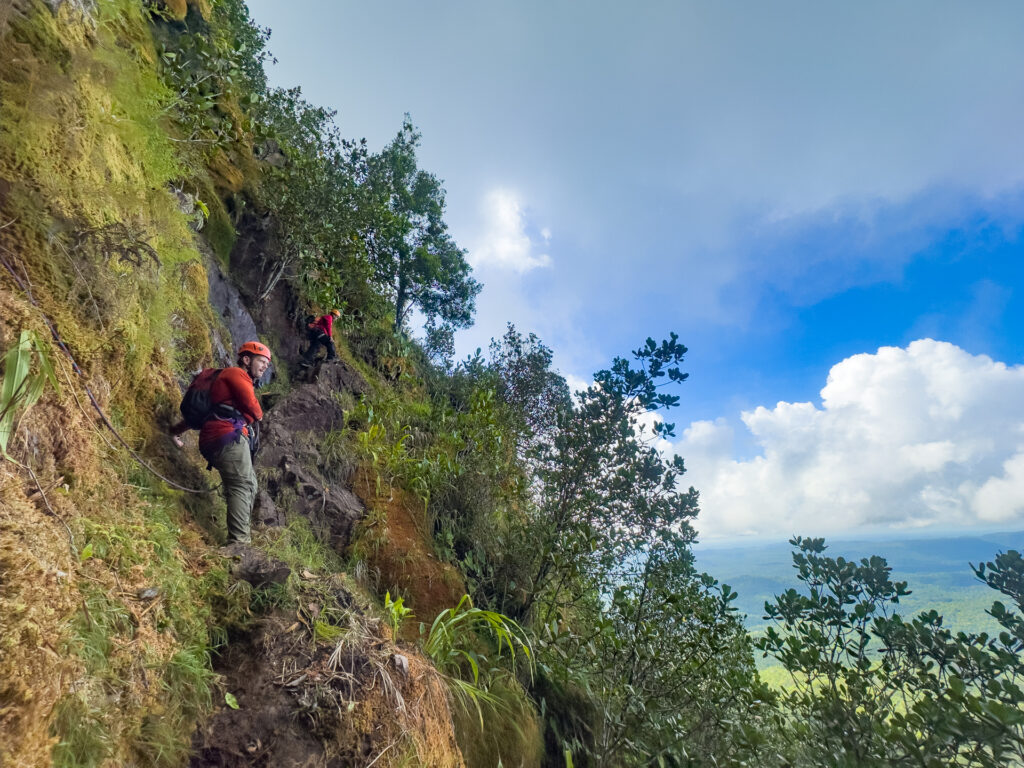
Translation: if you are deathly afraid of heights, this may not be the hike for you. Josh is a bit nervous in potentially dangerous situations on cliff edges and was notably reticent at several points. He made it just fine, but those who are allergic to risk may want to avoid.
This final stretch may also be slippery if there’s been rain lately. We had to descend in the rain because clouds rolled in when we were at the summit. Climbing down requires substantial upper body strength to pull yourself up and lower yourself down, plus arrest yourself to stop you from falling if your footing gives way.
I thought this section was a blast and a great break for my legs, but I’m not afraid of heights and lack any healthy sense of fear.
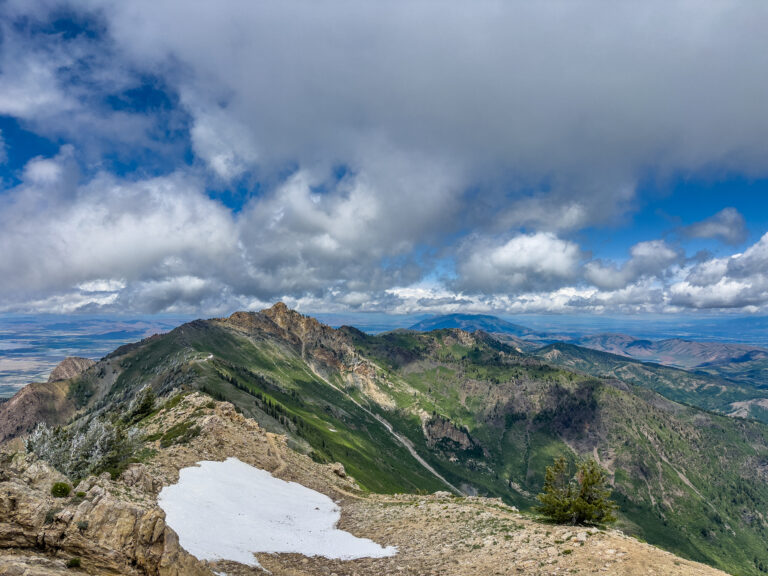
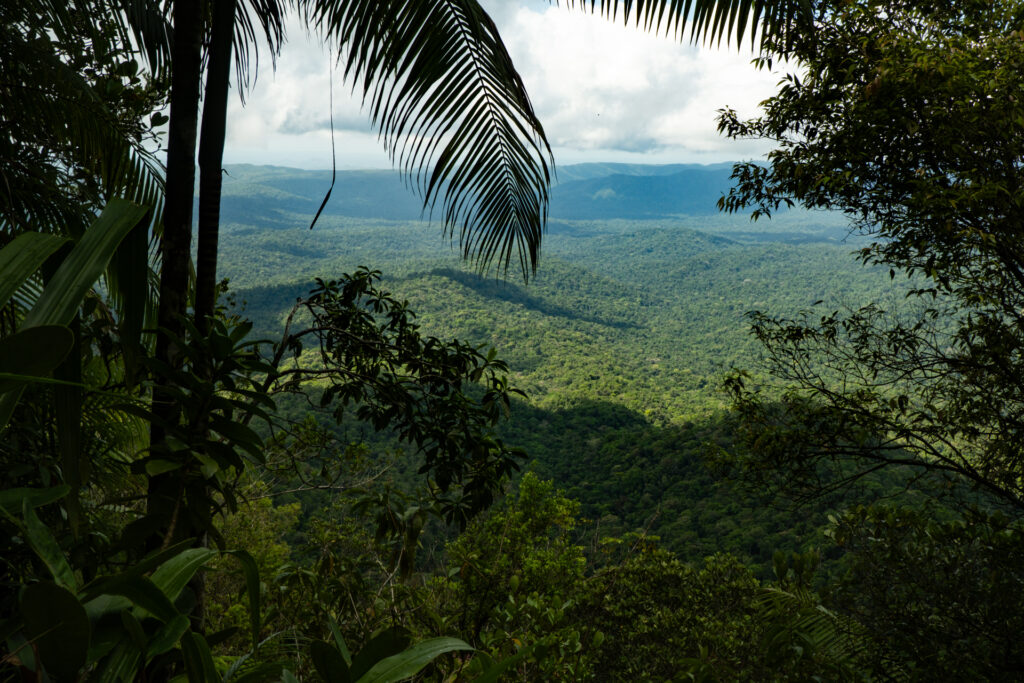
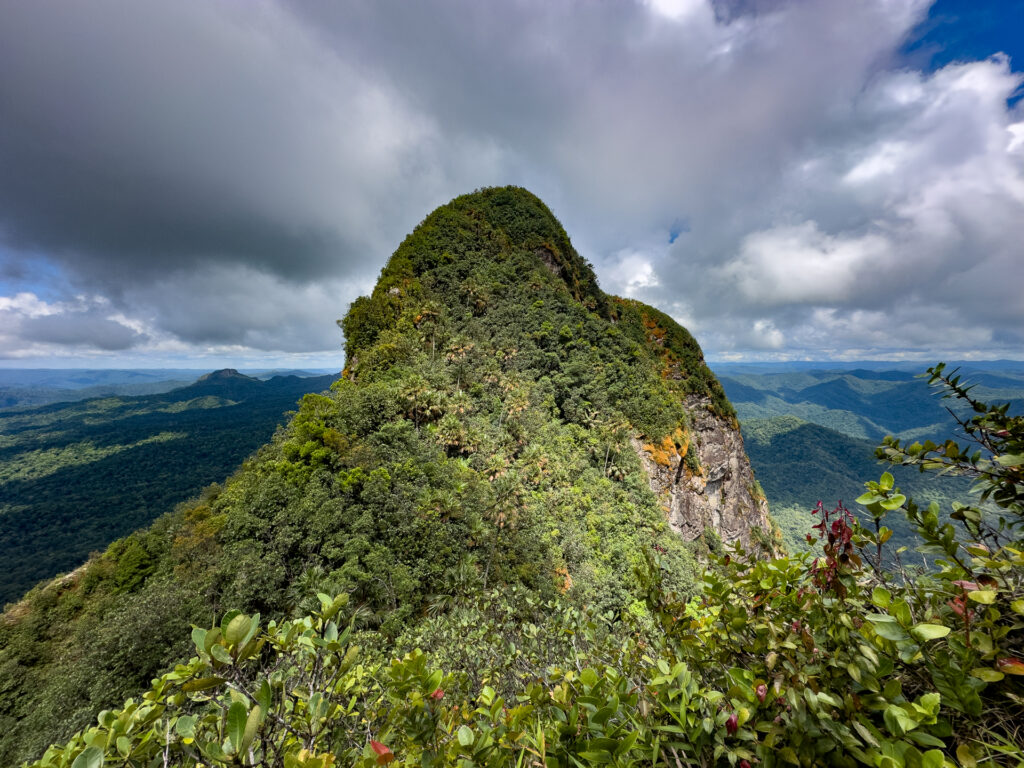
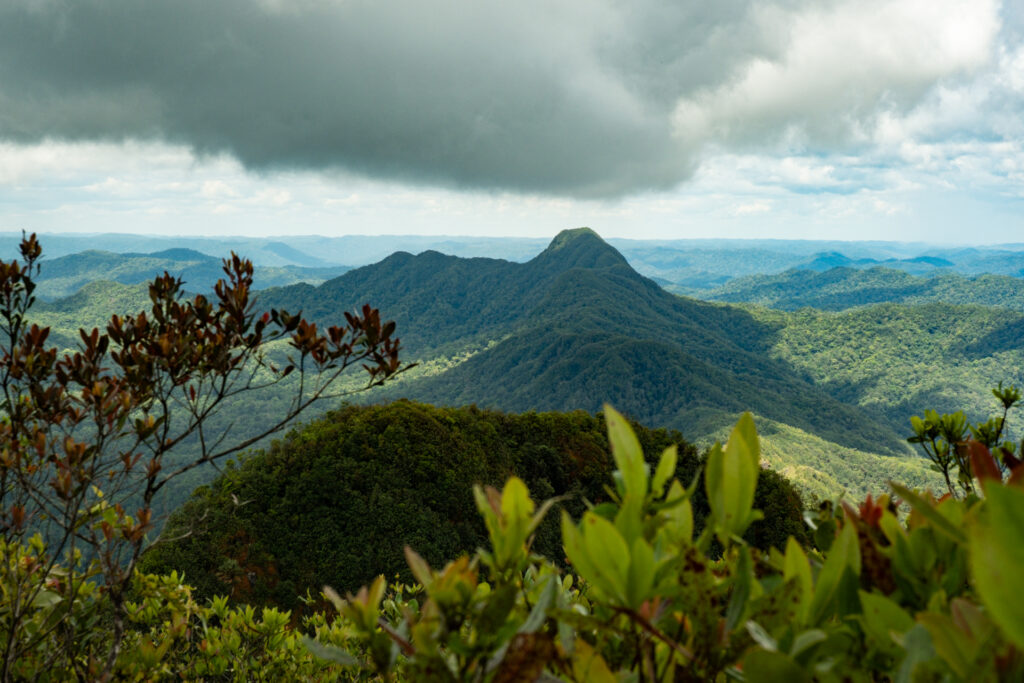
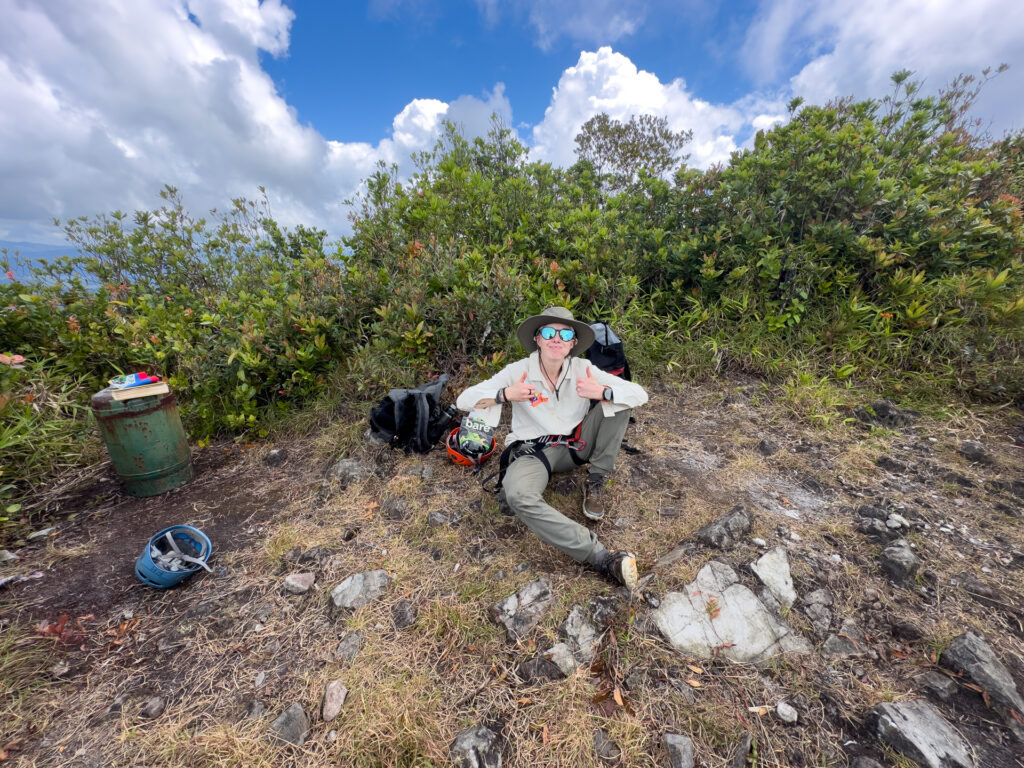
This is also the section where you finally get above the canopy and are suddenly surrounded by sweeping views of a roller coaster of green peaks. When you first turn around to see it it’s breathtaking. Then, once you get to the summit, you can enjoy almost 360º views of the area, the sea in the distance, Guatemala to the west, and miles of jungle. It’s stunning. You’ll eat lunch, sign the trail register, take some photos, and head back the way you came whenever you’re ready.
FYI: this is the only time you’ll be in full sun with not a scrap of shade and it gets hot when the sun comes out, so bring a hat and sunscreen.
On your way back, your guides may offer the option to stay at 19km camp again or pack your things and hike on to 12km camp for an easier last day. Let your legs and feet be your guide. We stayed at 19km camp because we were exhausted and the rain on the way back made trails so slippery we had to slow way down. It didn’t make sense to try to book it to 12km that evening.
Day 3: 19km Camp to Cockscomb Wildlife Basin
On the last day, you will retrace your steps from 19km camp (or 12km camp if you did the extra miles on day 2) back to Cockscomb. This is the least amount of elevation gain you’ll experience in a day and most of it is in the first 7km. But be warned: those last “easy” 12km will feel like the longest of your life. You will seriously consider paying the $250 for an ATV ride back to the start.
But you won’t. Because you’re tough. And if you did, you wouldn’t have full bragging rights for completing the whole trek.
So pace yourself, take breaks, soak your feet in the streams you cross, eat lots of high-calorie snacks and remember you’ll be in more sun than yesterday, so keep the sunscreen handy.
When you return to the wildlife sanctuary visitor center area (probably around noon), collapse on the ground, buy a cold Coke, high-five your guides (then tip them), and then hop in the resort shuttle or taxi you arranged to pick you up before you set out into the wilderness. Congrats. You freakin’ did it.
What to Pack for the Victoria Peak Trek
But what should one pack on a three-dat, two-night hike to Victoria Peak? Obviously everyone’s packing list will look a little different based on your preferences and backpacking gear, but here’s a list of ultralight backpacking gear and clothing we packed for the three-day trek.
Clothing
Less is more when it comes to clothing. You will get soaked with sweat and smell. Embrace it. Keep your pack light.
- Hiking Pants: We wore the same pair every day, as did our guides. Shorts are optional on day one and three, but more insect repellent will be required.
- Synthetic breathable quick-dry shirt: Pick one that’s light and protects your arms from insects (ticks and mosquitos). A shirt is preferable to a hoodie as you’re under the tree canopy most of the time.
- Synthetic socks: Bring two-three pairs. One for hiking and one for sleeping and keep one pair dry at all costs.
- Breathable hiking boots or shoes: Pick something that’s fast-drying and breathable, not waterproof. Your feet WILL get wet and waterproof boots will never dry, nor do they breathe, which means they’ll be hot. I hiked in an older version of the Vivobarefoot Primus Trail Flow boots (my feet were hella sore) and Josh hiked in a more robust La Sportiva Mutant trail runner (his feet were hella sore and had a touch of trench foot).
- Hat: A lightweight, packable cap will do. I brought a Tilley wide-brim hat but only wore it on the summit. A cap is sufficient since you’ll mostly be under the canopy.
- Sleepwear: Your hiking clothes will be damp, sweaty, stiff, filthy and smelly. Bring a light pair of leggings and a long sleeve shirt or a baselayer set to sleep in.
- Rain Jacket: It’s the jungle. And just because it’s the dry season doesn’t mean it won’t rain. It rained twice in three days during our trip. Bring an ultralight rain jacket like the Outdoor Research Helium.
Sleeping Gear
You’ll be sleeping under a shelter in a hammock (so you don’t need a tarp). You could bring an ultralight tent or cowboy camp on the ground, but beware of scorpions and tarantulas.
- Hammock: Choose an ultralight hammock and straps like the Eno Sublink. You don’t need a tarp.
- Bug net: Make sure to bring a bug net that is compatible with your hammock. Josh prefers the Kammok Mantis with an integrated bug net.
- Ultralight sleeping bag/quilt or liner: It feels much cooler at night than during the day. We brought Nemo Tracer bag liners and were a little chilly. an ultralight quilt may be the best option.
- Pillow: Optional, but if you prefer to have one bring it along. Remember than most inflatable pillows don’t stay put in a hammock.
Cooking + Eating
Most of your evening and morning meals will be prepared over a fire and guide companies don’t provide food. So bring plenty, plus your own utensils. Don’t bother with a backpacking stove because you can’t fly with fuel and we didn’t see anywhere to buy fuel canisters. For lunch, opt for things that can be prepared quickly and easily on trail with no or minimal tools required.
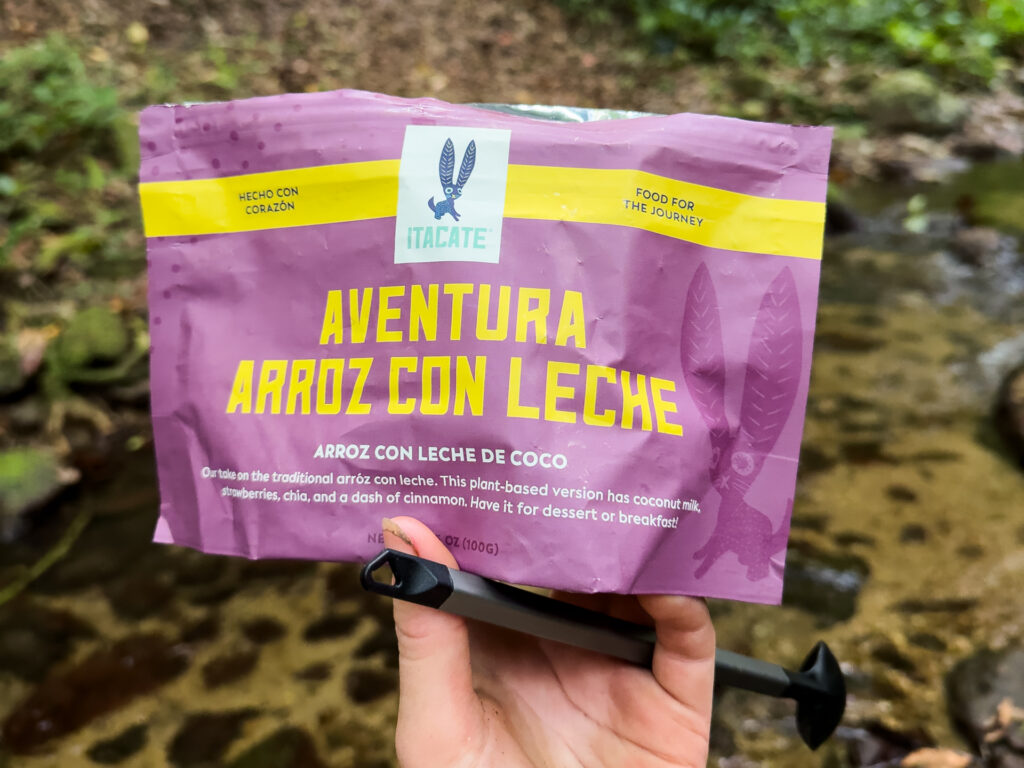
- Eating utensils: We packed only long-handled spoons and ultralight mugs because we ate dehydrated backpacking meals right out of the packaging.
- Breakfast + dinner: Your first and last meals of the day will be made at camp with access to a fire. Guides will boil water in a large pot but few additional cook pans are available, so unless you want to bring your own, plan to eat ready-made meals or ones that just require adding hot water. Bring two dinners and two breakfasts.
- Easy lunches: You’ll be eating lunch on the trail, so bring easy-to-prepare-or-eat foods like wraps, sandwiches, bars, trail mix, dried fruit, etc. Bring three lunches.
- Lots of snacks: Lots. And then bring more. Josh’s watch said he burned about 4,000 calories a day. The ups and downs are intense and require plenty of fuel. Bring more than you need, including salty, sweet, protein-rich and crunchy snacks (these are some of our fave trail snacks). Eat frequently throughout the day.
- Water bottles: My hydration system involves bottles instead of reservoirs because bladders are harder to refill when filtering is required, but choose what works for you. Bring two 1L bottles or one 2L reservoir and a small bottle for electrolytes.
- Water filter/purifier: You will refill and filter water bottles often. Bring at least a water filter if not a way to filter and purify. We packed a Katadyn BeFree AC 1.0L collapsible bottle with filter and a GRAYL Geopress filter and purifier bottle (which can also be used to make non-potable tap water in Belize drinkable).
- Electrolytes: You are going to sweat. A lot. Bring several servings of electrolytes per day. We also brought Tailwind Nutrition Endurance Fuel for a calorie boost.
Gear
Backpacking in the jungle means you need backpacking gear. Keep it light and you’ll have a better experience overall.
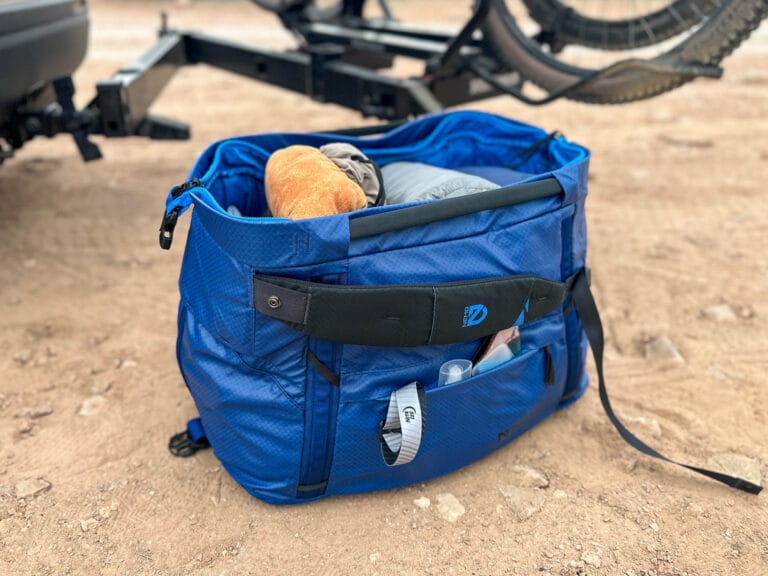
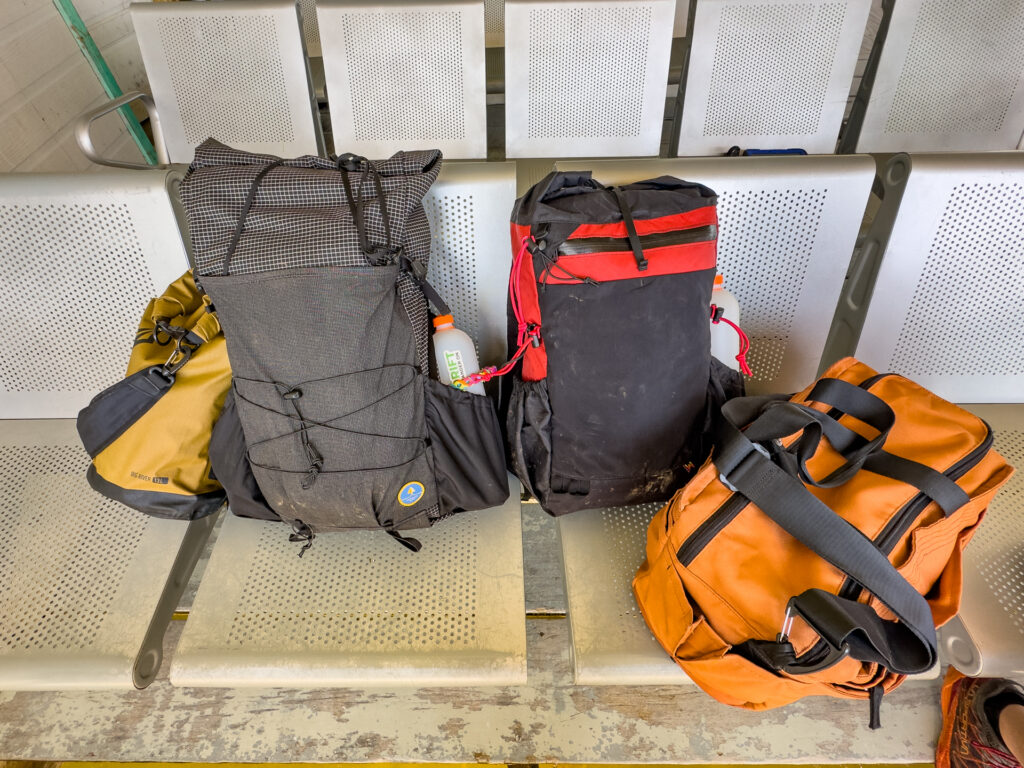
- Ultralight backpack: I brought a Symbiosis Gear 38L and Josh carried a Waymark Gear Co. 30L (no longer available, unfortunately). Both were plenty big enough for all of our UL food and gear.
- Ultralight daypack: One thing we didn’t bring but wish we had was a UL daypack for each of us. Summit day is an out-and-back hike from base camp so you can bring less gear. Our packs compressed and worked fine, but more compact daypacks may have been more comfortable.
- Trekking poles (optional): We didn’t bring trekking poles (we’re always afraid they’ll get confiscated by security at the airport), but they’re worth bringing if you’re willing to risk it. The steep ups and downs were often brutal and poles would have helped. On day two, one guide cut all of us walking sticks because it had rained and the trails were so steep and slick with mud we kept falling.
- Dry bags: Bring dry bags for gear in case it rains plus a pack liner to keep contents dry. I brought one for clothes and one for food plus one for tech gear like phones and cameras.
- Portable power bank: Pack a way to recharge items like phones, cameras and smart watches if necessary. Don’t forget cables for your important tech.
- Camera, binoculars (optional): Phones take good pics these days, but if you want something more or to be able to spot birds in the distance, bring a good camera and binoculars, like from Bushnell (and weather protection for both).
Health + Hygiene
Bring all the usual items you require for an overnight trip, plus a few extras.
- Oral hygiene: toothbrush, toothpaste, floss, etc.
- Sunscreen: You’re under the canopy most of the time, but not all the time, and sometimes it’s thin enough to let light through. Bring a small tube for your face and hands.
- Lip balm: Choose a lip balm with SPF.
- Insect repellent: We prefer deet-free varieties like Sawyer Picaridin. It’s effective and less greasy. There are mosquitoes, biting flies and ticks.
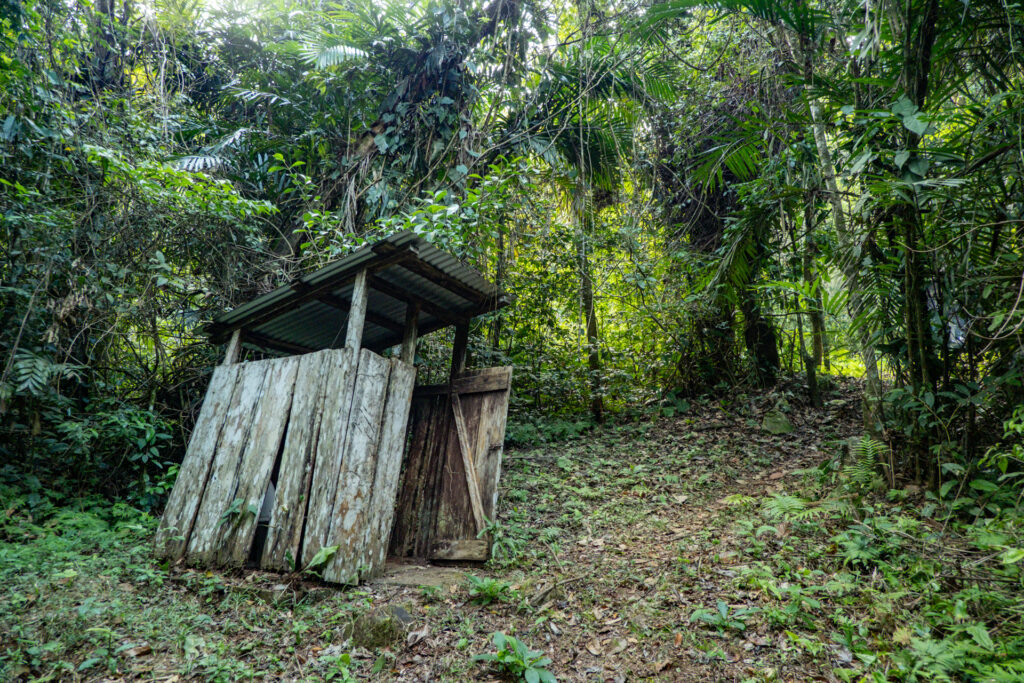
- Compressed wipes: we don’t backpack with toilet paper anymore, just Pact Outdoor compressed wipes. They’re ultralight and turn into 9×9 wet wipes with just a few drops of water, plus are *actually* biodegradable. There are drop toilets at both campsites.
- First aid kit: Guides will have a more robust kit, but it’s smart to bring your own with items you know you like and want to make sure you have handy like moleskin or KT tape, medications, pain killers and bandages.
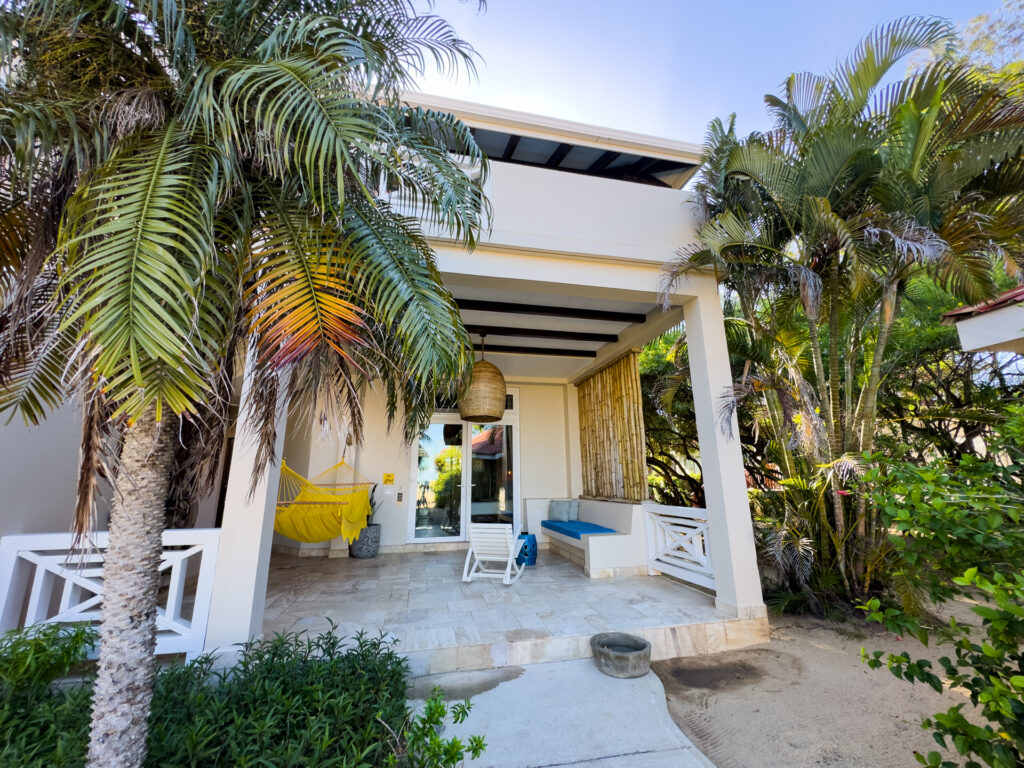
Where to Stay Before and After Your Hike: Jaguar Reef
Technically three properties in one (including Colonial Inn and Almond Beach Resort), Jaguar Reef offers a comfortable and luxe place to stay before and after your hike. Located in the colorful coastal town of Hopkins, rooms are comfortable, spacious, have big showers for scrubbing off the grime post-hike, many rooms have plunge pools, there are free kayaks for rent, the beach and several pools are right outside your door, and the restaurant on site, The Paddle House, offers celebratory drinks and even a vegan menu!
Bottom Line
Hiking Victoria Peak in Belize is a strenuous, challenging trek for the fit and resolute. It takes full-body fitness, plenty of mental fortitude, determination, a passion for type-2 fun and zero fear of heights (and the willingness to sweat your socks off for three days straight). It’s tough to schedule, not a budget-friendly expedition and a bit off the beaten tourist track, but boy is it worth it.
There are few hikes that bring me such joy and pain to recall (in equal measures), but it’s one of those adventures that reminds me just how much I can endure, how tough I am, and that I’m capable of just about anything.
Planning your own trip to Victoria Peak? Have more questions? Reach out or drop a note in the comments. Then wander on!