Backpacking 101: How to Pack a Backpack
Planning your first backpacking trip? I bet you’re stoked. You should be. Backpacking is the best. But chances are, you’re feeling a bit overwhelmed by all the gear lists and packing tips and you may be worried about forgetting something… But don’t worry. That’s what we’re here for: To help you prep and pack a backpack for your first backpacking trip like a pro.
From what to bring to what NOT to bring, what to put where and how to carry it all more comfortably, this post will have you feeling more confident and ready to hit the trail in no time!
How to Pack a Backpack
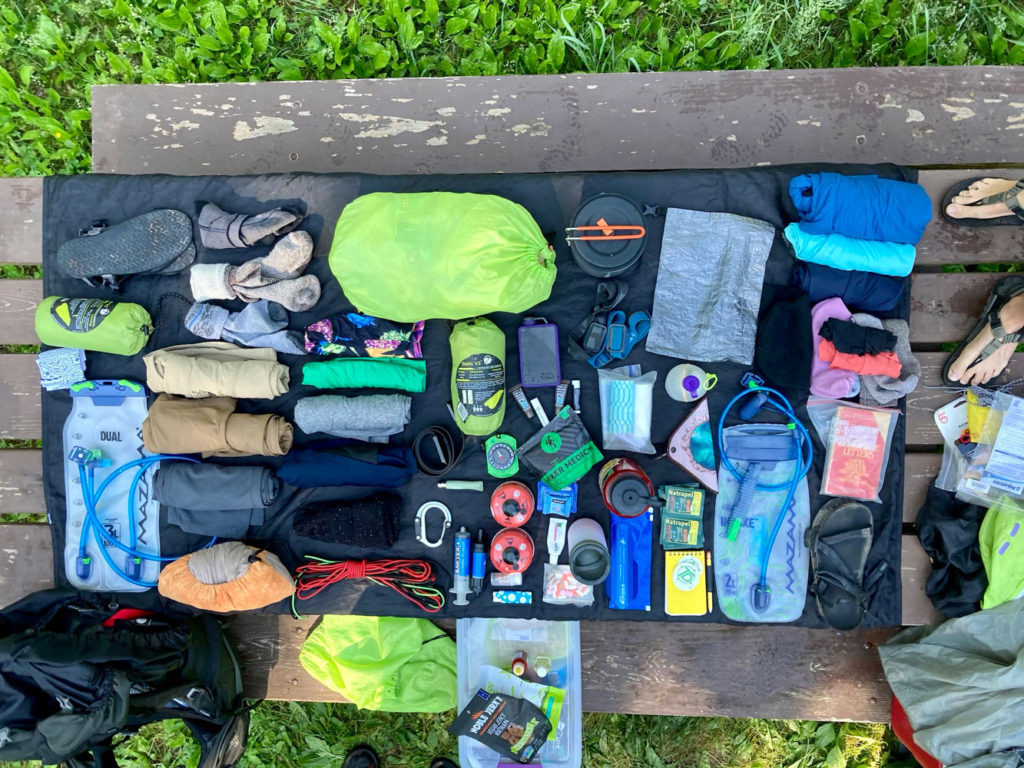
Make a packing list
Not sure what you need to take along on your first backpacking trip? Check out our backpacking checklist here. Then use it. Because you’ll want to make extra sure you have everything you need for hiking, eating, and sleeping outdoors. If it helps, visualize going through your day (and night) step-by-step. When it’s time for lunch, what do you need? Probably more than just the wrap or protein bar you brought with you (possibly a plate or knife). What about dinner? You’ll need cookware (check out these 5 backpacking mess kits), but also utensils (and probably seasoning). Do you sleep with a pillow? Don’t forget it. And when you’re hiking, you’ll probably want bug spray and blister care kits at the ready.
Check things off your list as you add them and give yourself a little peace of mind.
Keep Handy Things…Handy
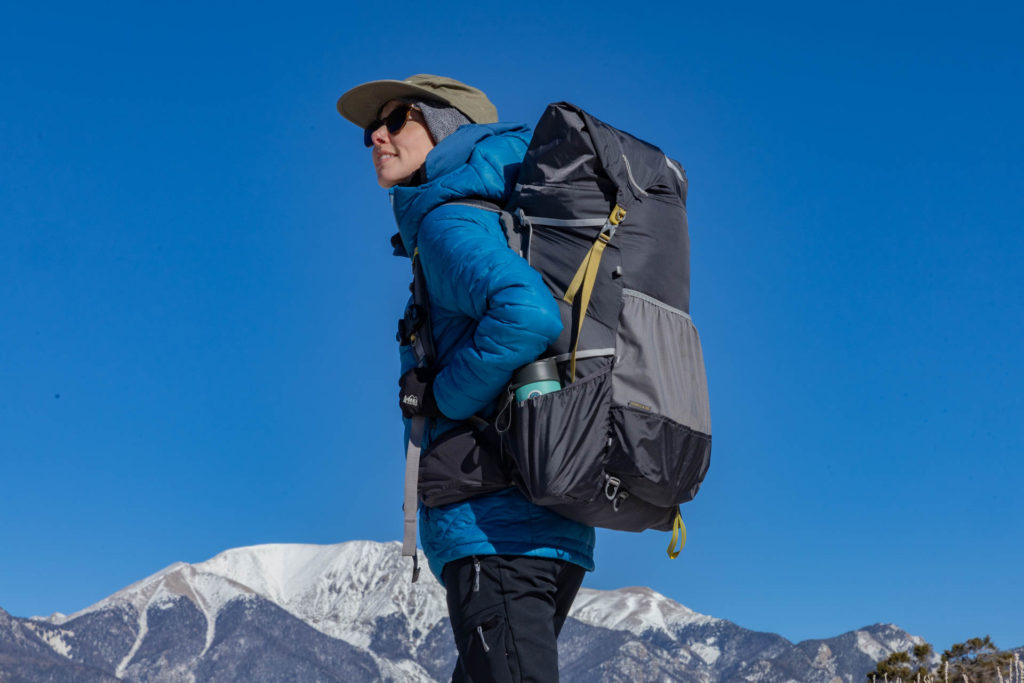
When you’re backpacking, there are things you’ll use more often than others. You’ll pull out sunscreen, chapstick, and trail mix more often than your stove or sleeping pad, for example. So keep items like bug spray, snacks, your camera (or phone) in hip pockets, shoulder strap pockets, or in the lid of your pack for quick and easy access. Trust on this one. Keeping this stuff handy so you don’t have to keep removing your pack to dig out a protein bar is super important when it’s time to pack a backpack.
Keep it Light in the Lid
Let’s talk about other types of strategic placement, this time with weight distribution in mind. While you’ll likely want to keep necessities like extra snacks, utensils and a first aid kit in the very top of your backpack, like a zippered lid pocket if your pack has it, don’t use that space to store anything too heavy like DSLRs or your backpacking hammock. The lid should be reserved for small, light items that you want to retain easy access to.
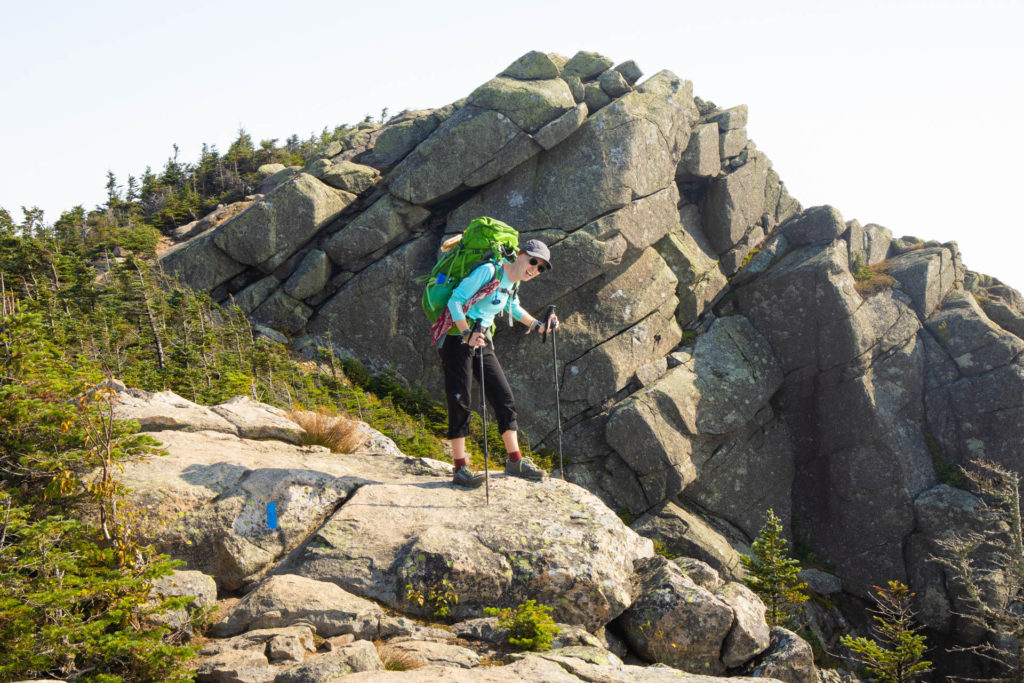
Keep the Heft in the Middle
On the contrary, heavy items should go in the middle of your pack. There’s a removable divider in many backpacks (including my Osprey Atmos and Josh’s Dueter Futura Air Trek) that we almost always leave in place so that the heavy items in our packs–namely our cook set and stove, tent, food, etc.–stay right in the middle where they are closest to our backs. Put heavy items too low in the backpack and you’ll feel like you’re being pulled down and backward. Put them too high up in the pack and you sacrifice balance as your pack will likely sway from side to side. Keep heavy stuff close to your spine and you can carry a heavier load with more ease.
Toss Soft Goods in the Bottom
Reserve the bottom of your pack for lightweight soft stuff like extra layers or your sleeping bag. They also help fill in all the nooks, crannies and empty space.
Keep it Balanced
Keep in mind that even a small weight discrepancy in your bag can cause you to feel off-balance or one side of your shoulders and back to take an undue portion of the burden. If your tent goes on one side of your pack, place a stuff sack of food and cookware on the other (just make sure it weighs roughly the same). If you put a 1L water bottle in one side pocket, put a 1L bottle in the other side. Alternatively, use different sized bottles to help even the weight distribution if your food is heavier than your tent or vice versa.
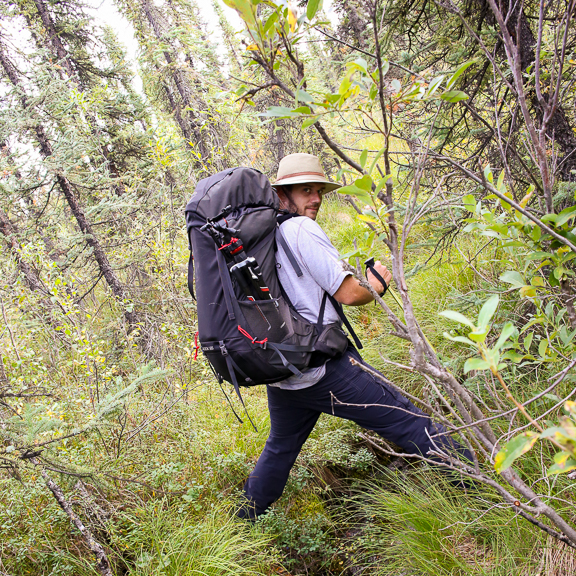
Take Care when Lashing Gear to the Outside of Your Pack
When you pack a backpack, some gear just won’t fit inside, and that’s OK. Things like closed cell foam pads and even tents are often too big and bulky (unless you’re carrying our new fave tent, the ultralight Gossamer Gear The One). But when you do have to lash gear to the outside, make sure it’s well-secured. If heavy camp shoes are clipped onto the side with a carabiner, a tent is bouncing around on the bottom of your pack, or a sleeping pad is flopping around on top, your balance and pace might suffer, making for a longer, slower slog than you might like. So make sure that stuff is fastened snuggly against the body of the pack, keeping a good balance of weight in mind, of course.
Pack (and Re-Pack) Only What You Need
This may sound obvious, but don’t bring excessive amounts of anything. Instead, determine how much you think you’ll need (you’ll dial this in with practice) and re-pack that amount of supplies in smaller containers. For example, instead of bringing a whole bulk bag of nuts, pour a few handfuls per day of your trip in a new resealable bag. Count out wet wipes and place them in a smaller zip-top bag. Bring a travel-size toothpaste or snag our new fave for the trail, toothpaste tabs. Remove toilet paper from the roll and fold it neatly in a waterproof container. If you don’t have a travel-size bottle of sunscreen, squeeze some into a travel shampoo container.
Naturally, what you “need” depends largely on your backpacking style. And if you know for a fact that you’ll eat that whole jar of peanut butter or that you’ll absolutely burn through a full package of wet wipes, then go for it. But for most of us, re-packing just the amounts you need of essentials can save you a lot of space and pack weight.
Find Reusable Alternatives
Along those same lines, leave disposable and single-use items at home as much as possible. If you want to bring tissues, opt for a handkerchief instead. Ladies, try a pee cloth (like the Kula Cloth) instead of a bunch of toilet paper. Leave paper towels at home and bring a rag or cloth for cleaning up (you can always rinse it out). Finding reusable alternatives to small things can add up to reduce the amount of stuff (and weight) in your pack.
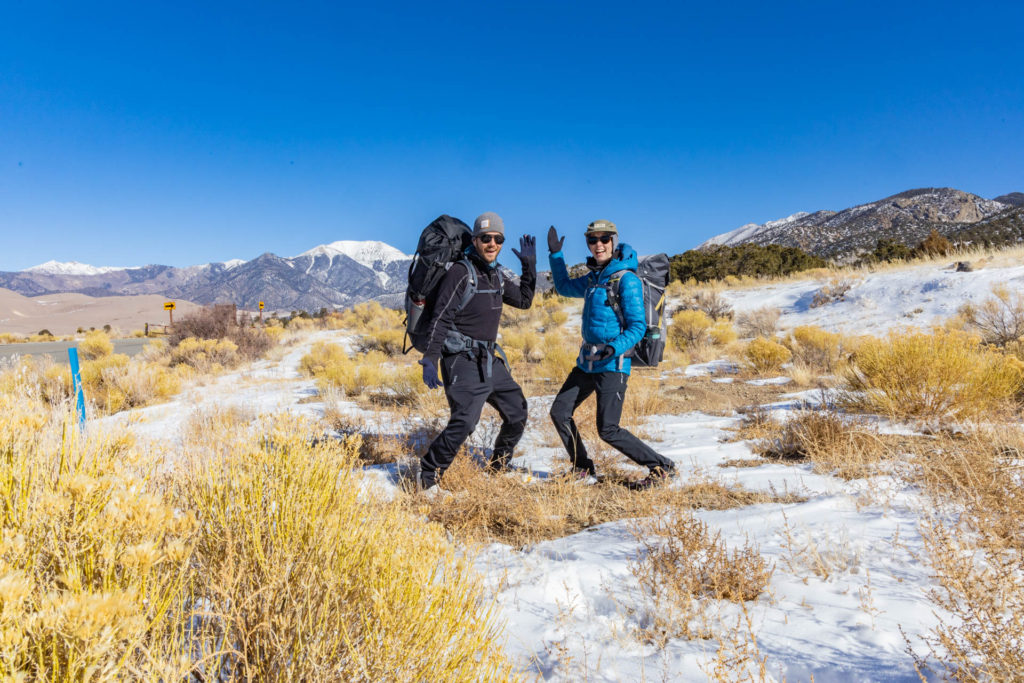
Bottom Line
Ready to pack a backpack like a pro? You are now! We have every confidence you’re gonna knock it out of the park. So pack up, get out there, and wander on, already!