Backpacking 101 – An Intro Guide for New Backpackers
Ready to start backpacking? Here’s our backpacking 101 guide to get you started out on the right foot. Or the left foot. Whichever foot you want to start on is fine. We don’t discriminate between feet.
If you’re new to backpacking, all of the posts, gear and info out there can seem overwhelming. What do you actually need? How much will it all cost? What do you need to know to stay safe? Where do you even start?
We get it. Any foray into a new sport or activity can seem like a lot. Like a lot a lot. Especially when you’re heading out to places where you’re responsible for your own survival. But don’t let it stop you from forging ahead and getting out there to hit the trail and experience all the wonders of nature! We’re here to help you figure it all out. ‘Cause we’re cool like that.
So buckle up. Because it’s gonna be a wild ride. There’s lots to learn, tons of cool gear to drool over, and loads of fun to be had once you finally shoulder that pack and park the ol’ hybrid SUV at the trailhead. So let’s get to some backpacking 101!
Want to go even more in-depth? Check out out full backpacking 101 course on YouTube HERE.
Backpacking 101: What IS Backpacking
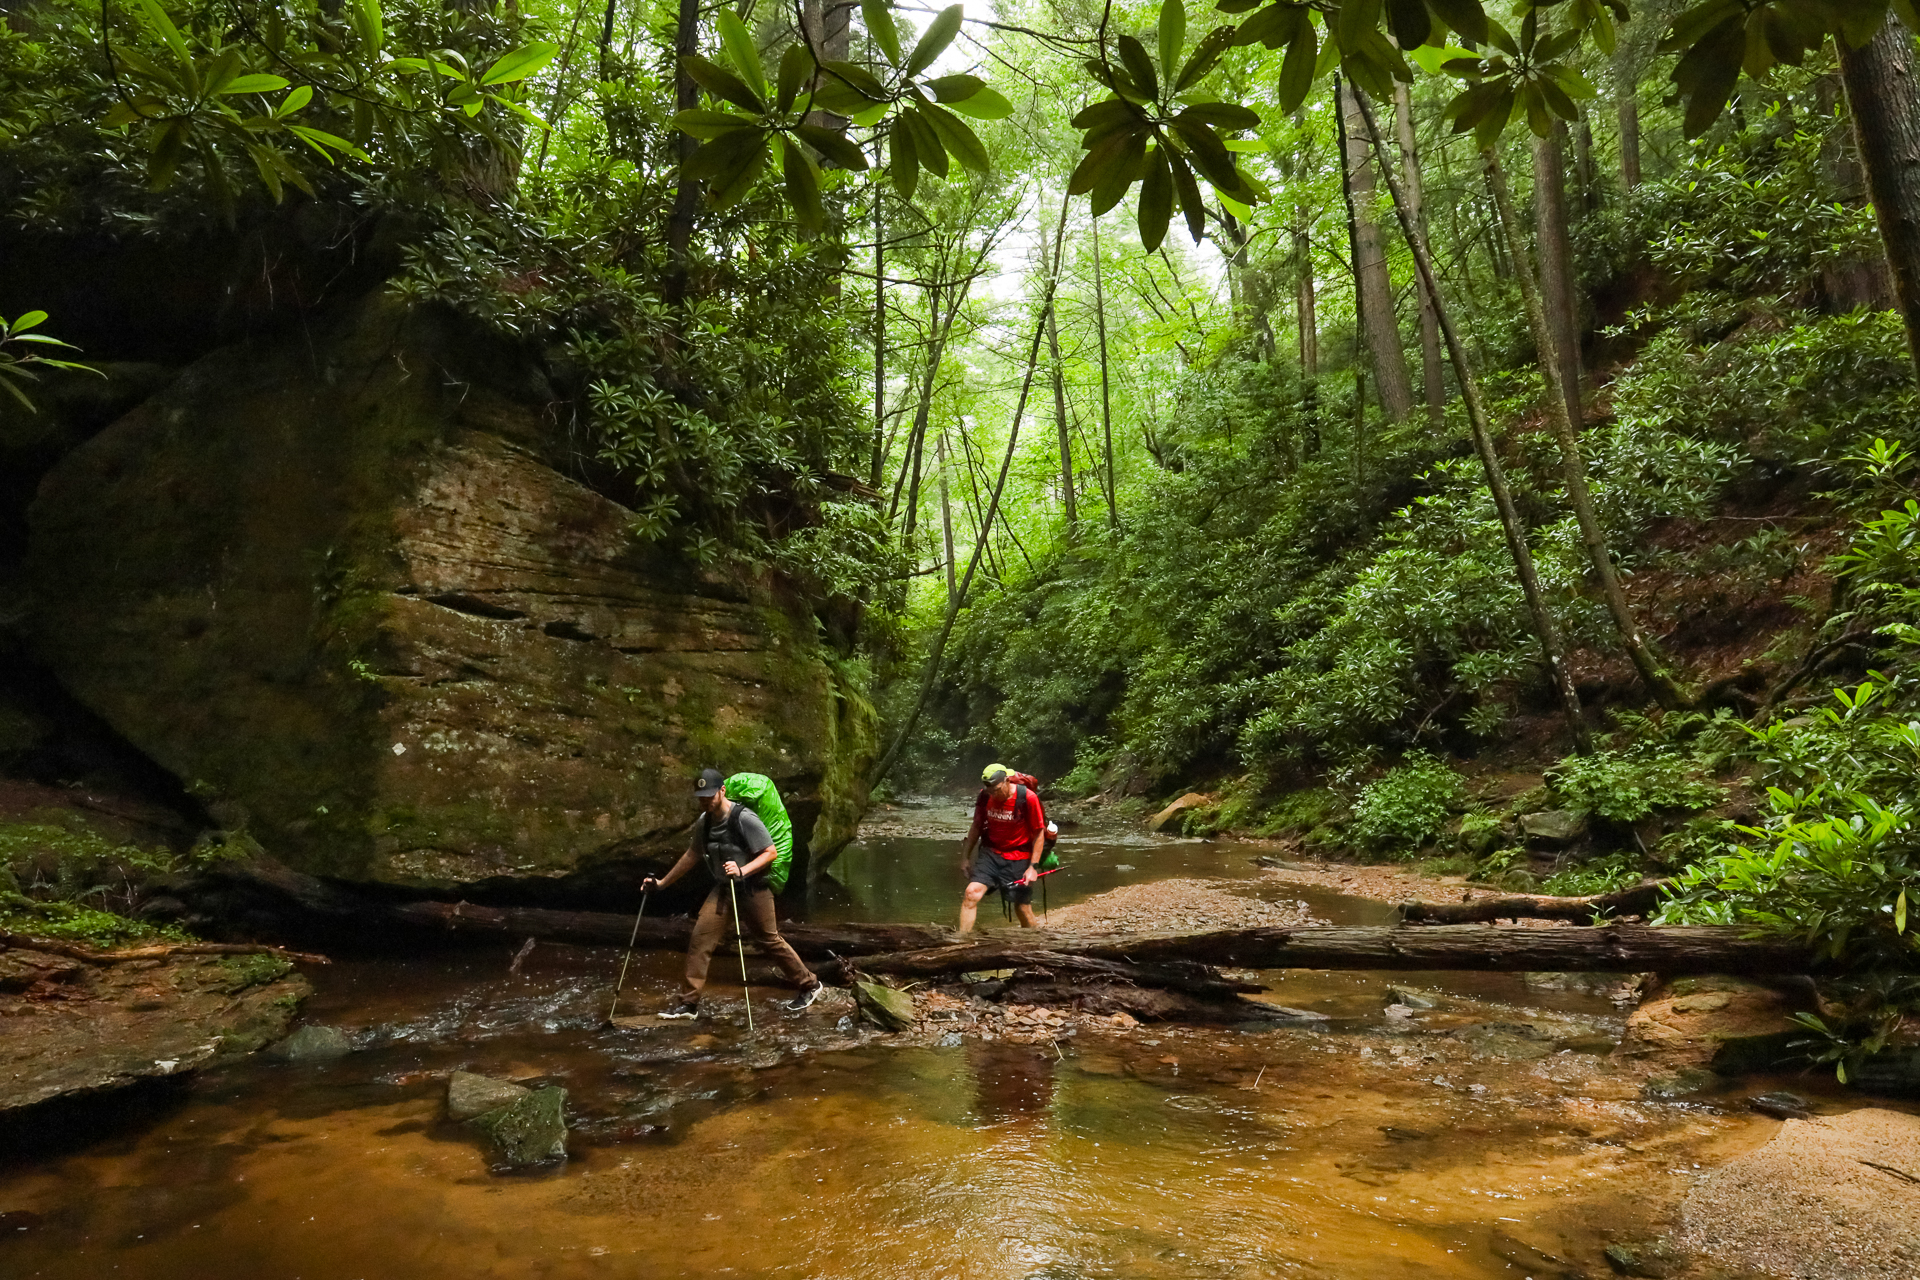
OK, so if you found this article because someone suggested that you might like backpacking and you’re all, “What the heck does that even mean?”, we’ve got you covered. Basically, it’s like camping, but you carry everything you need to survive for a night, two nights, 10 nights, or more on your back. It means you’ll be pitching a tent (or hammock) where there’s no electricity, no running water, and probably no bathrooms.
It means you’ll be cooking, eating, sleeping and yes, even pooping, in the outdoors for as long as you’ve decided you want to do so. It usually means no internet or cell service and typically involves hiking for several miles or more to reach a campsite. Then another. Then another.
And it definitely means time in nature, peace and quiet, a chance to disconnect (technologically speaking), and a fair amount of exercise followed by being lulled to sleep by chittering woodland creatures (or loudly burrowing armadillos) under a starry sky. In short, it’s magical. And I wish everyone could do it at least once.
But there is obviously more involved, from needing the right gear to knowing how to navigate, being familiar with Leave No Trace Principles to finding the perfect campsite, and knowing how to layer to stay warm and addressing injuries that might happen on the trail far from civilization. But don’t worry, we’ll help you figure it all out in this handy dandy backpacking 101 guide, starting with the most fun bit: gear!
Backpacking 101: The Goods & Gear
Gear
While you can technically head into the wilderness Bear Grylls-style with nothing but a pocket knife and a handful of nuts, we wouldn’t recommend it. But waltz into your neighborhood outdoor store and you might be immediately overwhelmed with all the cool stuff lining the shelves and walls. We get it; we’re gear junkies, too. But there’s so. Much. Stuff. How do you know what you actually need? Well, start with the 10 essentials, then go from there. We’ll break down what you actually need by category.
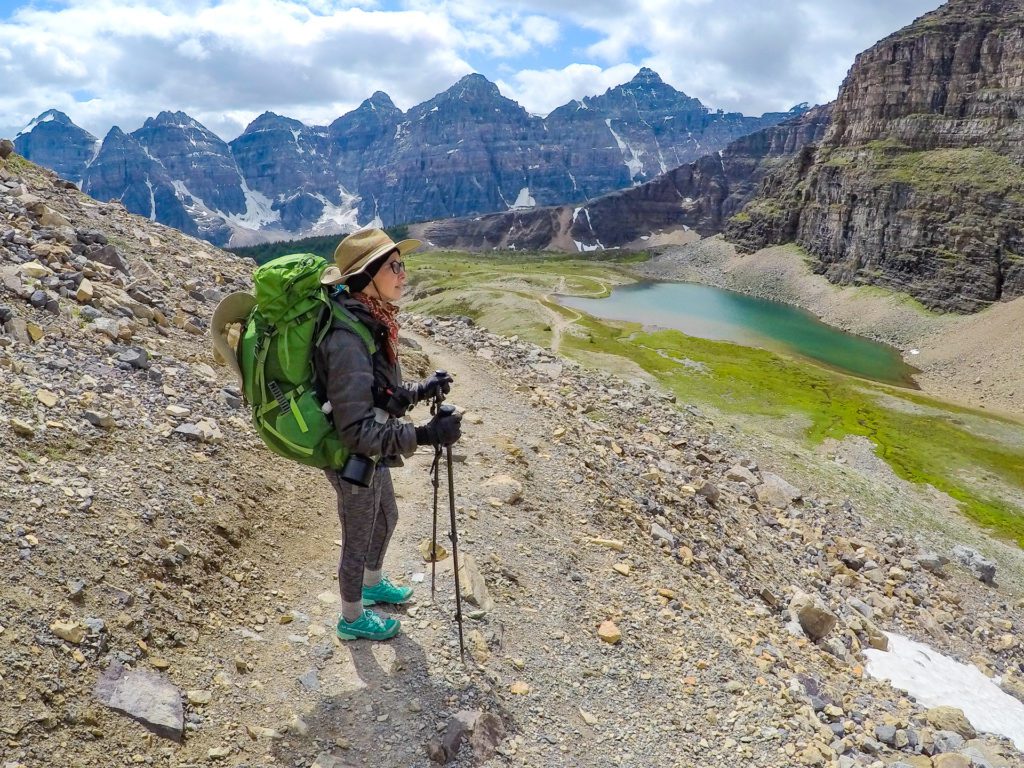
Backpacks
It makes sense that an intro to backpacking would start with backpacks, right? After all, by definition, backpacking requires a backpack. There are two types: external frame and internal frame. Most brands don’t even sell external frame packs anymore, but you can still find them every once in a while. They tend to be more spacious, but aren’t as comfortable or light, so most modern backpackers tend to use internal frame packs, and for good reason.
The key to selecting the right pack for you is to determine how large it needs to be. Will you be taking two-day trips or week-long trips? For the former, a 50-65 liter pack should be sufficient. For longer trips, you may want to consider a 65-80 liter pack. But keep in mind how big you are, too. I am 5’3″ and 105 pounds, so an 80L pack would end up being a lot for me, especially if it was full of gear.
Then, make sure you’re getting a pack that’s the right size. We wrote about finding the right backpack and making sure it fits in this post, but it’s often helpful to go try on a few at a local outdoor store. Often, they will even fit it for you. If you’re a female or have a small frame, you may want to consider a women’s-specific pack, but it’s hardly necessary.
From there, just pick out a bag you like! We love sustainable brand Osprey (check out our comparison review of the Rook and Atmos here), but as long as the bag is comfortable and fits well, pick your poison! Deuter is another good, sustainable backpack brand.
Tents & Shelters
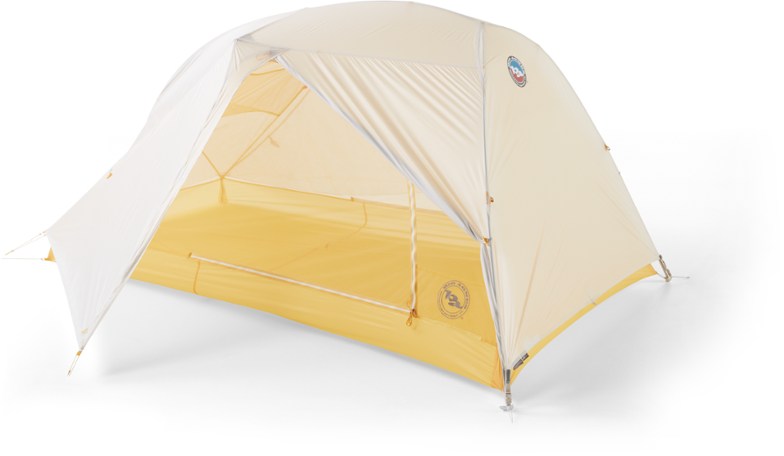
Tents can be, and often are, the most expensive item in your backpacking gear closet. But if you take care of it, it should last for years and years. So don’t be afraid to invest a little cash. We love our ultralight Big Agnes Tiger Wall (check out our review here), but ultralight tents do tend to be more expensive, so if you’re on a budget, pick a model you can afford.
Since a tent can also be one of the heavier items in your pack, it’s an easy place to trim weight. So the lighter you can go, the better. If you’re more concerned about how much space you’ll have inside the tent than you are with weight, pick a tent that’s designed for one more person that you expect to be sleeping in it. For example, if you plan to go solo, get a 2-person tent. Partnering up? Get a 3-person. This will offer a bit more space to spread out.
Another shelter option is a hammock or hammock tent. We’ve reviewed several excellent options like the Haven, Tentsile Una and Kammok Mantis. Many people prefer hammocks to tents because they find sleeping on the hard ground uncomfortable and a hammock alleviates the pressure points that sleeping on the ground creates. If you’re not sure you’d find it all that comfortable, maybe you’re hammocking wrong! Check out our hammocking tutorial video here.
If you do choose to go the hammock route, remember that in cold weather, you’ll need an underquilt and a rain fly, plus a sleeping pad to prevent convective heat loss from below (aka: cold butt syndrome).
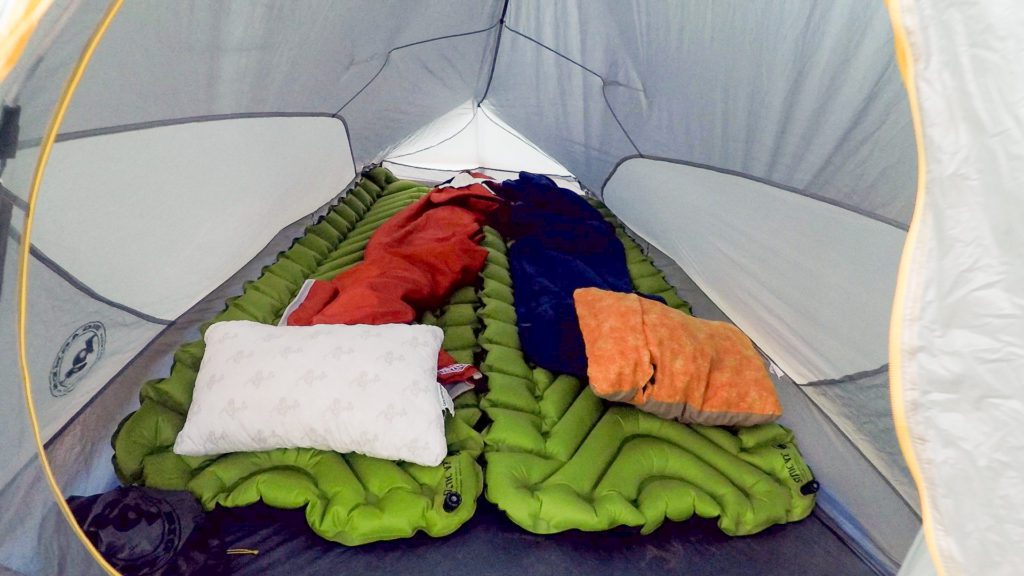
Sleeping
You may hear sleep setups for camping referred to as sleep systems. This refers to everything you need for a good night’s sleep: sleeping bag, sleeping pad, and pillow.
We rounded up some of the best synthetic sleeping bags in this post and break down what those temperature ratings actually mean (plus the differences between types of sleeping pads) in this post. Need a temperature boost? Try using a sleeping bag liner instead of shelling out for a whole new bag. As for pillows, that’s up to you. There are inflatable styles, compressible styles, even DIY styles involving just filling a stuff sack with spare clothes. Just do whatever is comfortable for you!
But we recommend a closed-cell foam sleeping pad if you’re trying to go ultralight, an inflatable pad if you’d rather be comfortable, and an insulated inflatable pad if it’s going to be chilly.
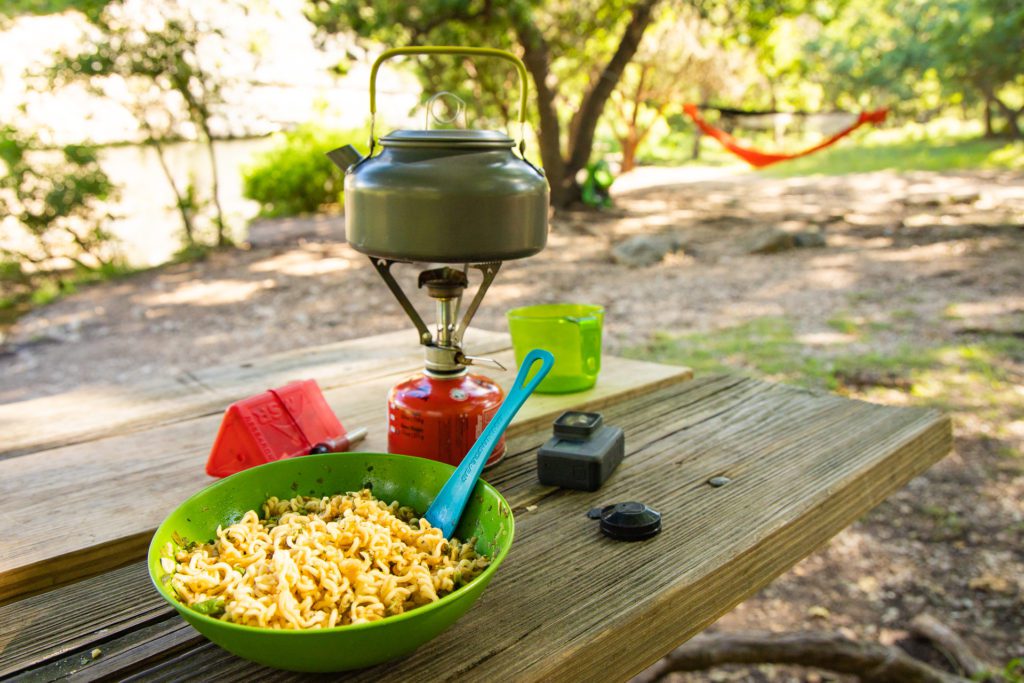
Eating
At some point, you’re gonna haft eat. Sure, you can just scarf Clif bars, vegan jerky, and all kinds of hiking snacks all day long, but it’s nice to have a hot meal on the trail, especially on chilly nights.
For this, you’ll need a backpacking stove. We like stoves from MSR or GSI. Then get yourself a simple cookset with a pot and bowl, or at the very least a kettle. We like a kettle and bowls since we often prepare homemade dehydrated meals like the ones here, but check out this list of mess kits and go with whichever one works for you. Need recipe ideas? We wrote a whole cookbook full of plant-based recipes!
Just make sure you’re getting enough calories. Remember, you burn more than usual when you’re hiking, so use our handy calorie calculator to make sure you’re fueling your engine.
Accessories
Of course, there’s other gear you’ll need, too, like a headlamp, personal hygiene items (like for pooping in the woods), maybe even small games or books for entertainment.
Clothing
There’s a saying in the outdoor industry: Cotton kills. Organic cotton is a wonderful material for day-to-day use and even on warm day hikes or outings, but in the cold or on longer excursions, synthetics are best because they wick sweat and dry fast, which is important when it comes to regulating body temperature. Our sustainability advice: opt for synthetics made from recycled materials as often as possible.
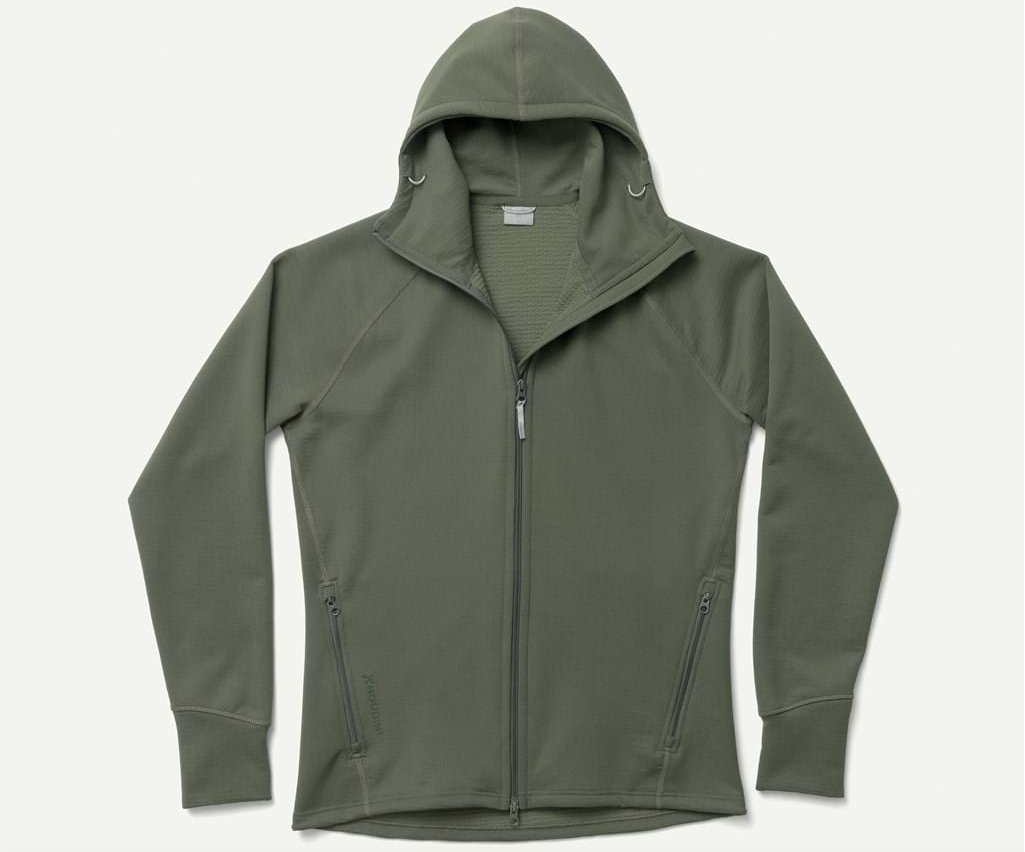
Layering
Check out our guide to layering for the full rundown, but here’s the condensed version: in cool or cold weather, layers are key. Start with a warm base layer, add a mid layer like a fleece or a lightweight vegan puffy jacket, then and a warm and waterproof outer layer. Feel free to stack more mid layers if necessary, but if you start turning into an overstuffed burrito, maybe just upgrade to a warmer outer layer or opt for one of the down-free puffy coats.
Shoes and Socks
As for your feet, stick with synthetics when it comes to socks (read about why we don’t recommend wool here). They will help wick moisture and dry quickly when they get wet, helping to prevent blisters. You can also layer a thin synthetic sock with a thicker one in cold weather or if your feet are prone to blisters.
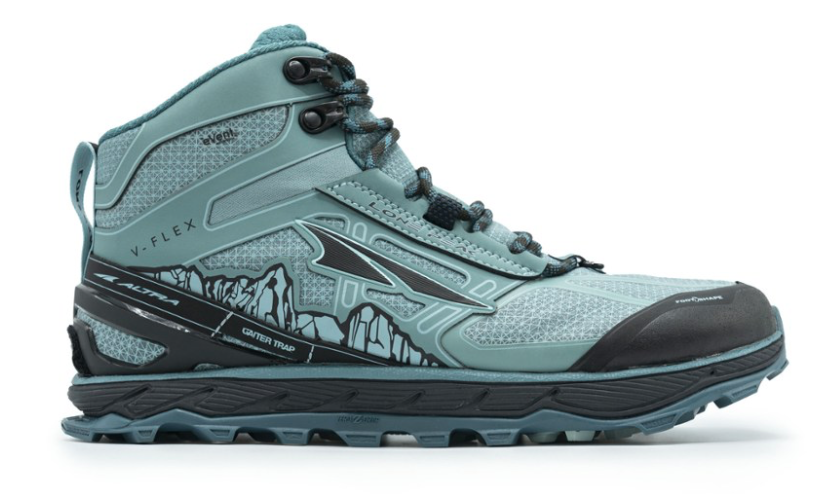
And naturally, boots are of the utmost importance. Read our guide to fitting boots and make sure to get a pair that seem a bit bit big. This will allow for your feet to swell, offer space for thick socks, and prevent your toes from jamming into the front when you go downhill. Also make sure you wear your boots for a few days to a few weeks before taking them out on any serious excursions to break them in and make sure they are comfortable. Check out this video for some tips on tying those boots.
And if you are looking for recommendations, we created a whole list of awesome vegan hiking boots. Why not leather? Read about why leather isn’t sustainable here.
Bathroom
If you’re spending more than a few hours outdoors, chances are, nature’s gonna call. And you’re gonna hafta answer. But you can do it. We believe in you. You just have to know how to do it right.
Ladies, we wrote a whole post about how to pee in the woods with tips and tools for you. Plus a video on how to poop in the woods the right way for everybody. Yes, there is a right and wrong way: If you’re hiking in an area where you are allowed to bury your waste and can dig a cat-hole, make it 6-8 inches deep and 200 feet away from natural water sources, and then bury your TP with your excrement and cover it all up. Here are the tools you’ll need:
- Poop shovel
- Toilet paper
- Wag bag (heavy duty opaque plastic bags) if you have to pack out your waste like in desert areas or some parks (they’ll tell you at the backcountry permit office or visitor center)
Whatever you do, DO NOT leave toilet paper at your campsite or on the ground. It’s an eye sore, an animal attractant, and it’s gross. So don’t do it. It might mean you have to pack it out, so bring an opaque trash bag, just in case.
Packing
And always keep weight in mind when packing. Some say your pack shouldn’t weigh more than 30% of your body weight, but honestly, if I carried a pack that heavy, I would be pretty miserable. I tend to shoot more for 20-25 pounds, including water and food, which is under 25% of my body weight. For every item you pack, ask yourself: “do I really need this?” Check out our backpacking checklist here for the a complete list of what you need.
Safety
We all hope things don’t go wrong in the wilderness, but they can, so if you are going to venture away from civilization, you need to be prepared to take care of some things yourself.
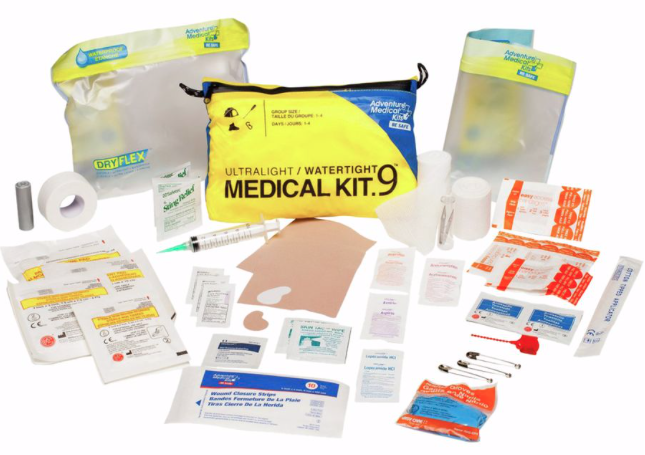
First Aid
Start with a solid first aid kit for backpacking, then, if you’re planning on trekking where you’ll be days away from the nearest trailhead, consider taking a wilderness first aid course either online or in person. Knowing how to perform simple first aid on yourself or others can be lifesaving in the outdoors.
Drinking Water
If you’ll be out too long to carry all the water you need, you’ll have to collect drinking water as you go. But water from natural sources can, and often does, contain bacteria, viruses and protozoa that can make you super sick. So make sure to purify all your water before you drink it. Learn more about *purifying water in this post (which also includes a list of backpacking water filters) and take a look at these dual-purpose filter-purifier bottles. And remember, just because water looks clean, doesn’t mean it is.
Navigation
No backpacking 101 post would be complete without a few words about navigation. You will want to familiarize yourself with how to read a map and maybe even take a navigation or orienteering course at REI or somewhere similar to learn how to use a map and compass properly. This is less important if you’ll be sticking to well-marked and frequently trafficked trails, but you’d be surprised how many people get lost every year on popular trails, so at least know how to read a topographic map and how to get your bearings and find your way back to the trailhead if you get lost or turned around.
Backpacking 101: Bottom Line
Yeah, there’s lots to consider when getting into backpacking. But you’ll find lots of how-to’s, guides and recommendations here on Terradrift and on our YouTube channel or Instagram. Can’t find the answers you’re looking for? Reach out! We love to chat about all things outdoors. Then start planning! Tag along with a friend or go on a guided trip your first time if you’re still not confident you can hack it on your own yet. Just get out there and enjoy already! Wander on!